

INK COMICS Like a PRO in CLIP STUDIO PAINT
And Avoid Common MISTAKES!

Inking Comics Digitally: How I Build Depth, Rhythm, and Story on the Page
When I sit down to digitally ink a comic strip, I’m not just tracing pencils—I’m making decisions about depth, focus, rhythm, and storytelling in every line. In this first part of a two-part breakdown, I took a Sunday-style adventure strip I drew a couple of years ago and walked through how I ink it in Clip Studio Paint.
This article is a written “director’s commentary” of that process. If you want to jump into the actual video at any point, I’ve added clickable timestamps so you can see exactly what I’m talking about in motion.
What This Strip Is, and What I’m Trying to Do?
The strip is built around a character I created back in my teens. My original plan was to do a Sunday comic on a semi-regular basis—once or twice a month—but like a lot of personal projects, it sat in the drawer for a while.
Now I’m using it as a teaching piece: how I approach digital inking in Clip Studio (though most of this translates directly to Photoshop or any other digital inking tool). I start from a blue-line rough I penciled earlier, then ink right over it. Watch the setup here.
Prefer a downloadable PDF? Get it here.
At a high level, here’s what I’m thinking about as I ink:
Separating foreground, midground, and background with line weight
Establishing a clear page focus
Spotting blacks to control rhythm and eye flow
Using texture and line variation to differentiate materials and distance
Keeping the “hand” in the work, even when the tools are digital
The Trap of Infinite Zoom (and Why Brush Size Matters)
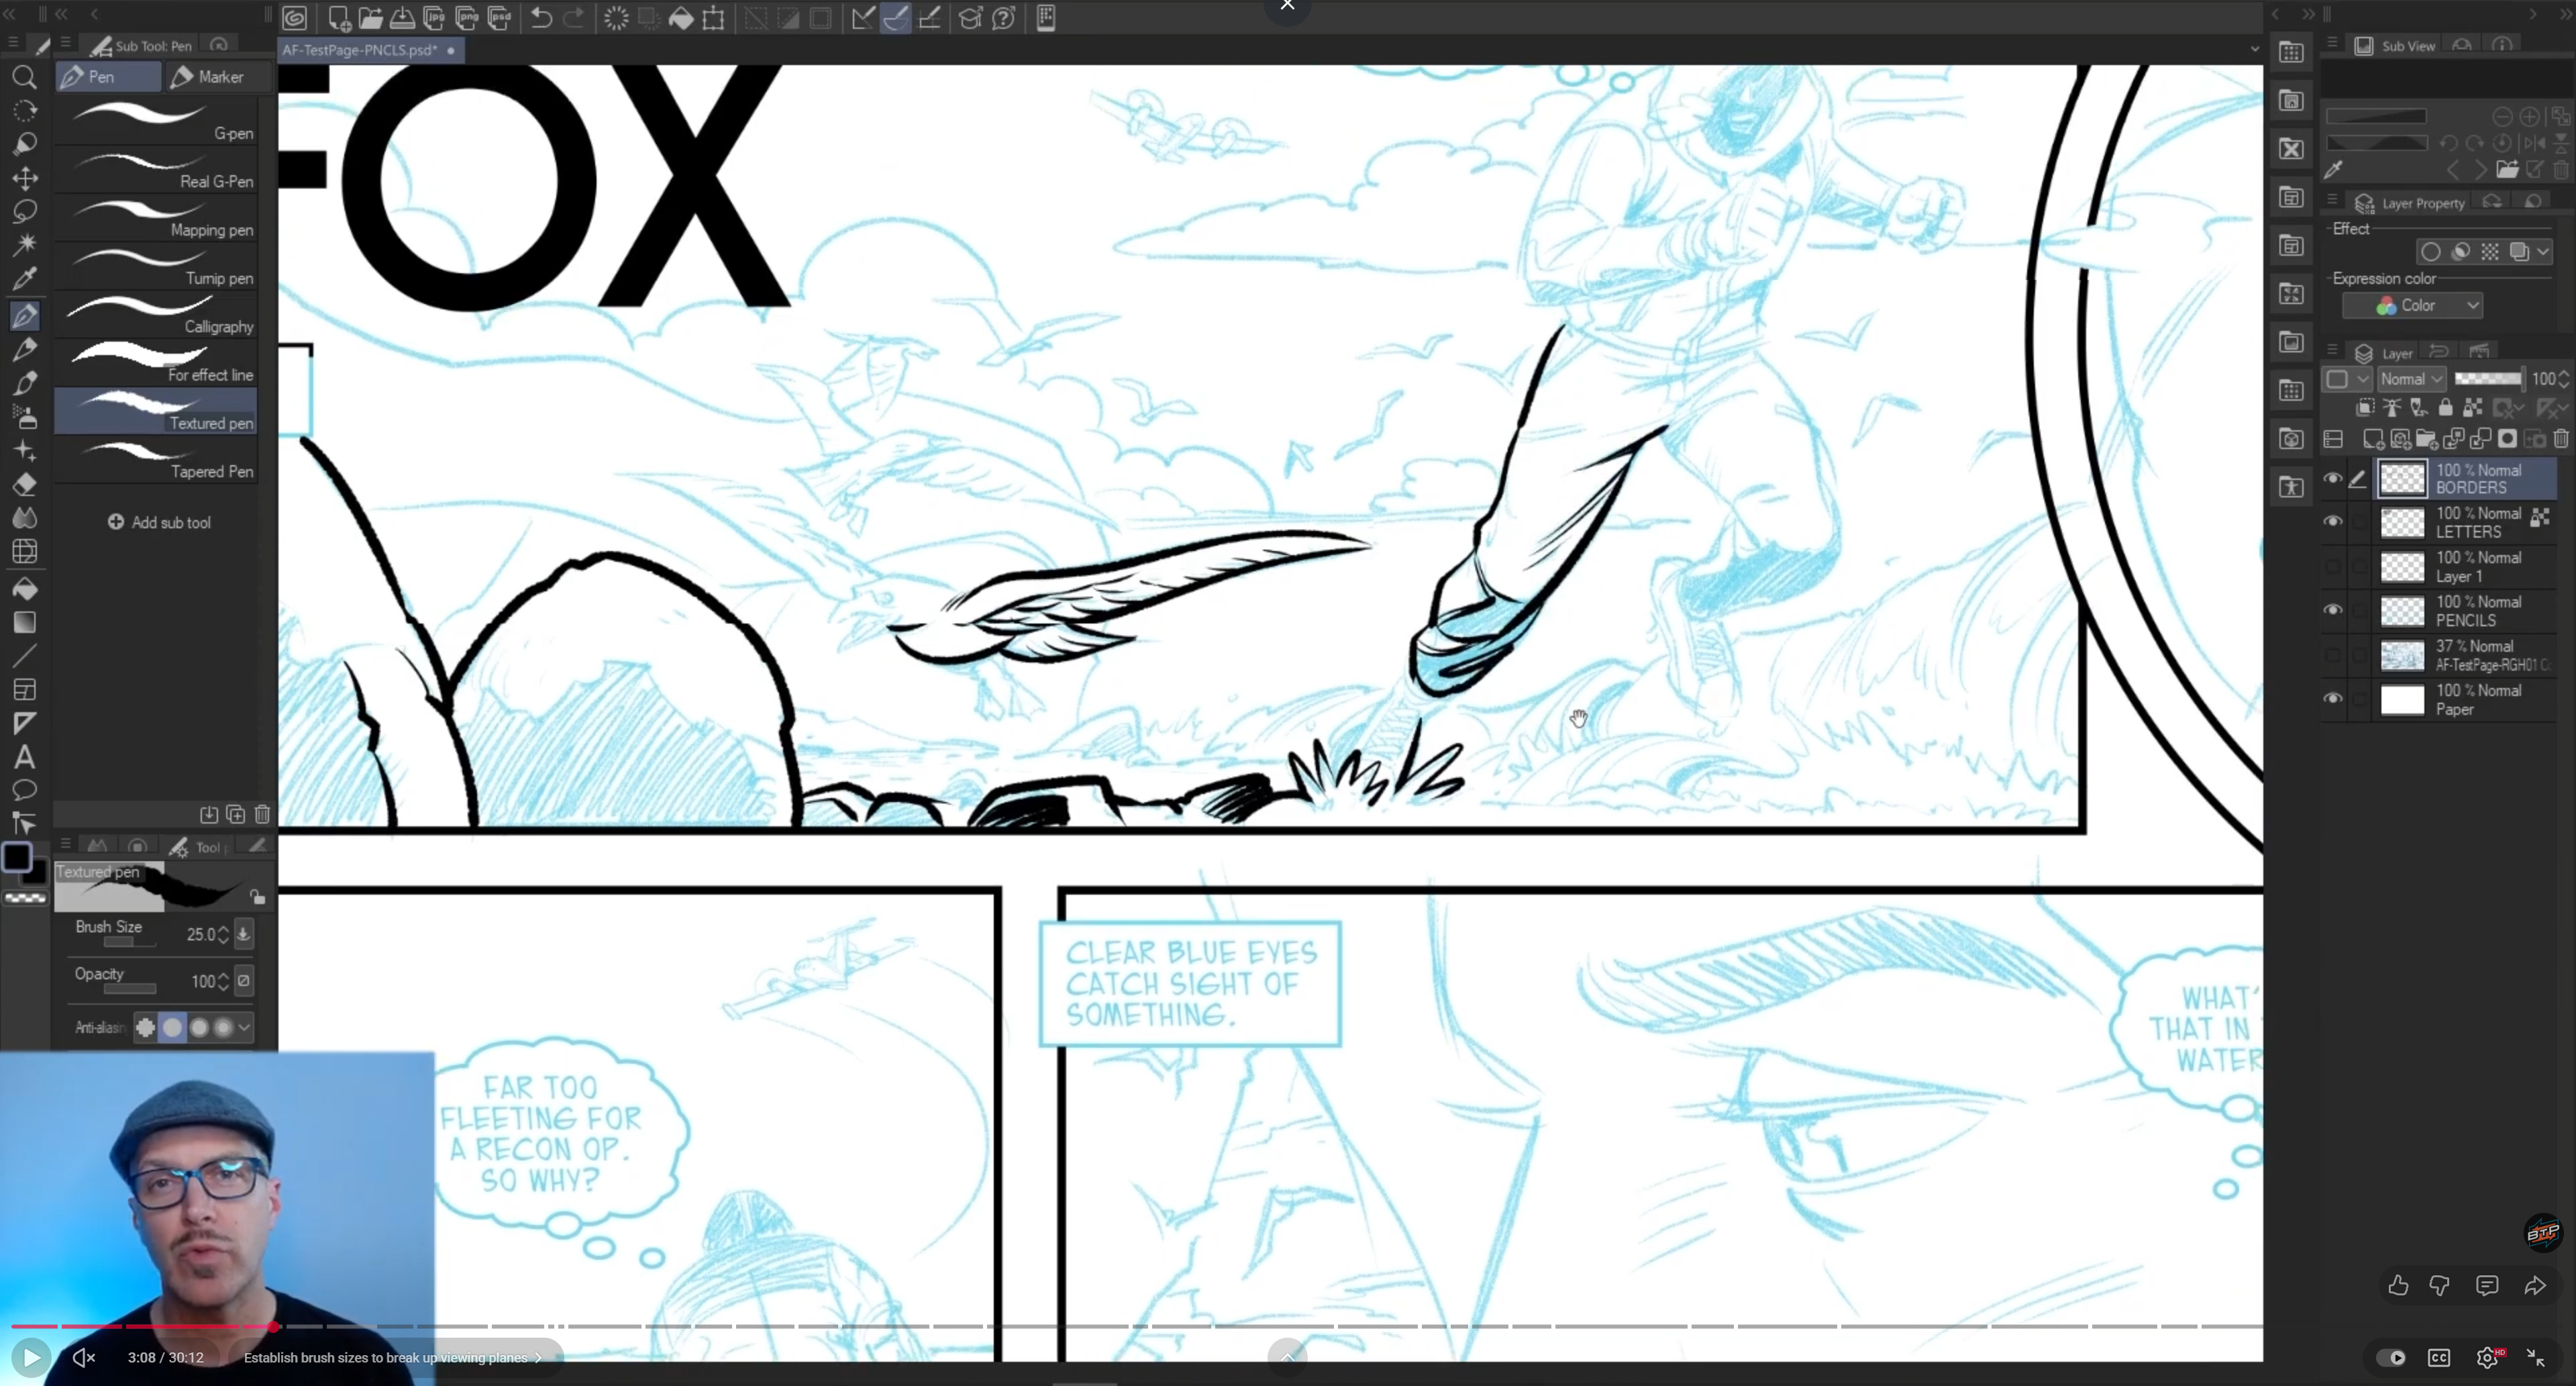
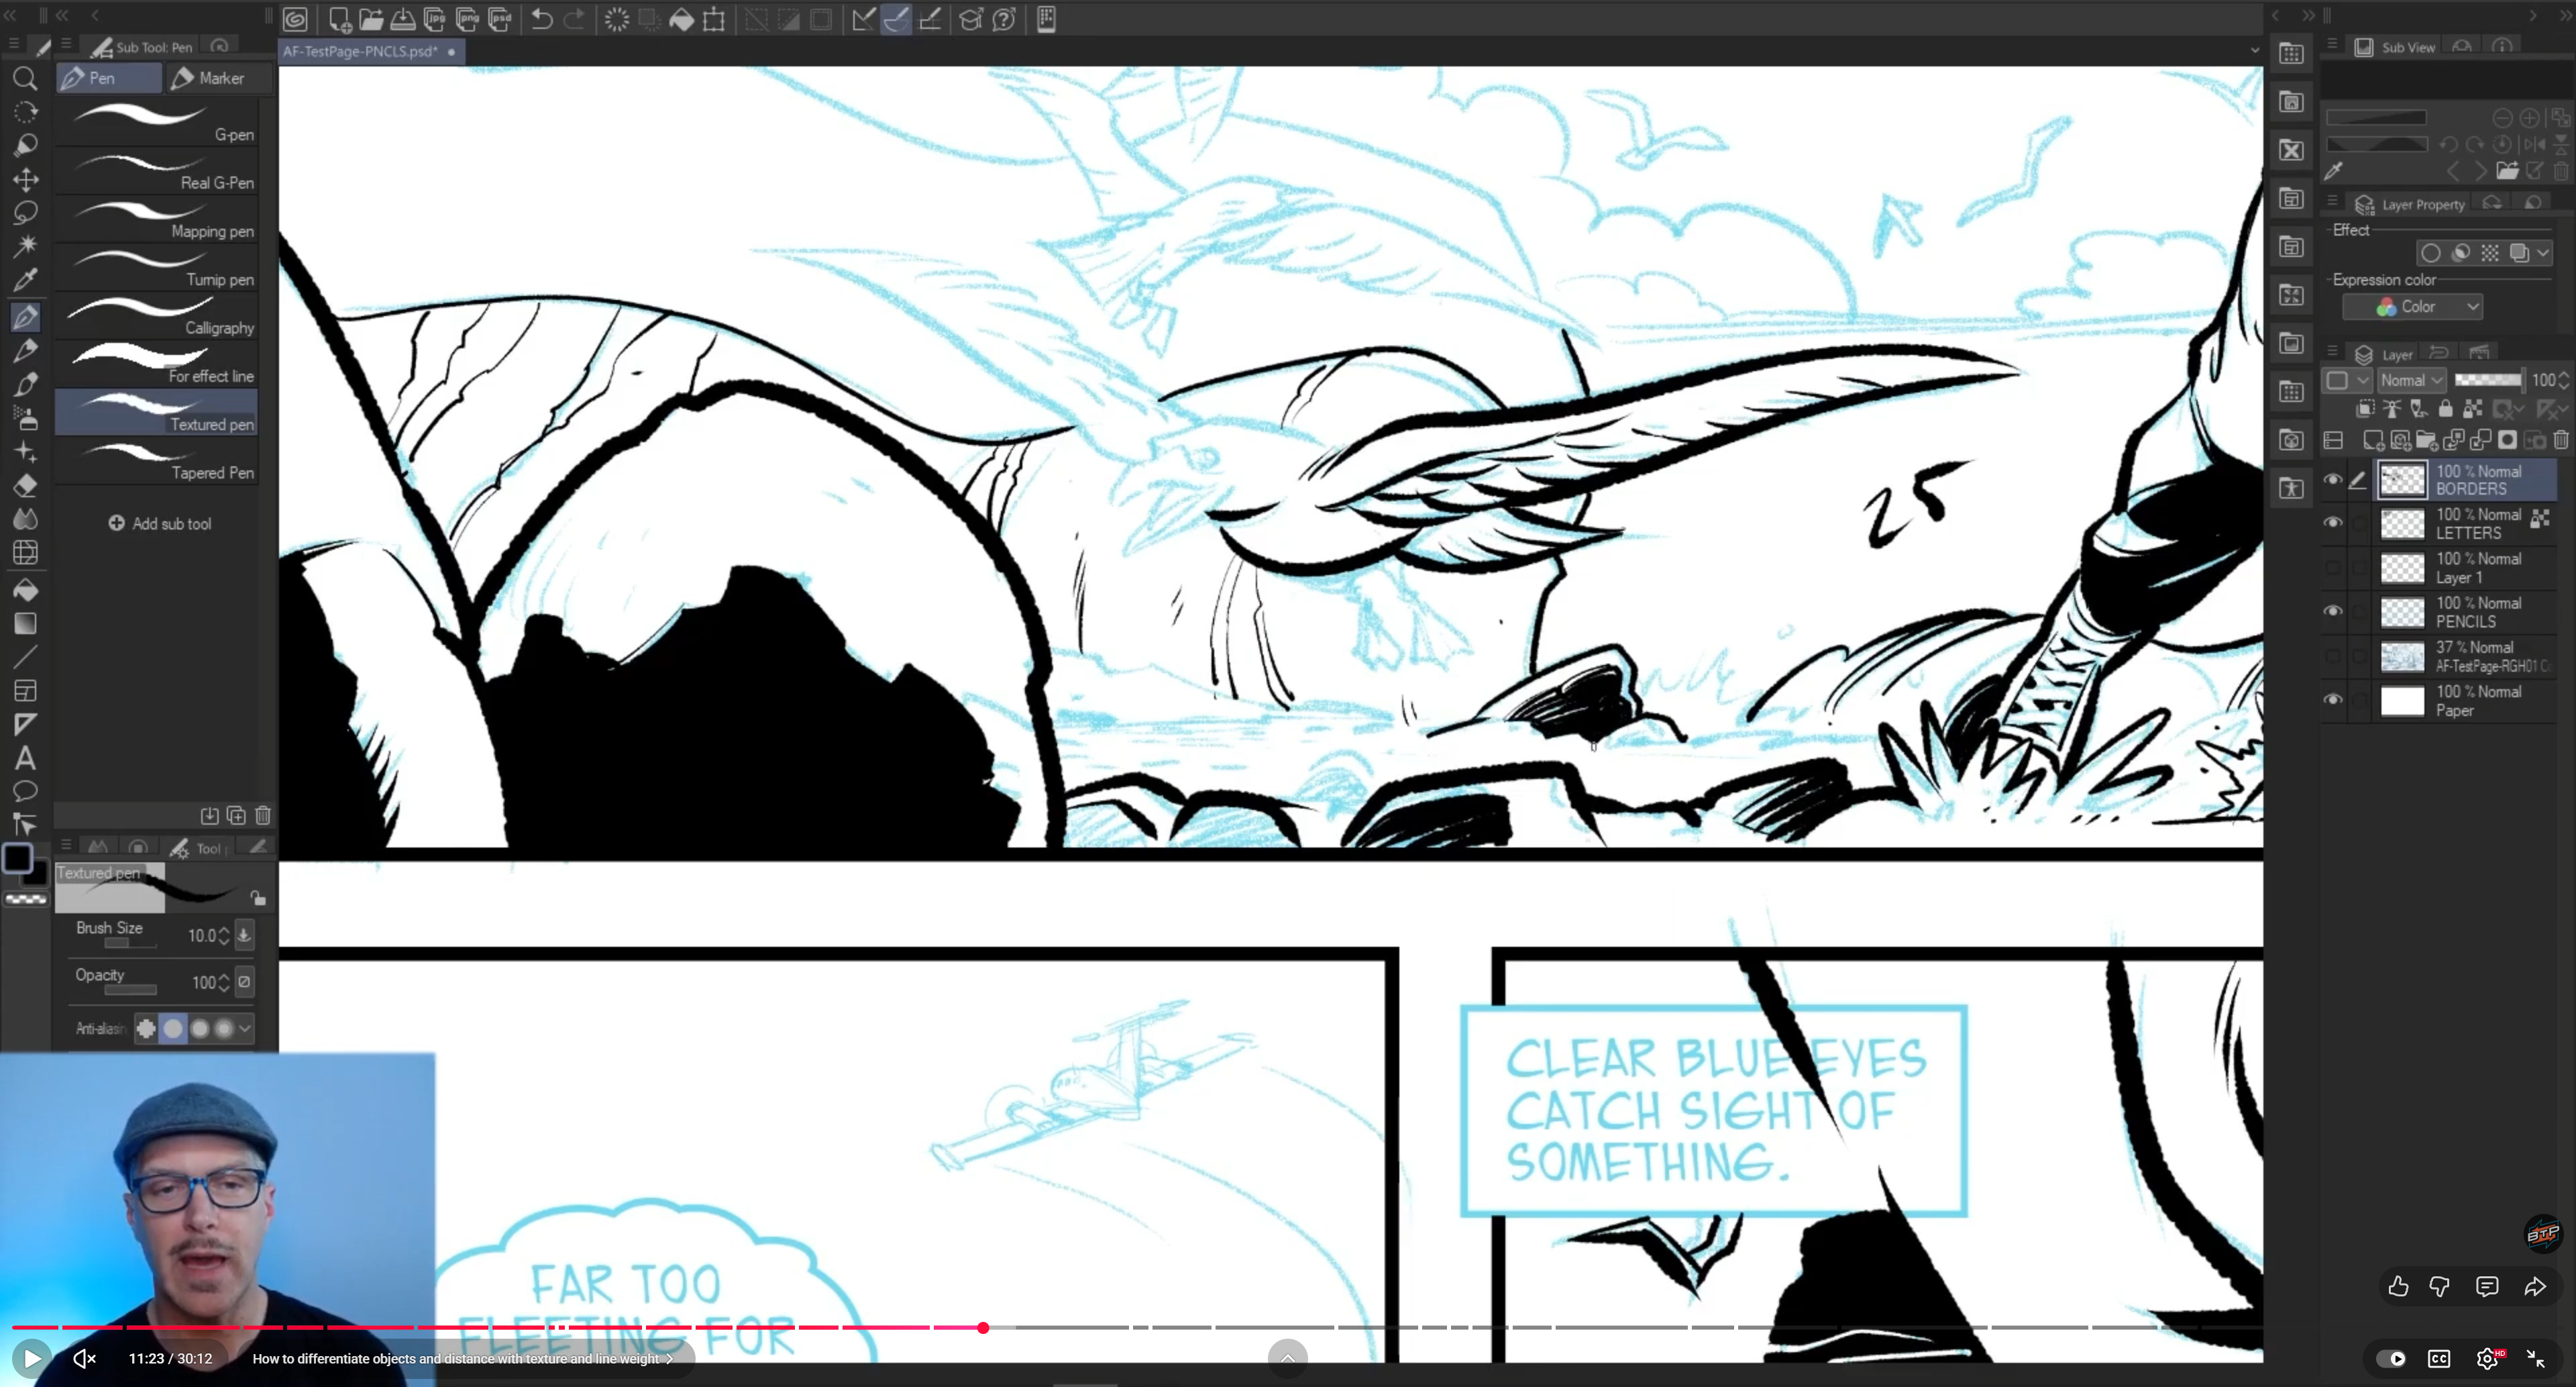
One of the first things I do is lock in specific brush sizes for different planes: foreground, middle ground, background. That’s my guardrail against the “infinite zoom” trap of digital inking. If you keep zooming in, you’ll keep adding detail that will never print—and you’ll burn hours doing it! I learned that the hard way on a graphic novel job. I talk about that here.
On this strip:
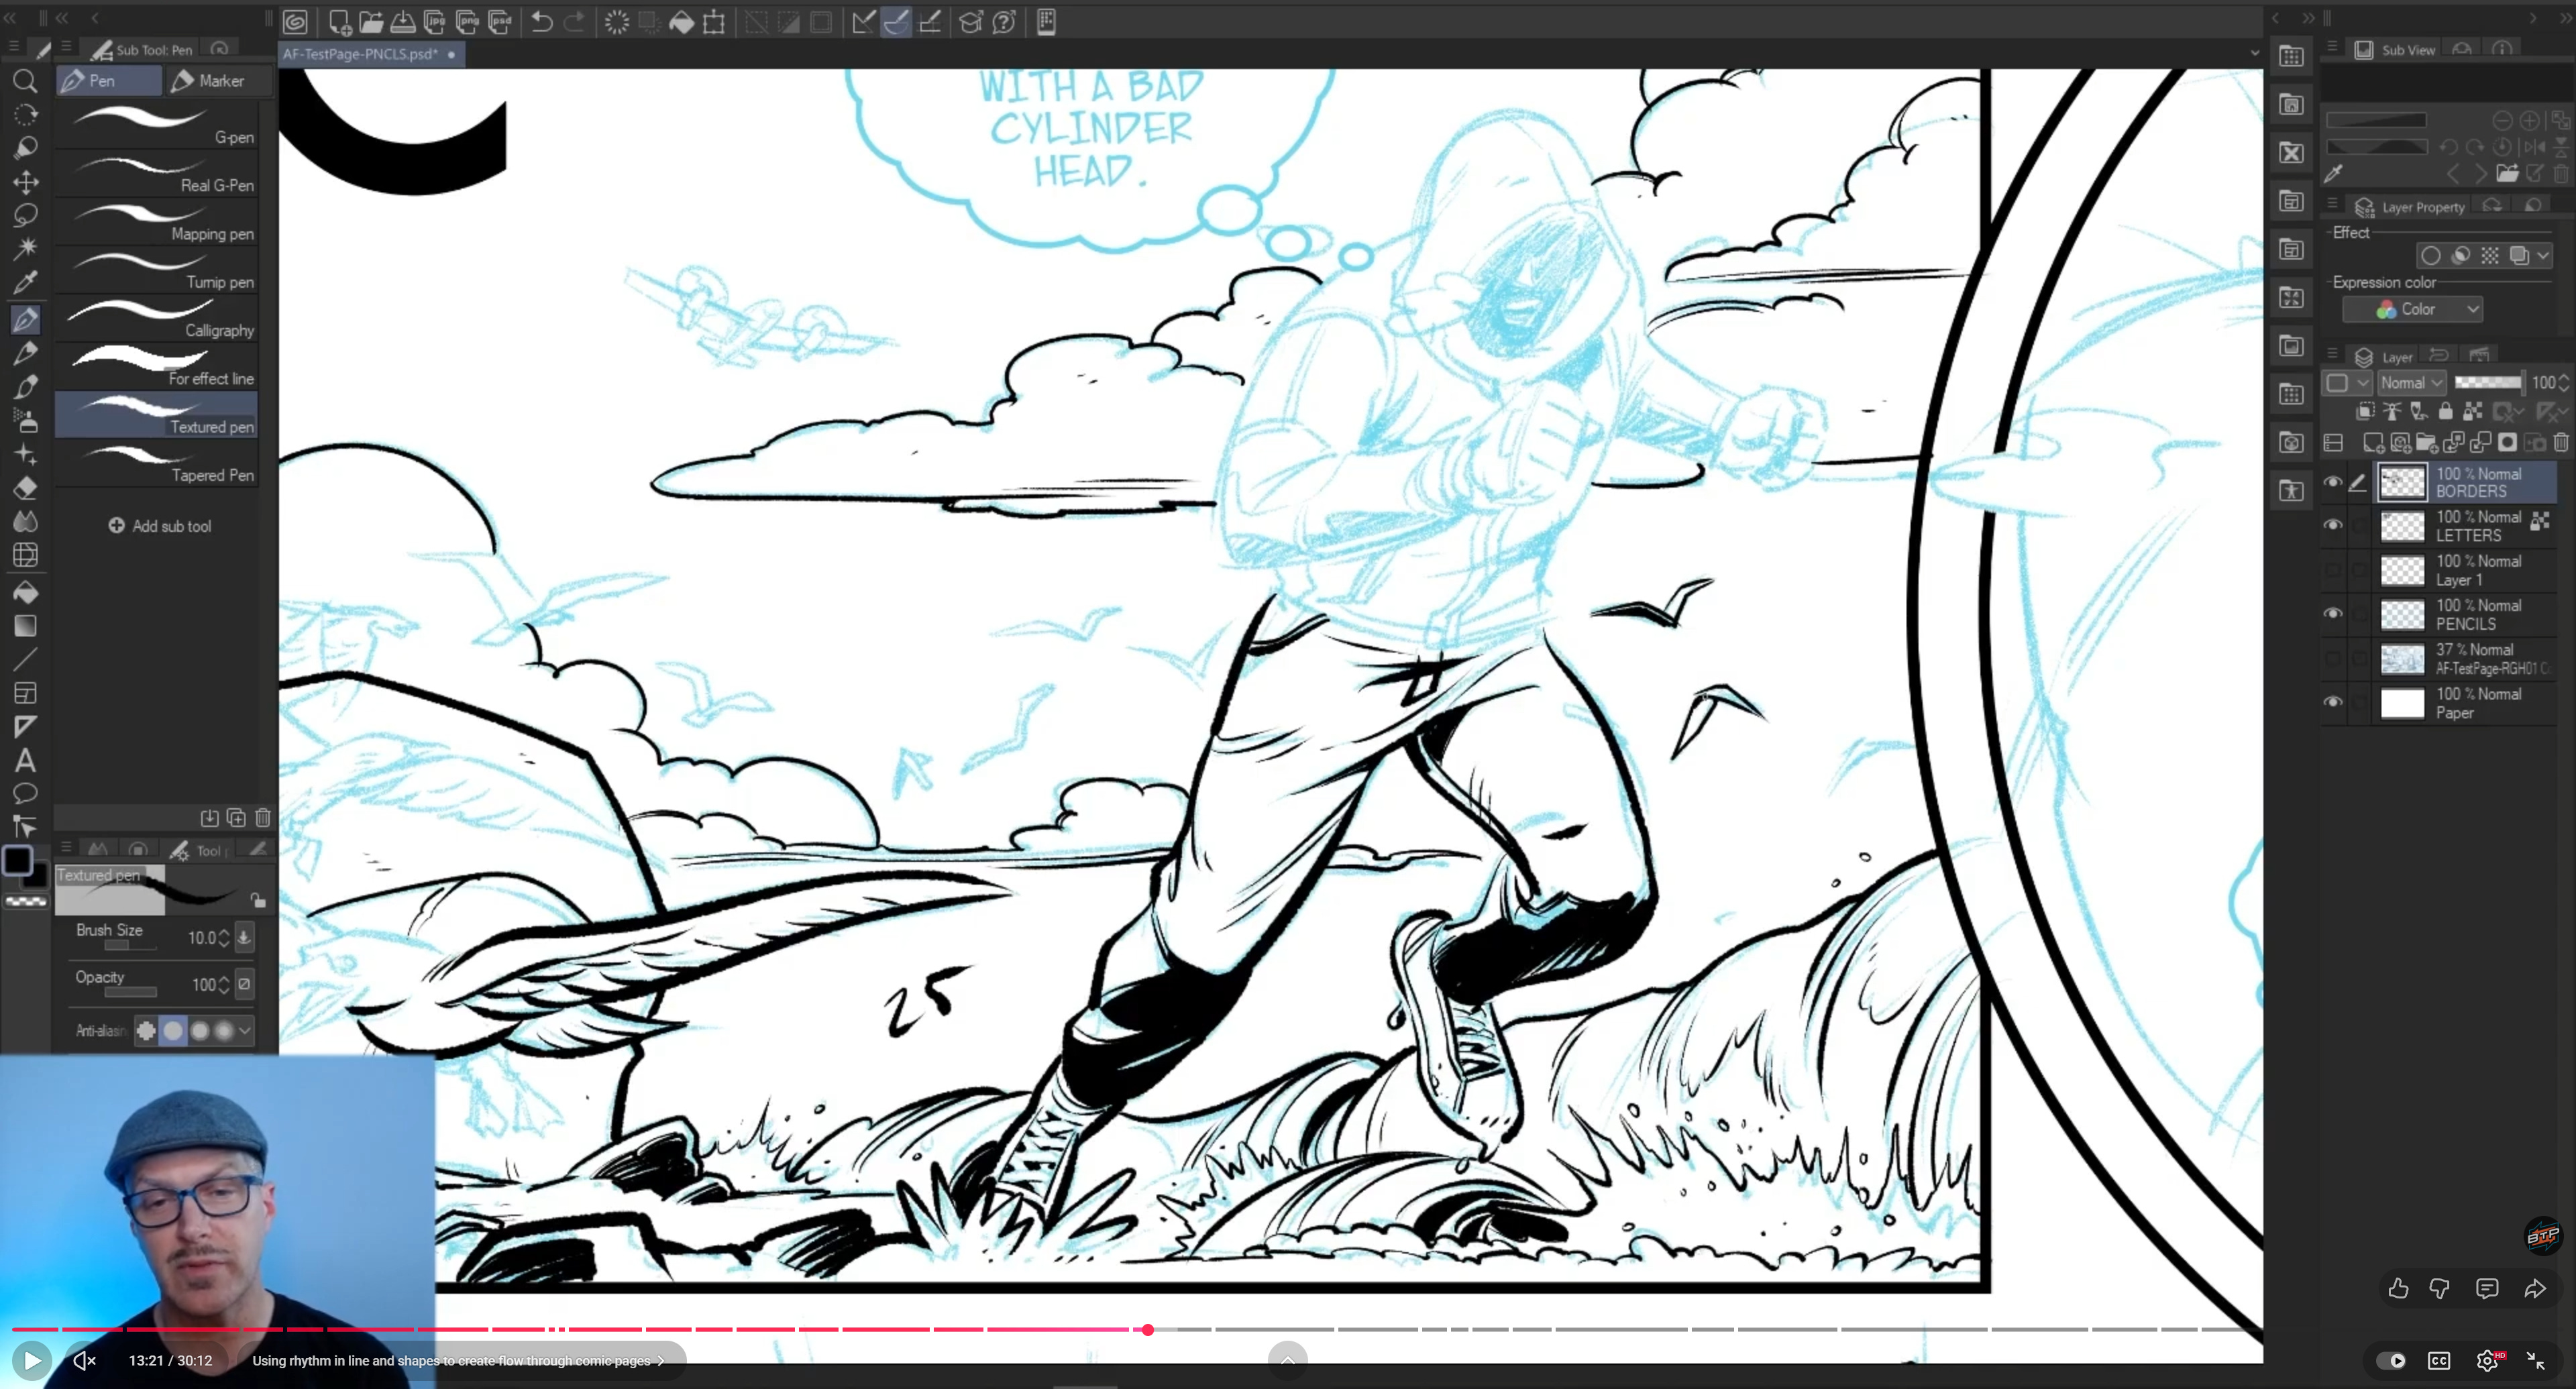
Foreground: ~25–30 px brush
Medium shots: ~20–25 px brush
Background: ~10 px and under
For example, in a medium-long shot, I’m using a 25 px brush and judging how that line weight feels across the whole strip—not just that panel. You can see that comparison process here.
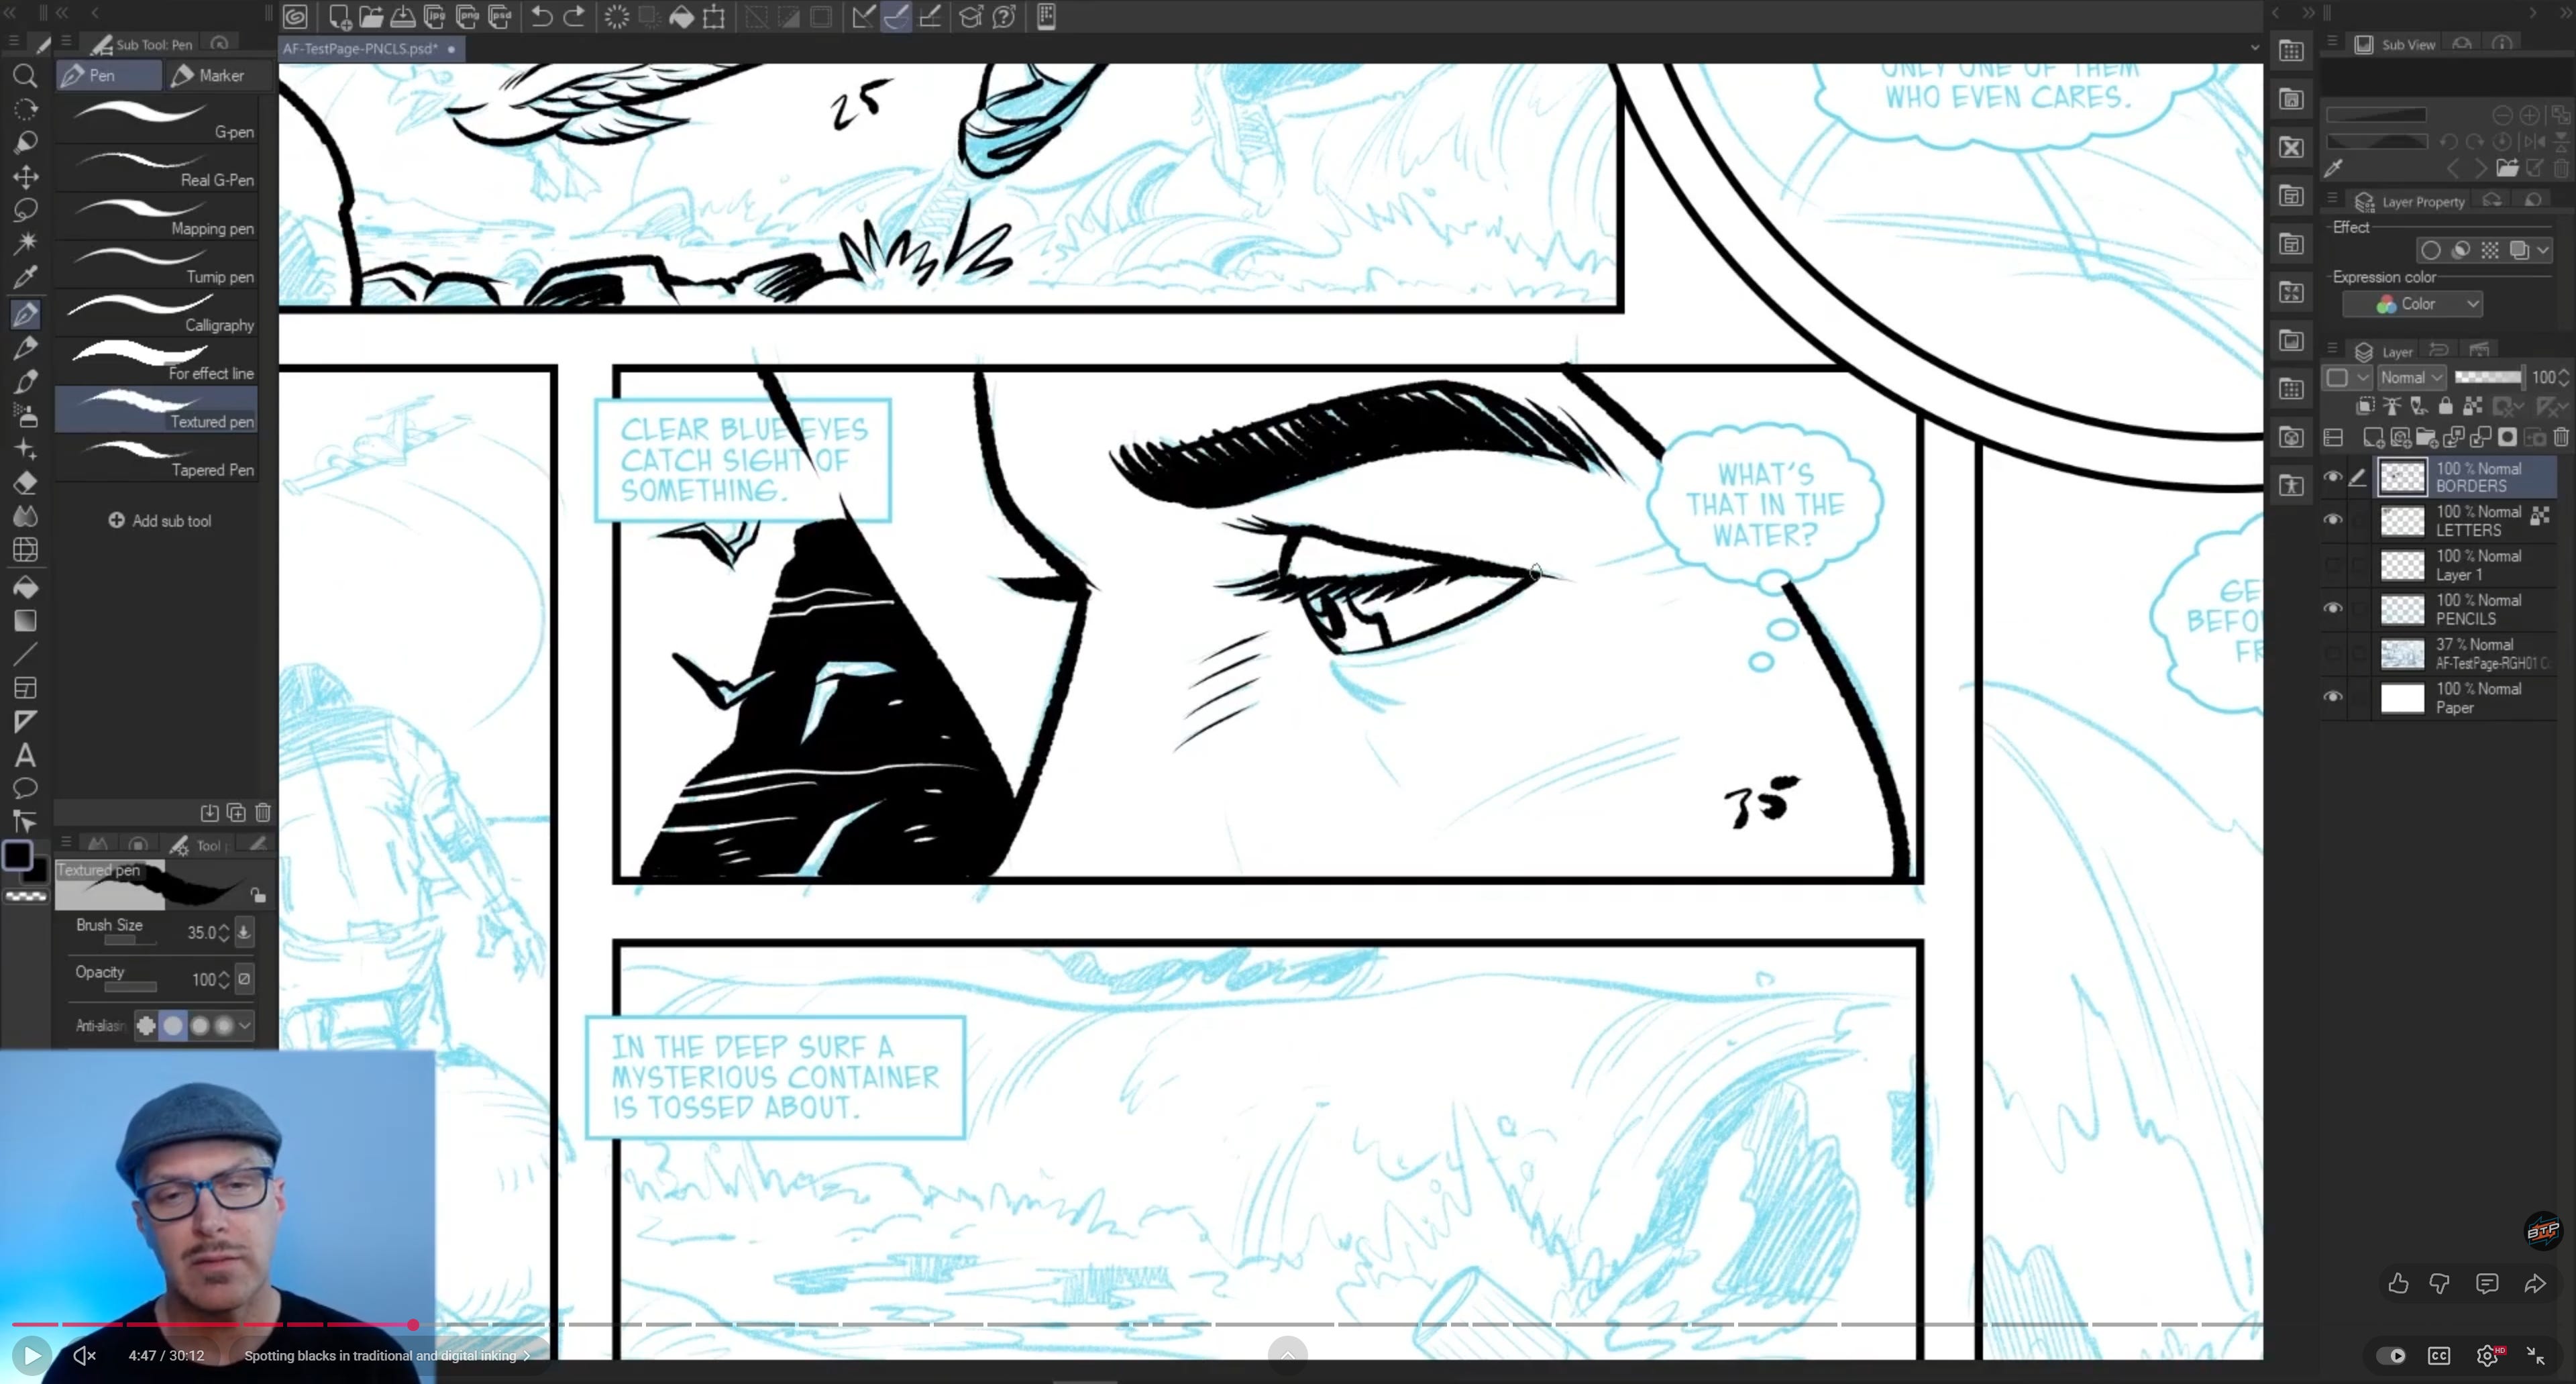
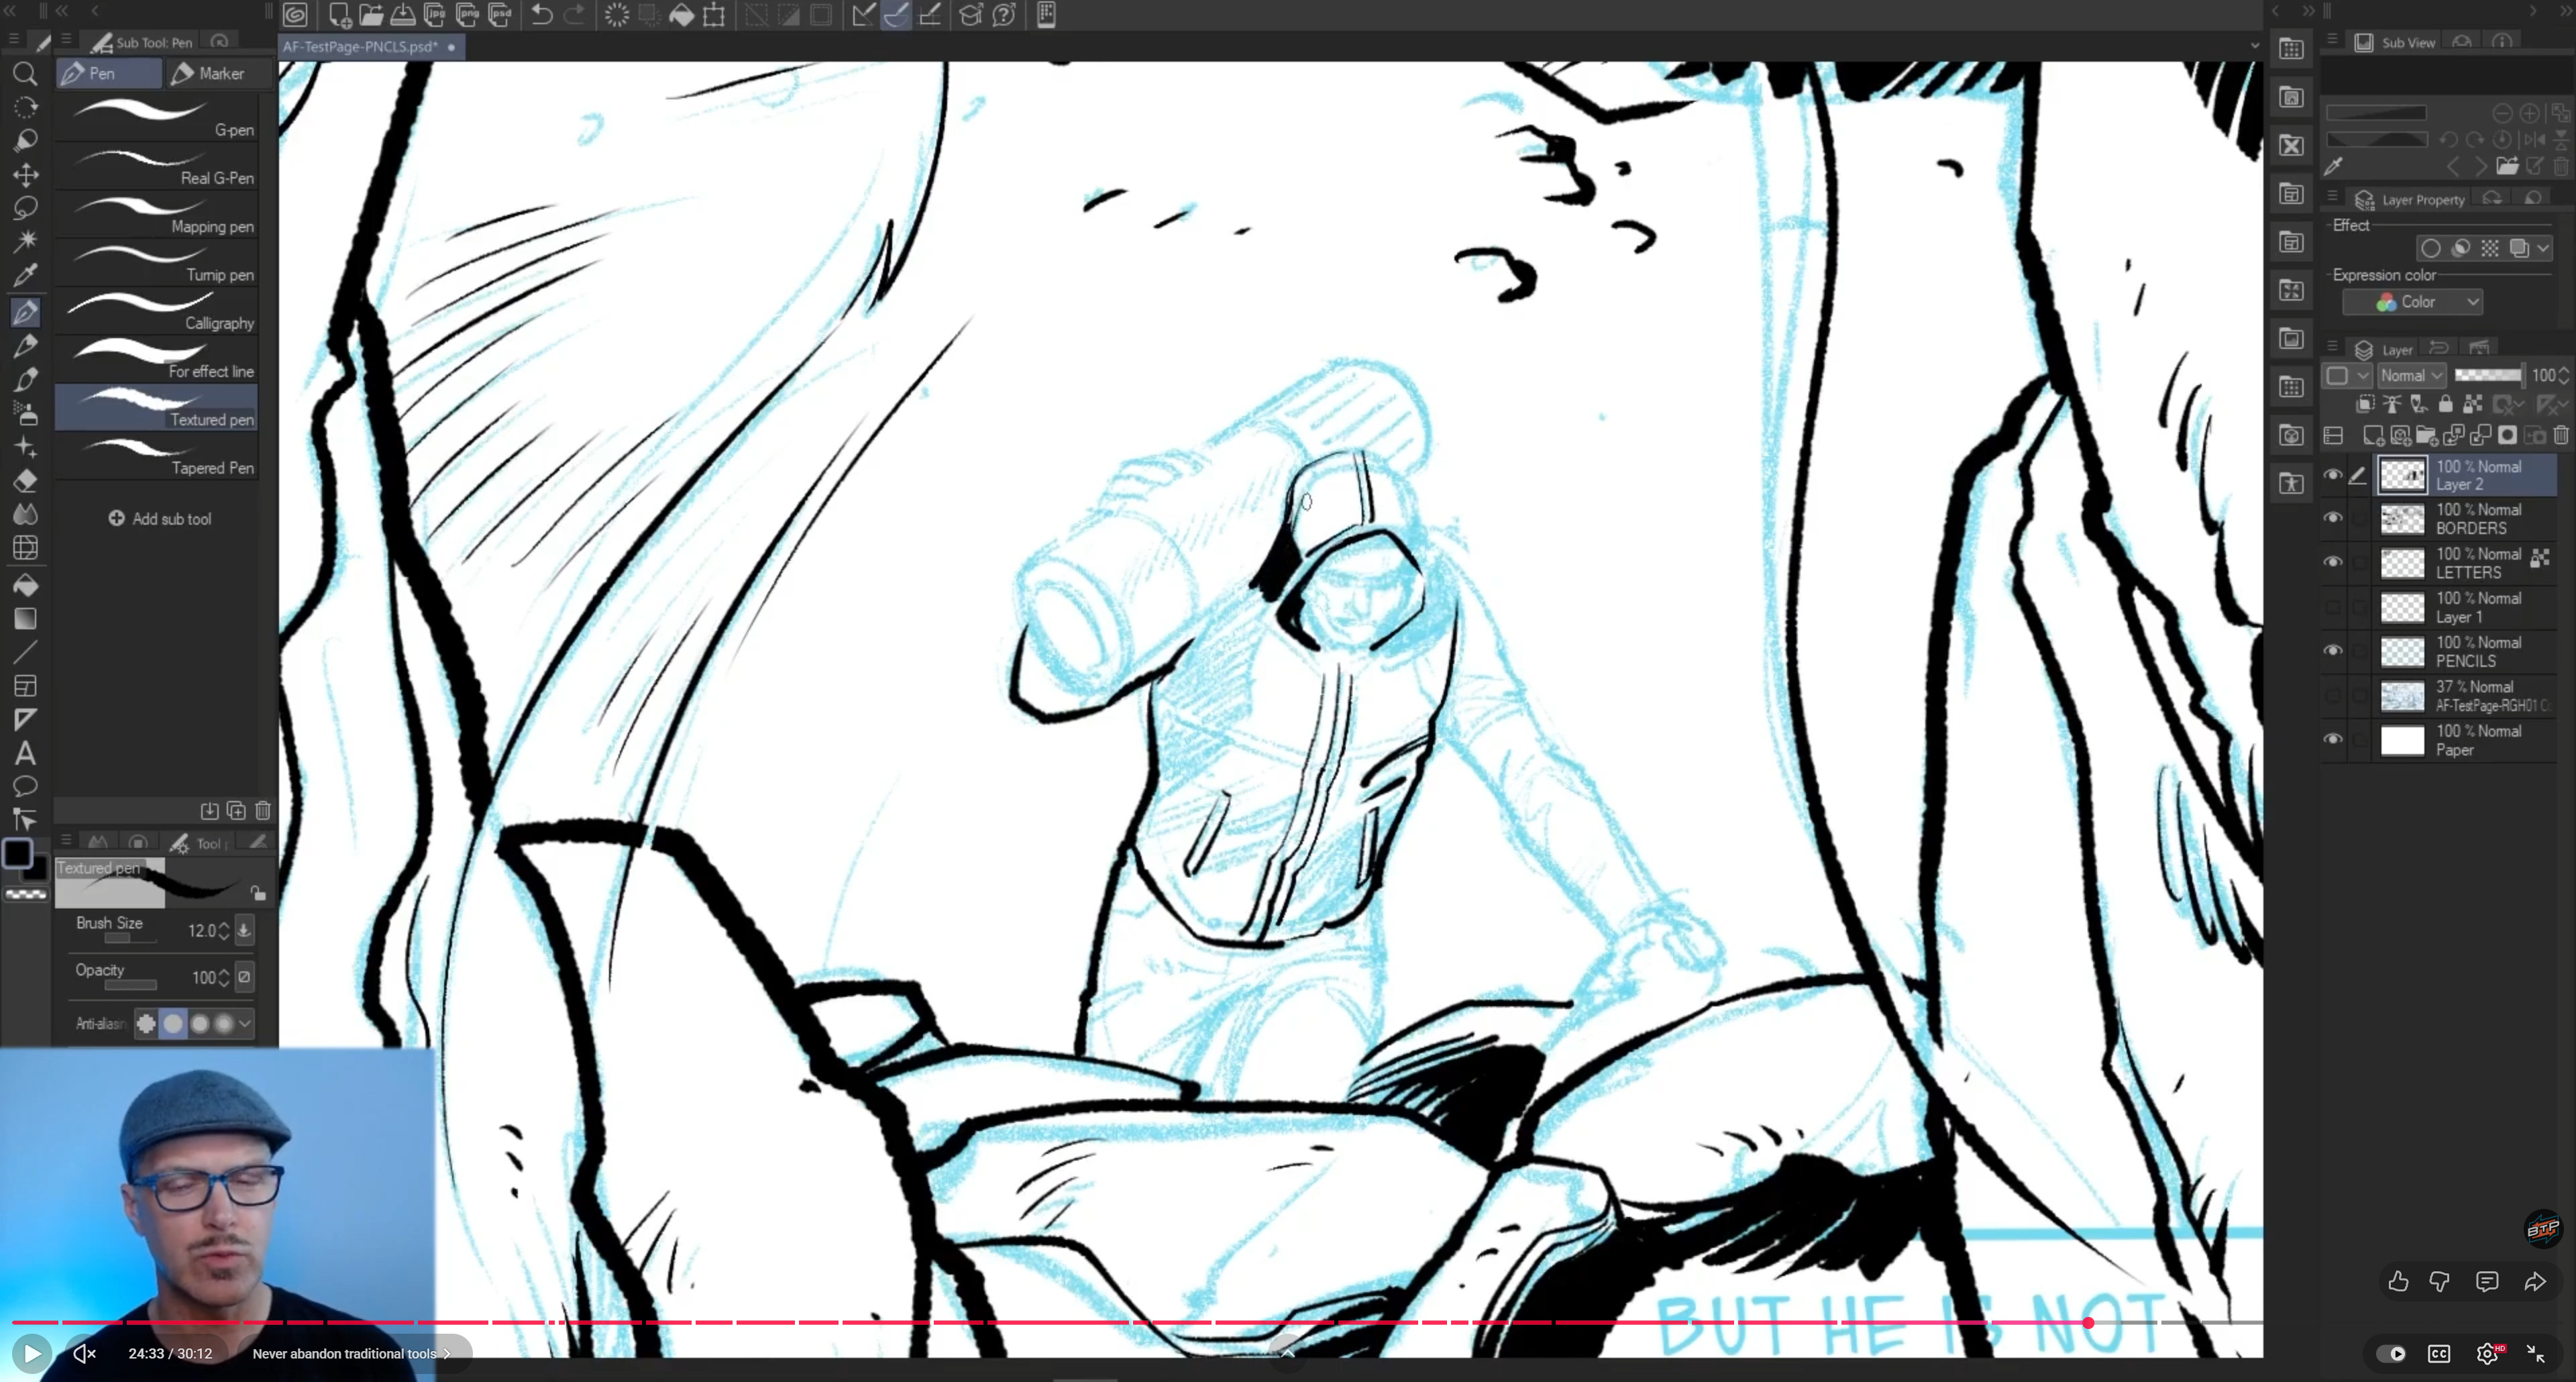
When I move into a close-up, I bump the brush up to around 30 px for the main contours. That heavier line sells the proximity and gives the close-up more presence. Watch that transition to the close-up brush here.
One practical habit: I’ll literally write the brush size in the panel margin “35” for a close-up, “25” for a medium, etc. I demo that here. On a single strip it’s optional; on a multi-page comic, it’s a lifesaver for consistency.
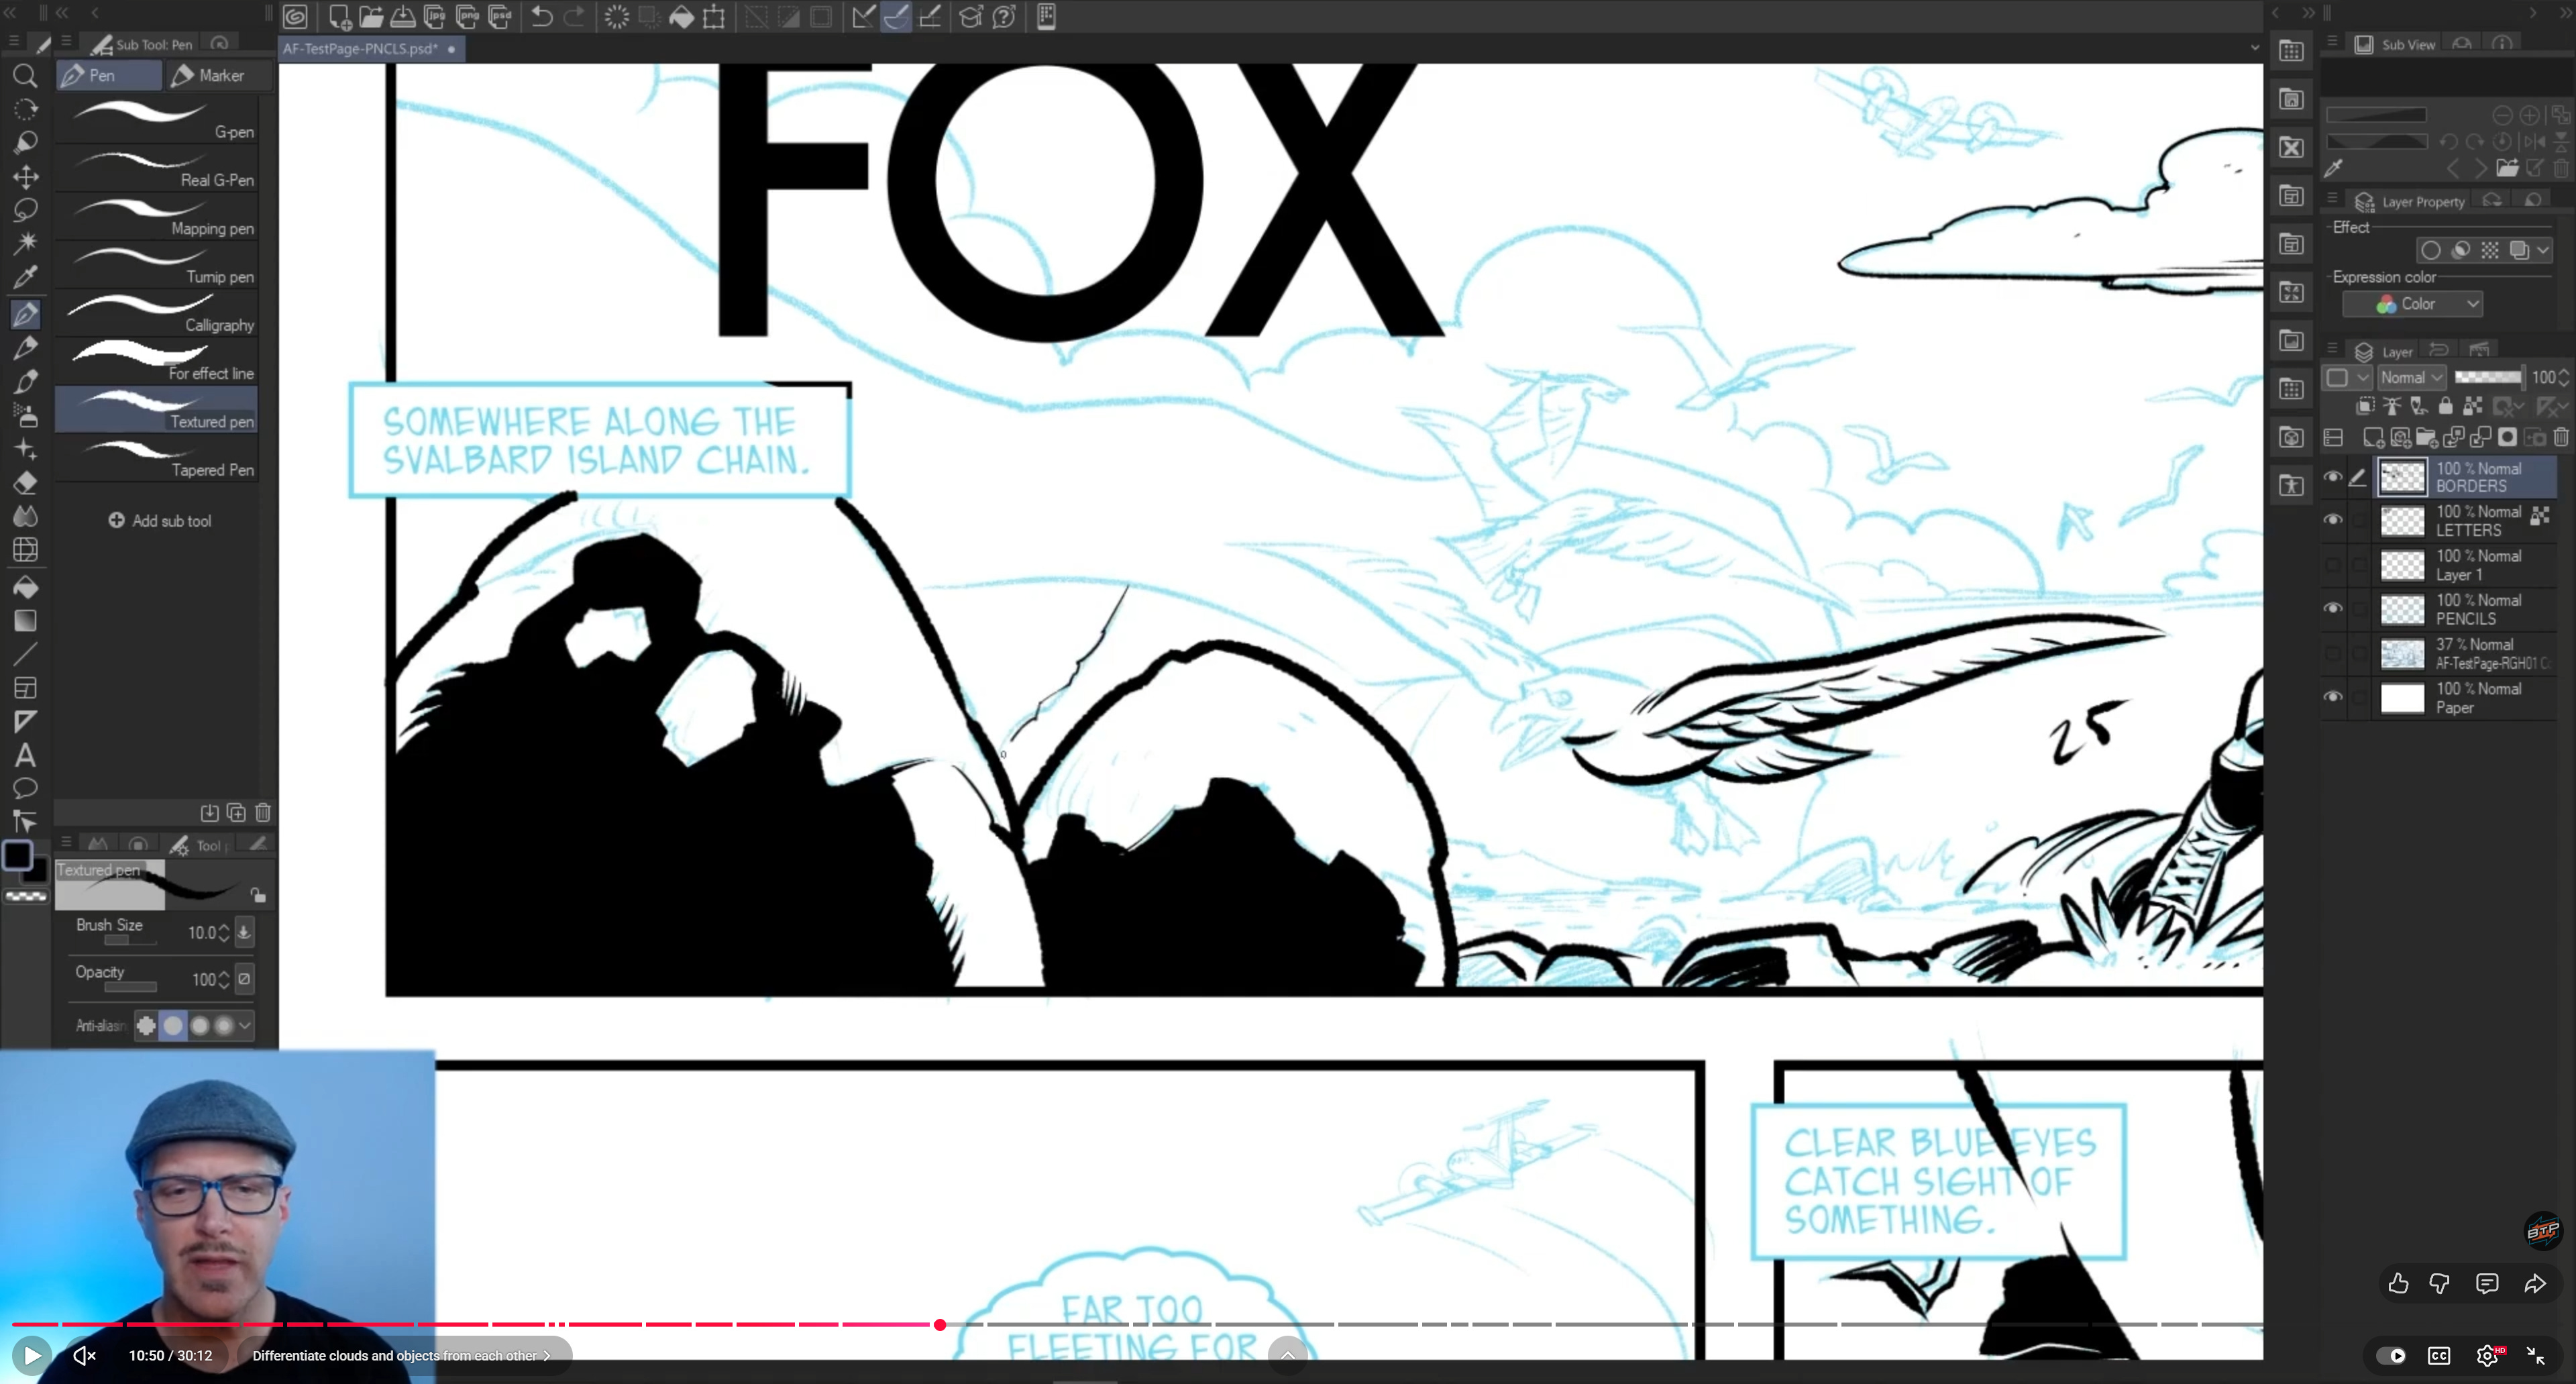
Page Focus and Composition: Where the Eye Should Land
Before I get lost in rendering, I decide where the page wants you to look first. In this strip, there’s an oval panel that acts as a compositional “target”—it’s the primary focal point. Circular or target-like shapes are powerful visual magnets. I walk through that idea here.
Everything else—the line weight, the spotting of blacks, the textures—supports that page focus. I’m always asking: “Does this line help guide the eye, or is it noise?”
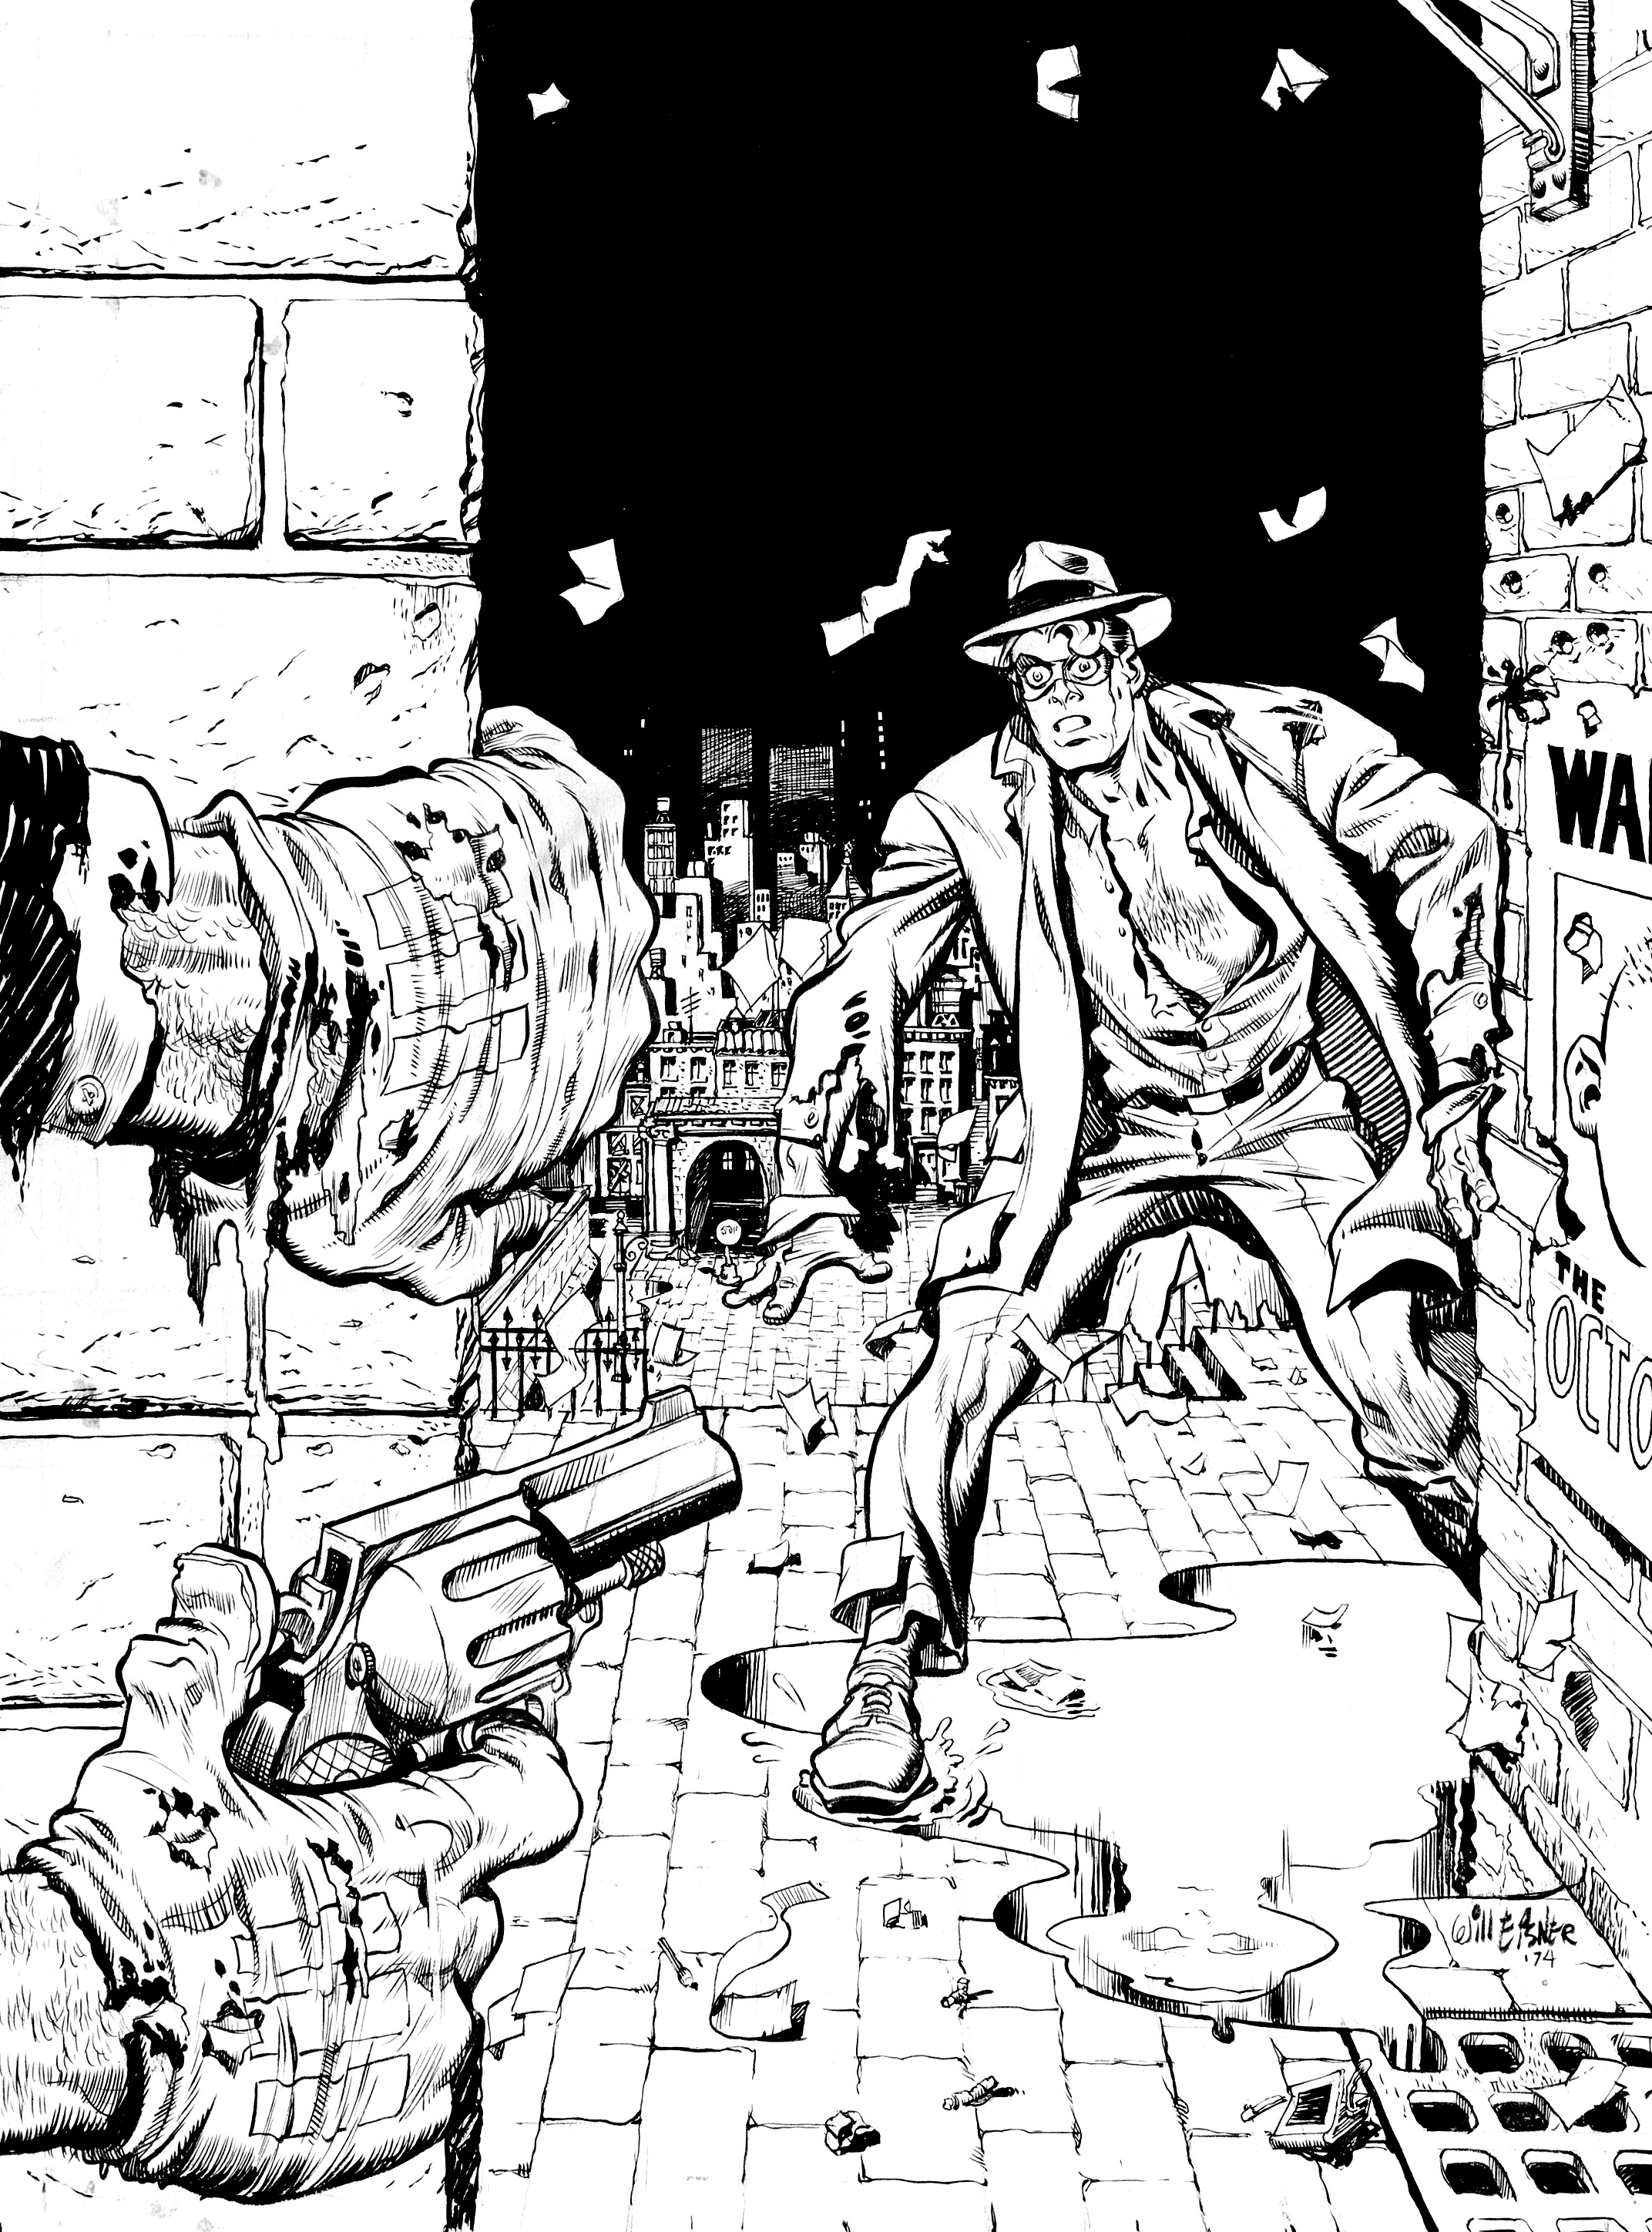
Spotting Blacks: The Old-School Skill That Still Matters
If there’s one foundational inking skill that never goes out of style, it’s spotting blacks. Whether I’m working traditionally or digitally, I use areas of solid black to:
Direct the eye through the panel
Create weight and balance in the composition
Frame elements and establish rhythm
Watch me talk through spotting blacks here.
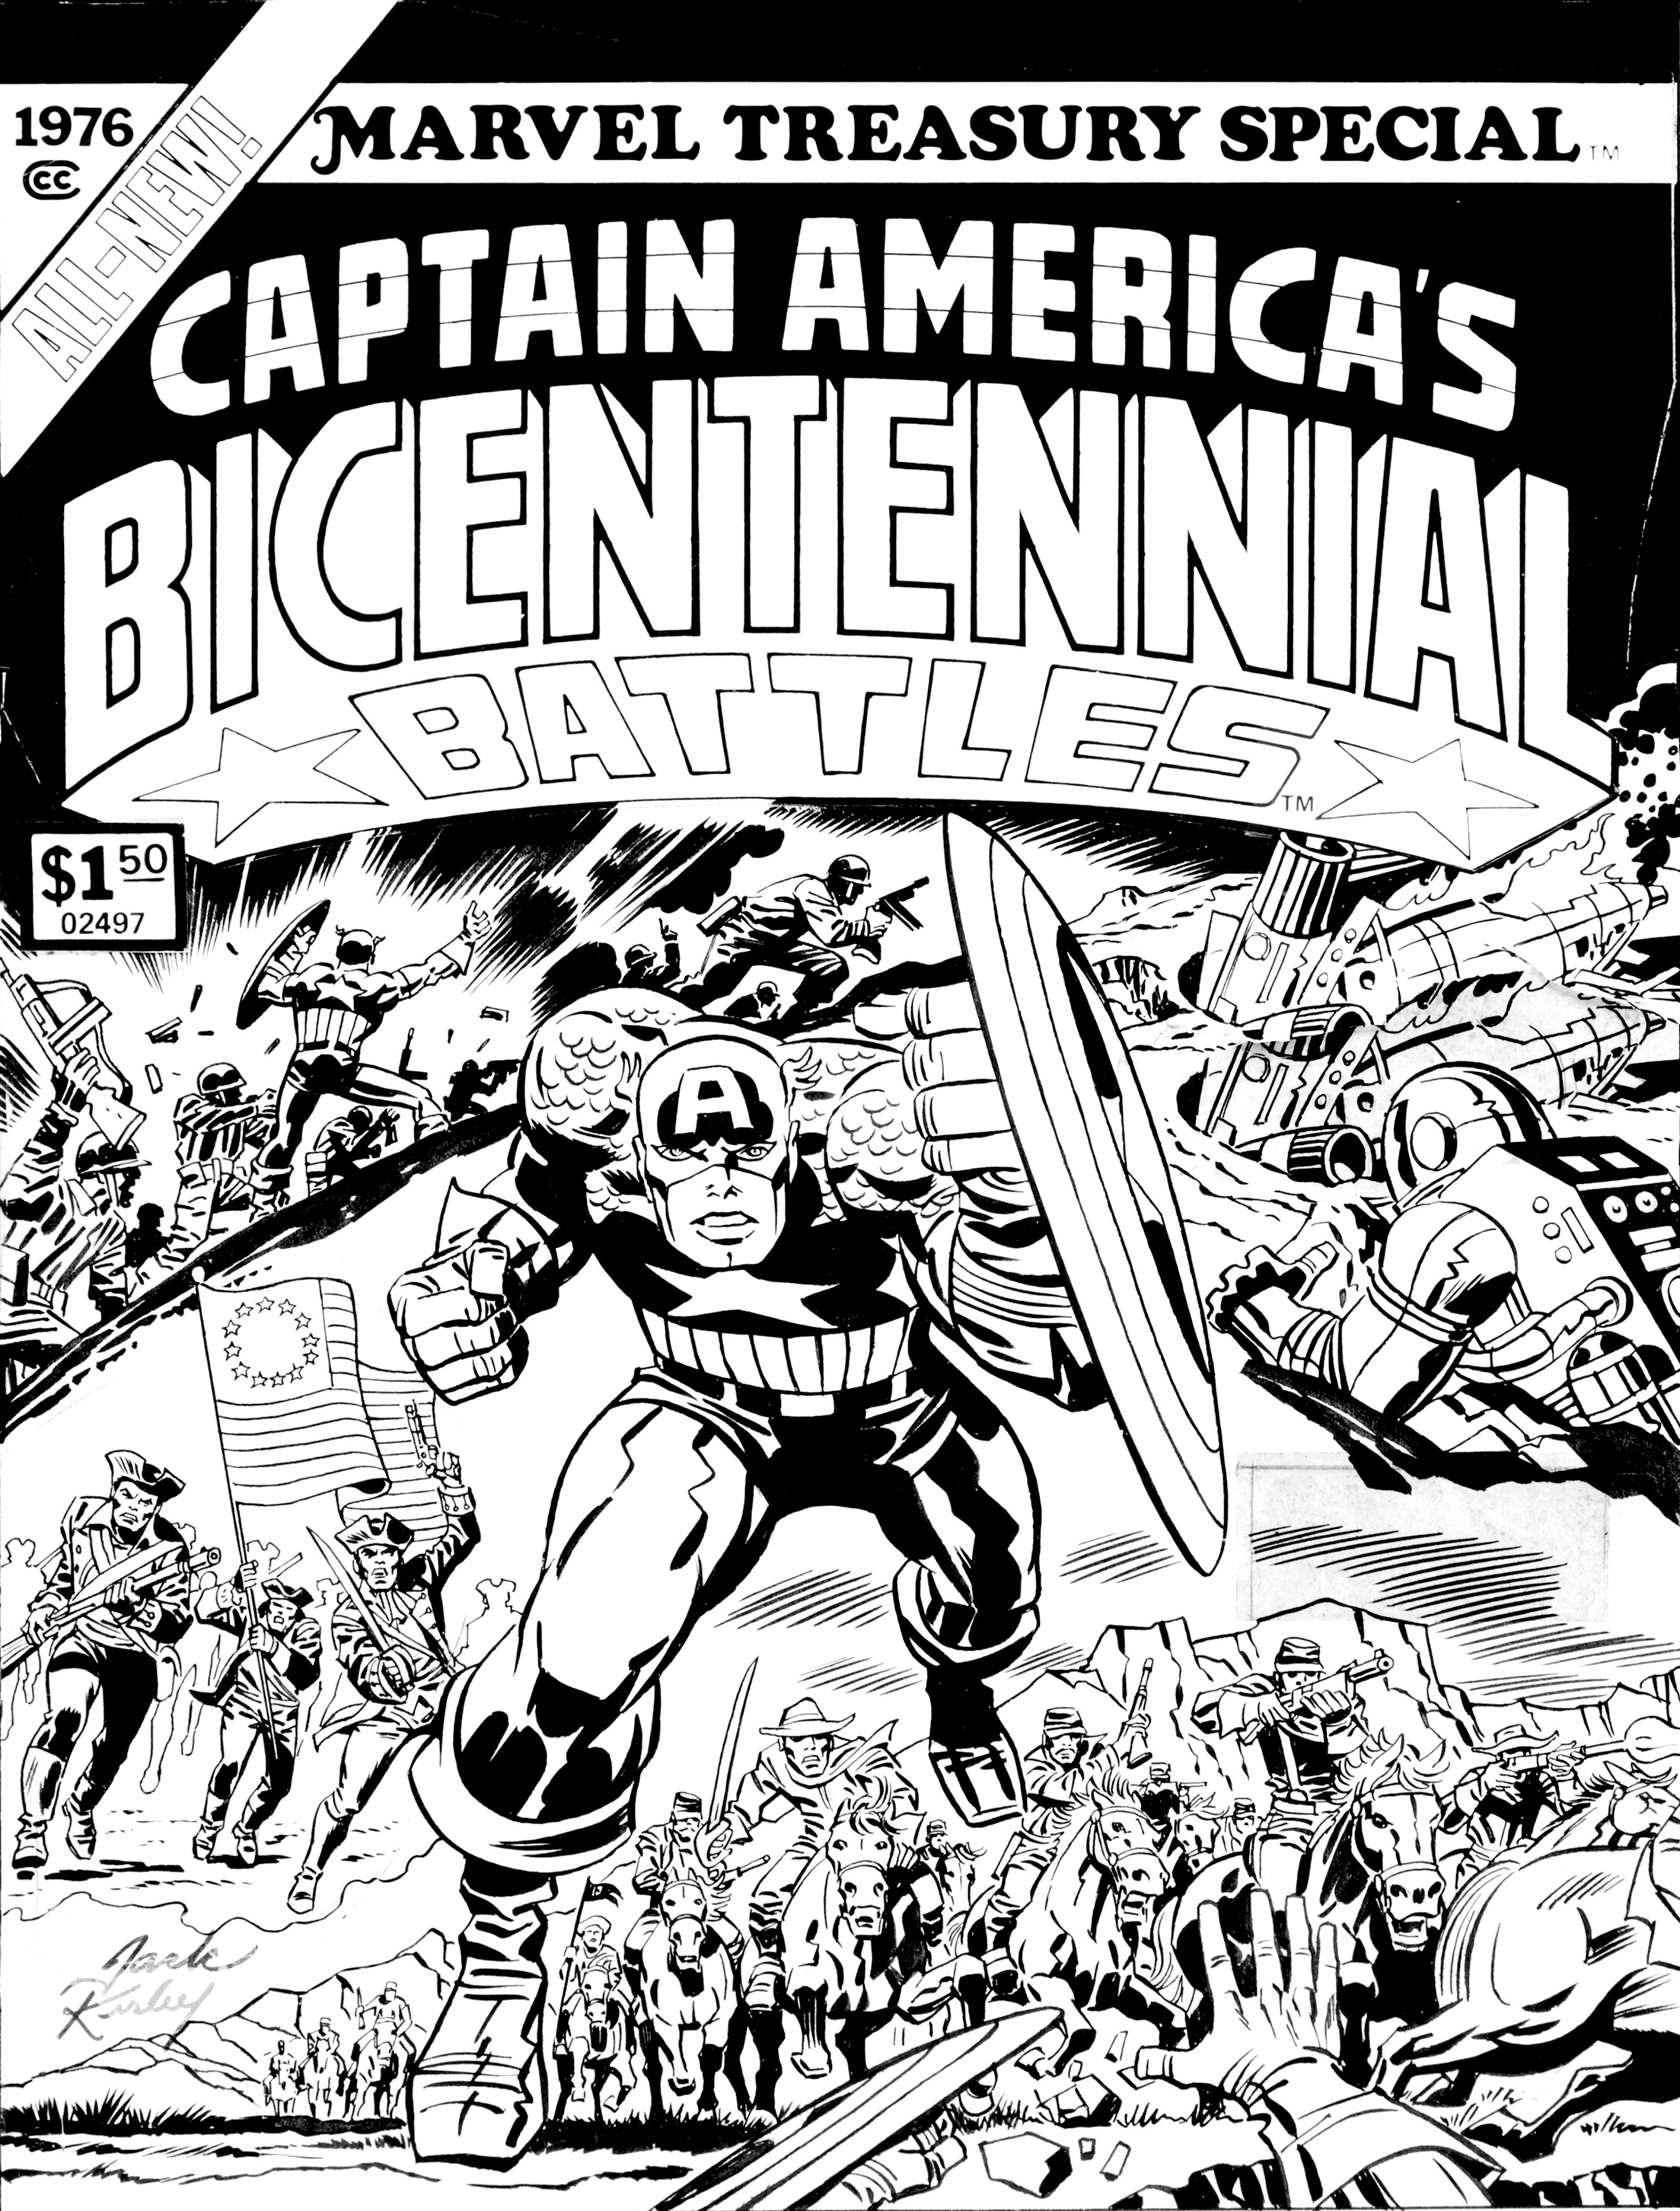
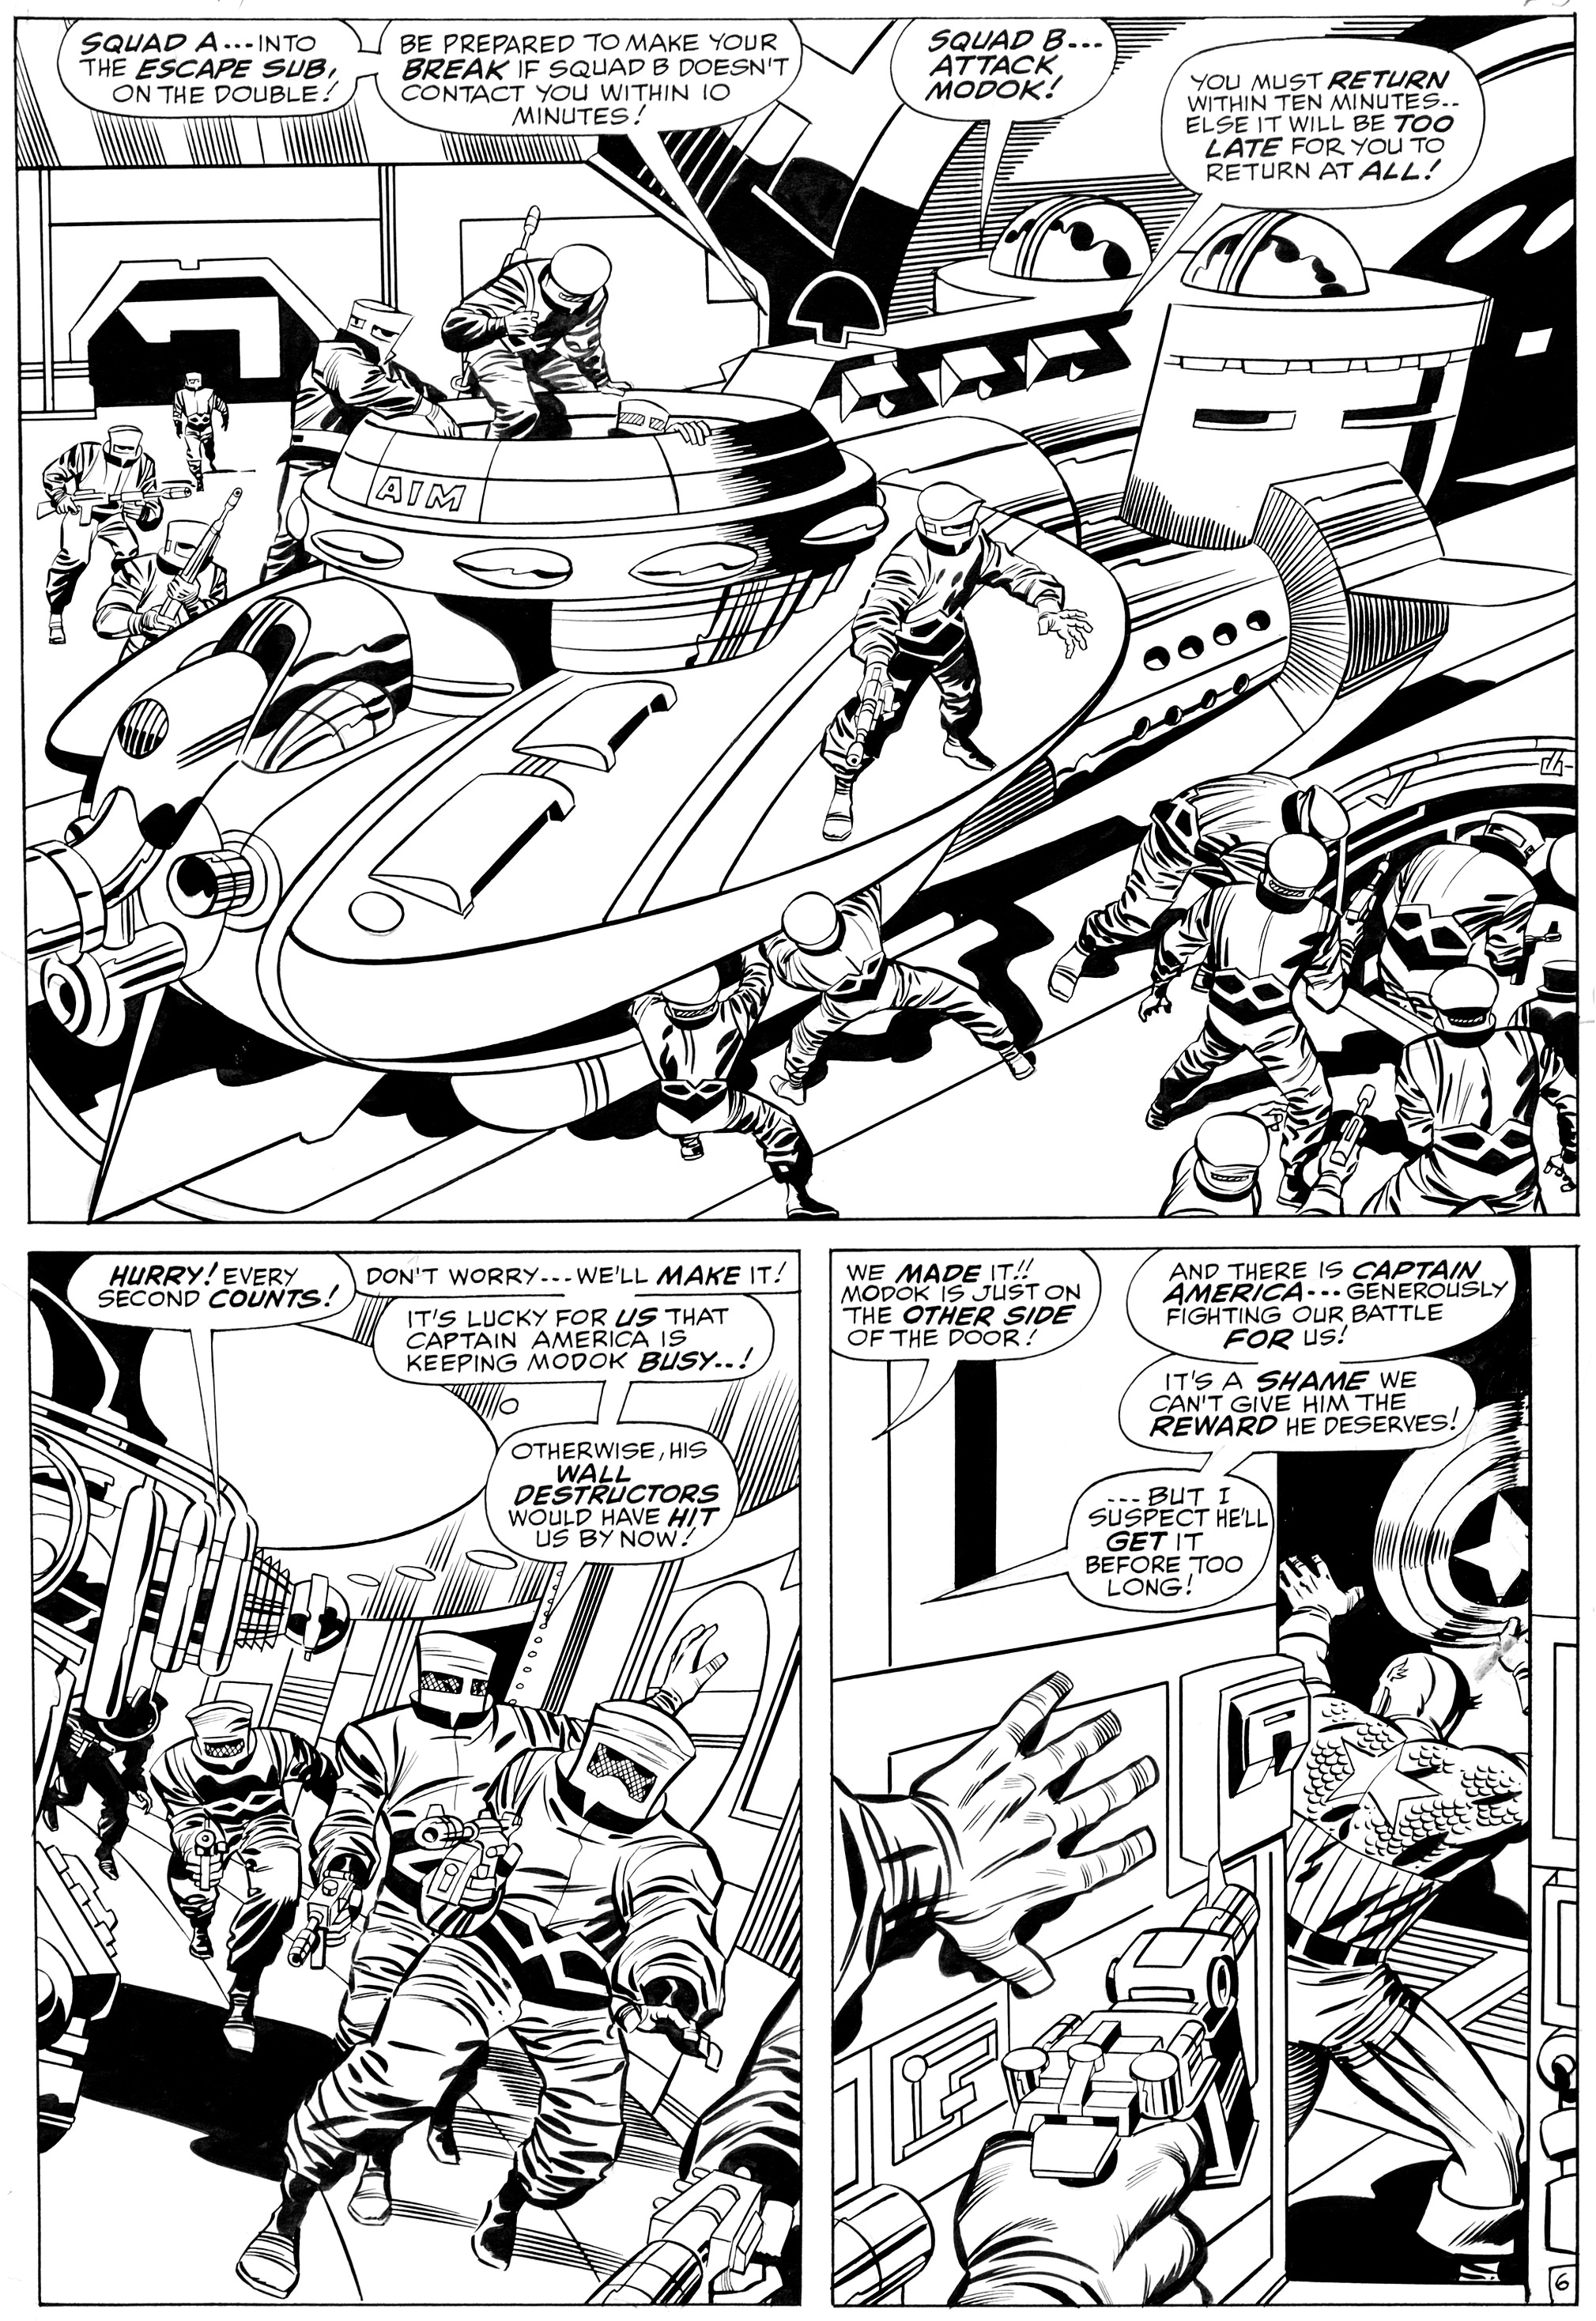
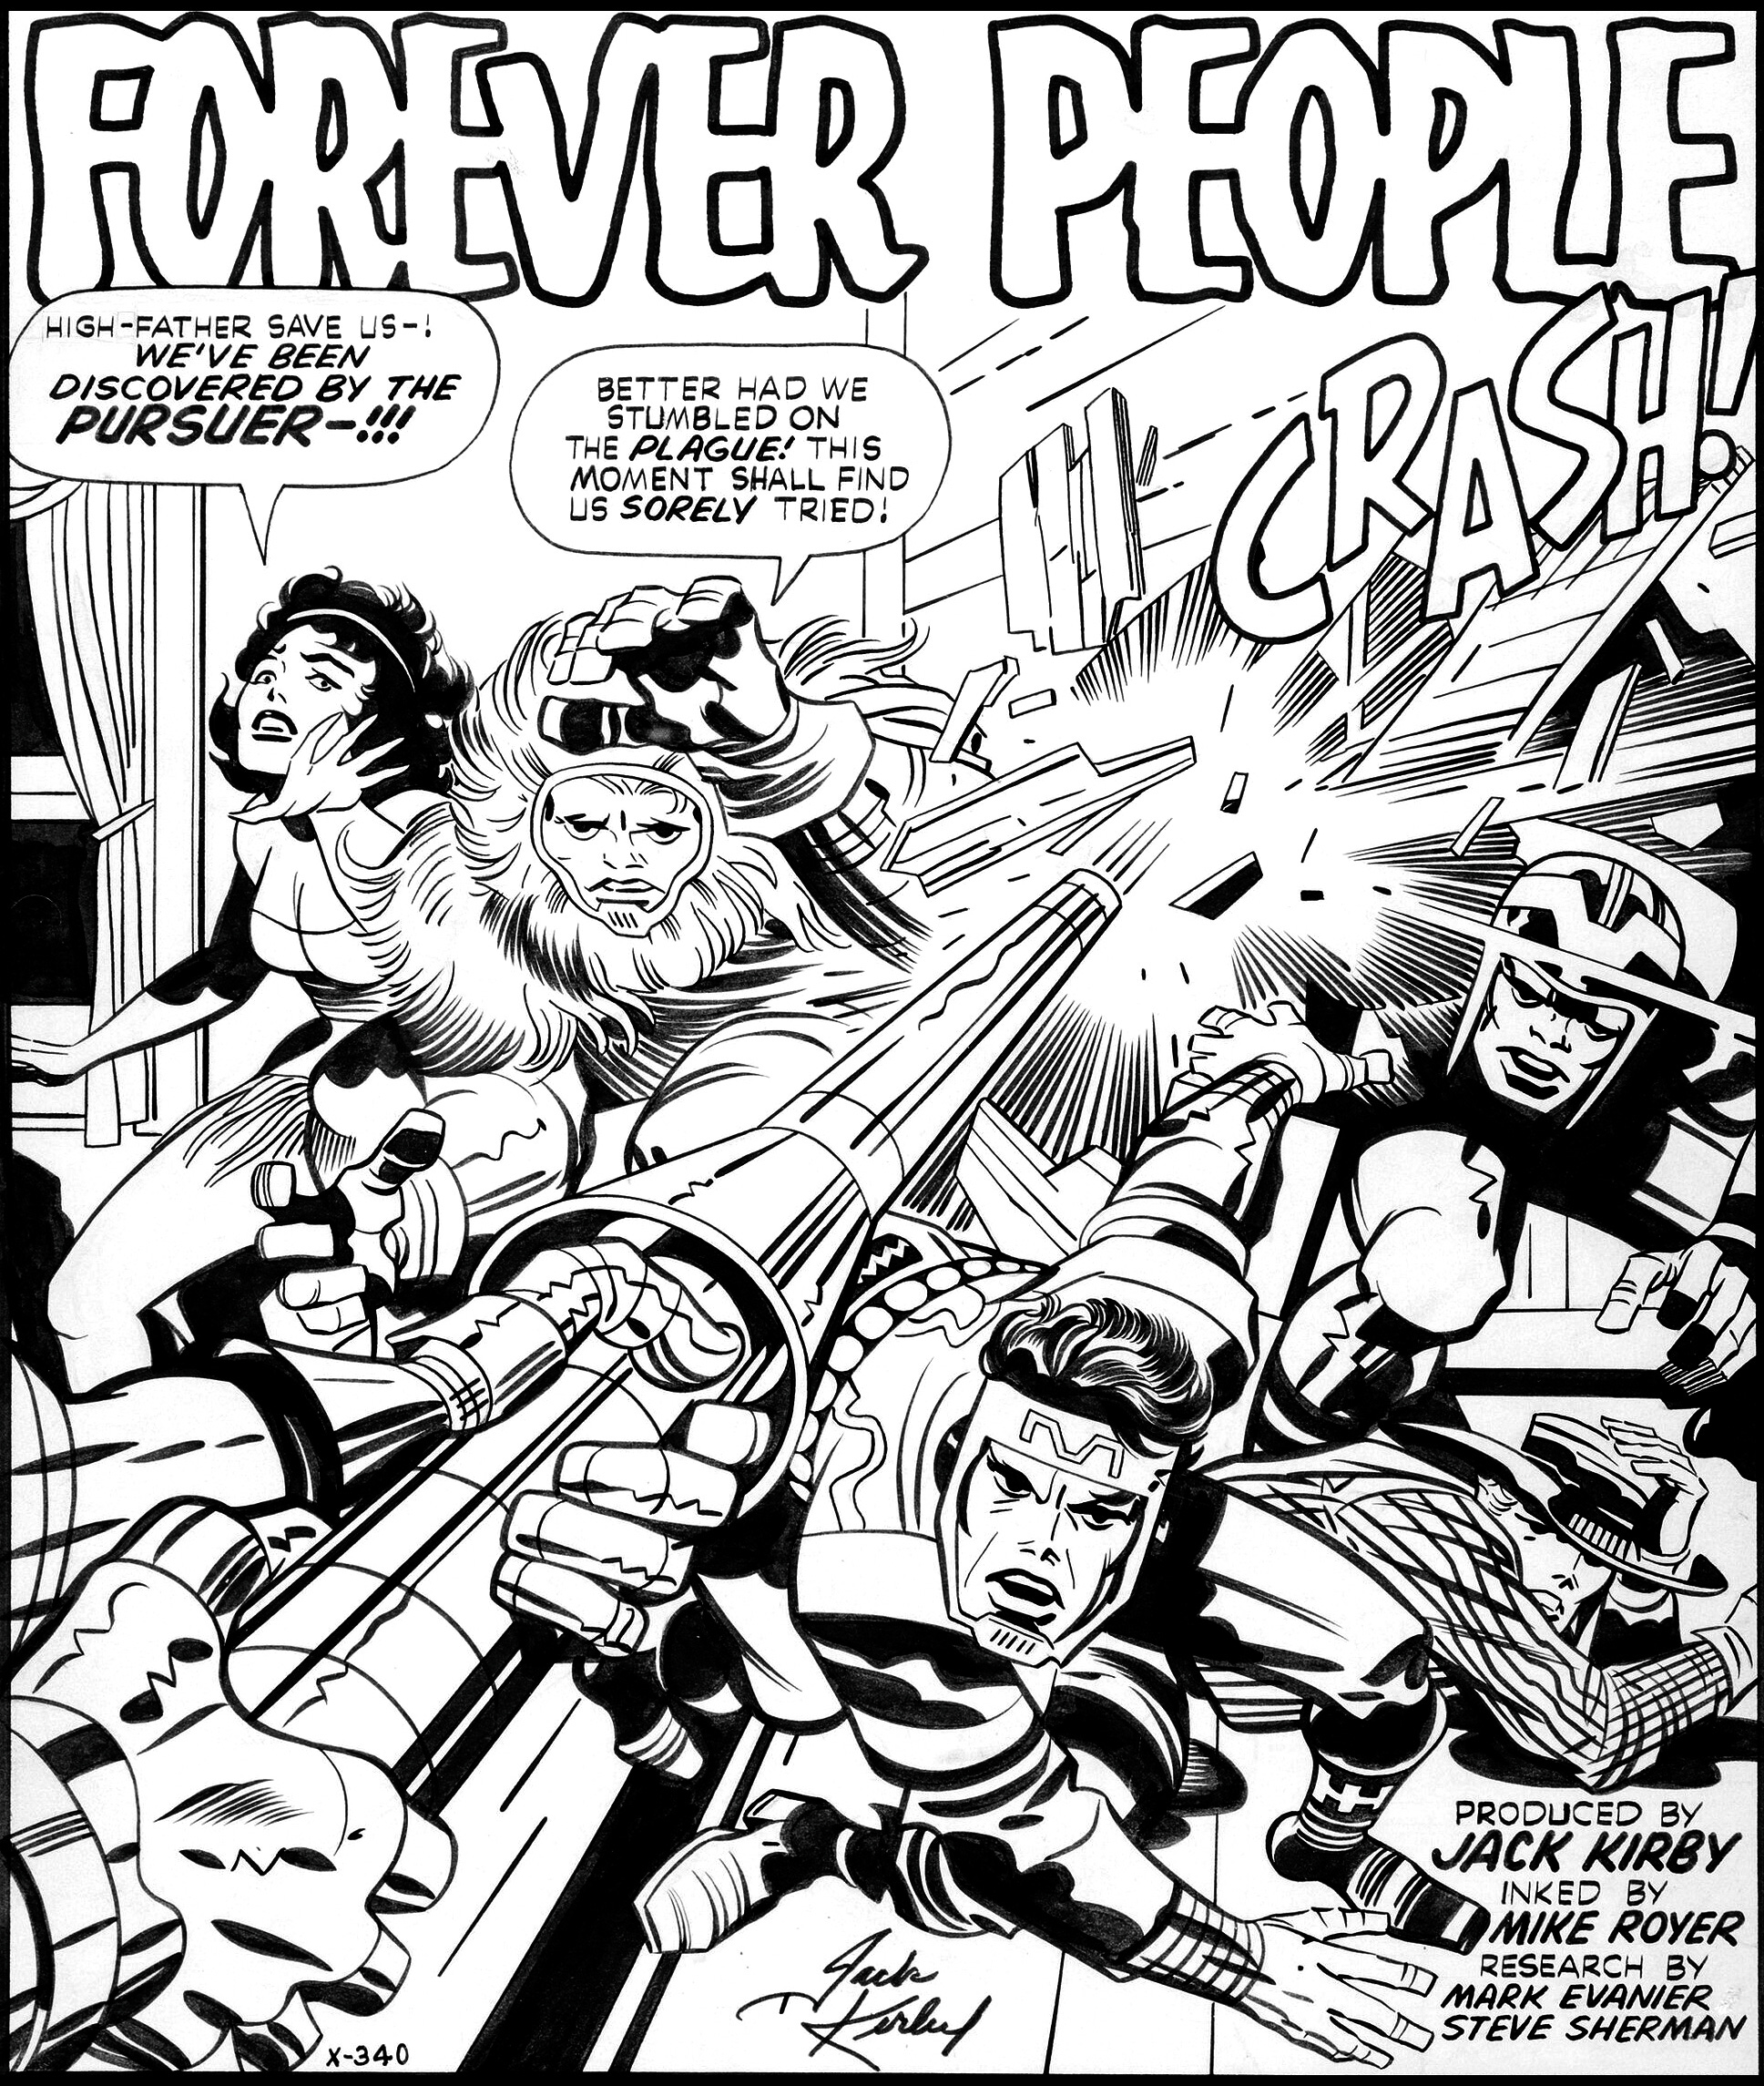
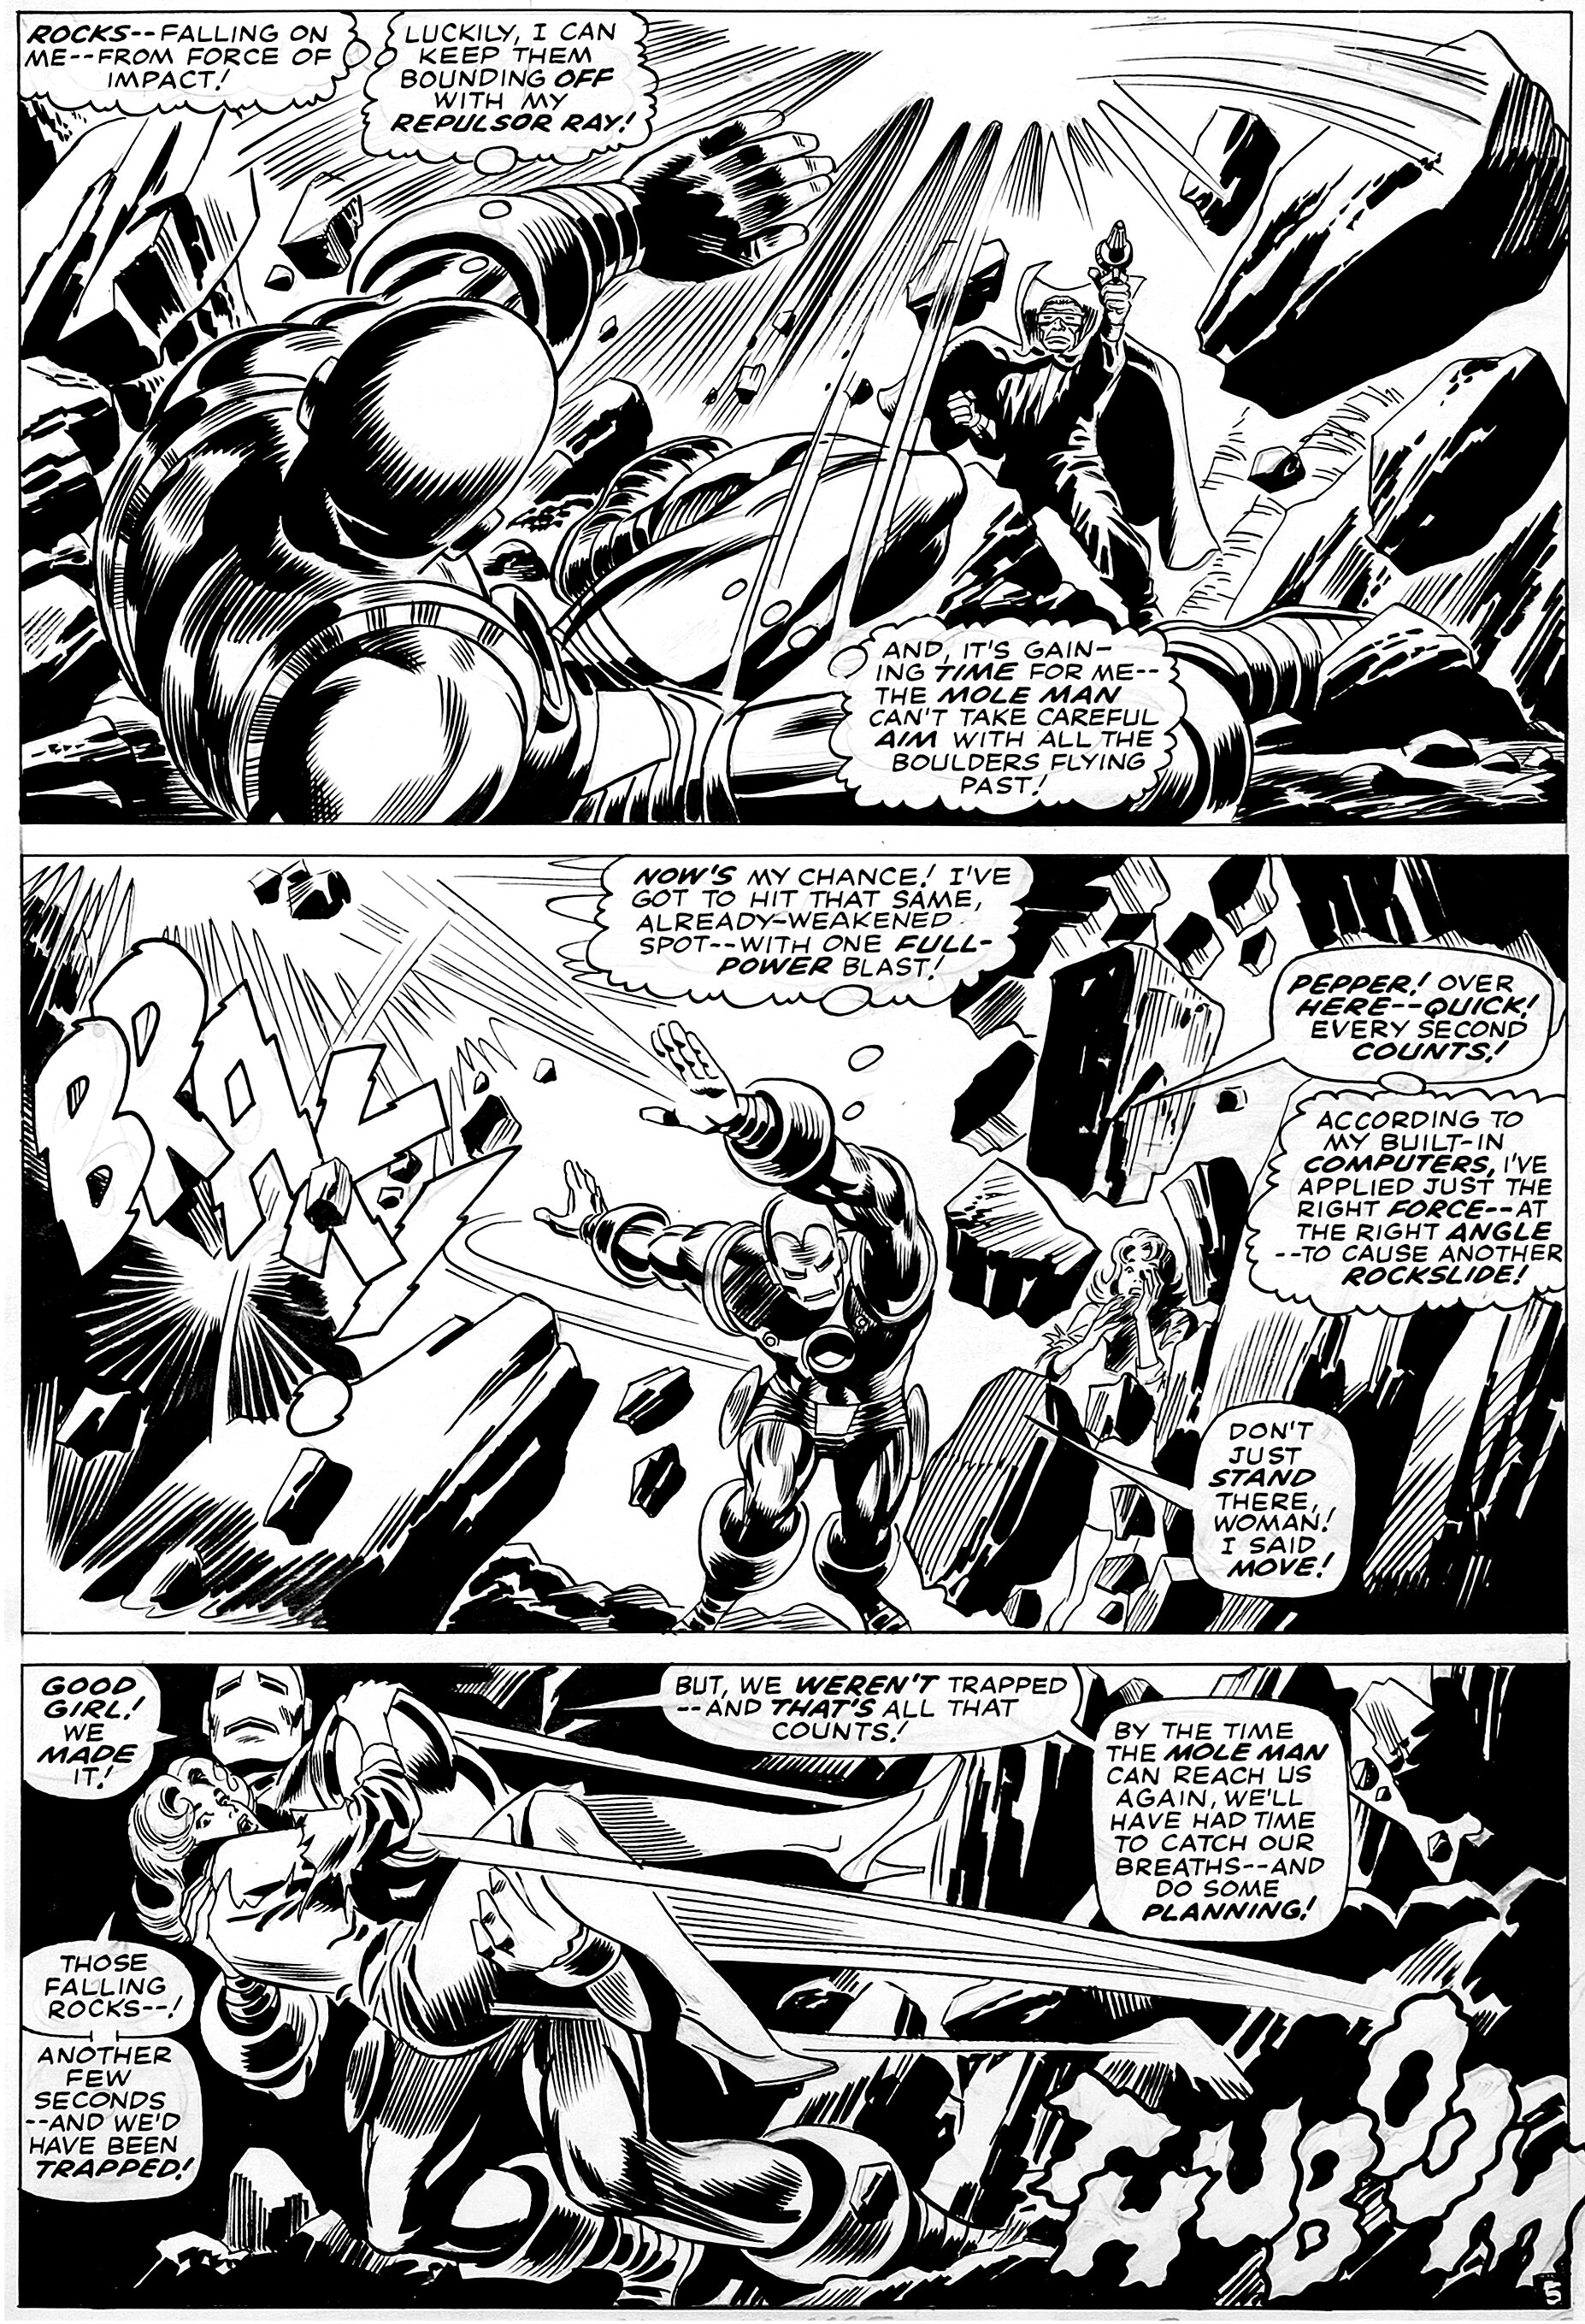
I grew up studying artists and inkers who were masters at this: Will Eisner, Jack Kirby, Mike Royer, Joe Sinnott, Gene Colan, and others from the Copper and Bronze Age. They came up before digital color, so black-and-white design had to carry the storytelling. That sensibility is still incredibly valuable today.
A related trick: I often use the lasso + bucket fill to drop in large black shapes instead of “scrubbing” them in with a big brush. It’s faster and cleaner. You can see that workflow here.
Line Weight, Texture, and Distance
Line weight is one of my main tools for describing depth.
I’ll use:
Heavier lines on foreground objects
Medium weight in the midground
Thinner, simplified lines in the background
Watch how I use line weight and texture to sell distance here.
Texture works the same way:
Foreground: more texture, more specific detail
Background: less texture, more generalized shapes
When I ink clouds versus rocks, for example, I’m thinking about how the line describes the material. Rocks get chunkier, more angular marks. Clouds get softer, rounder, more flowing lines. I talk about differentiating clouds and objects here.
Later on, when color comes in, all of this linework—weight, rhythm, texture—will make the depth read almost automatically. You can see the depth just from the inks in the first panel here.
Freehand vs Stabilized Lines: Knowing When to Let Go
Clip Studio’s stabilization is a fantastic tool, but I don’t leave it on the same setting for everything.
For controlled, structural lines—architecture, panel borders, certain hard surfaces—I’ll crank the stability up and use the Shift key for straight lines. Here’s where I talk about using stabilization for hard surfaces.

But for organic elements, I often turn stability down or off:
Water splashes and whitewater
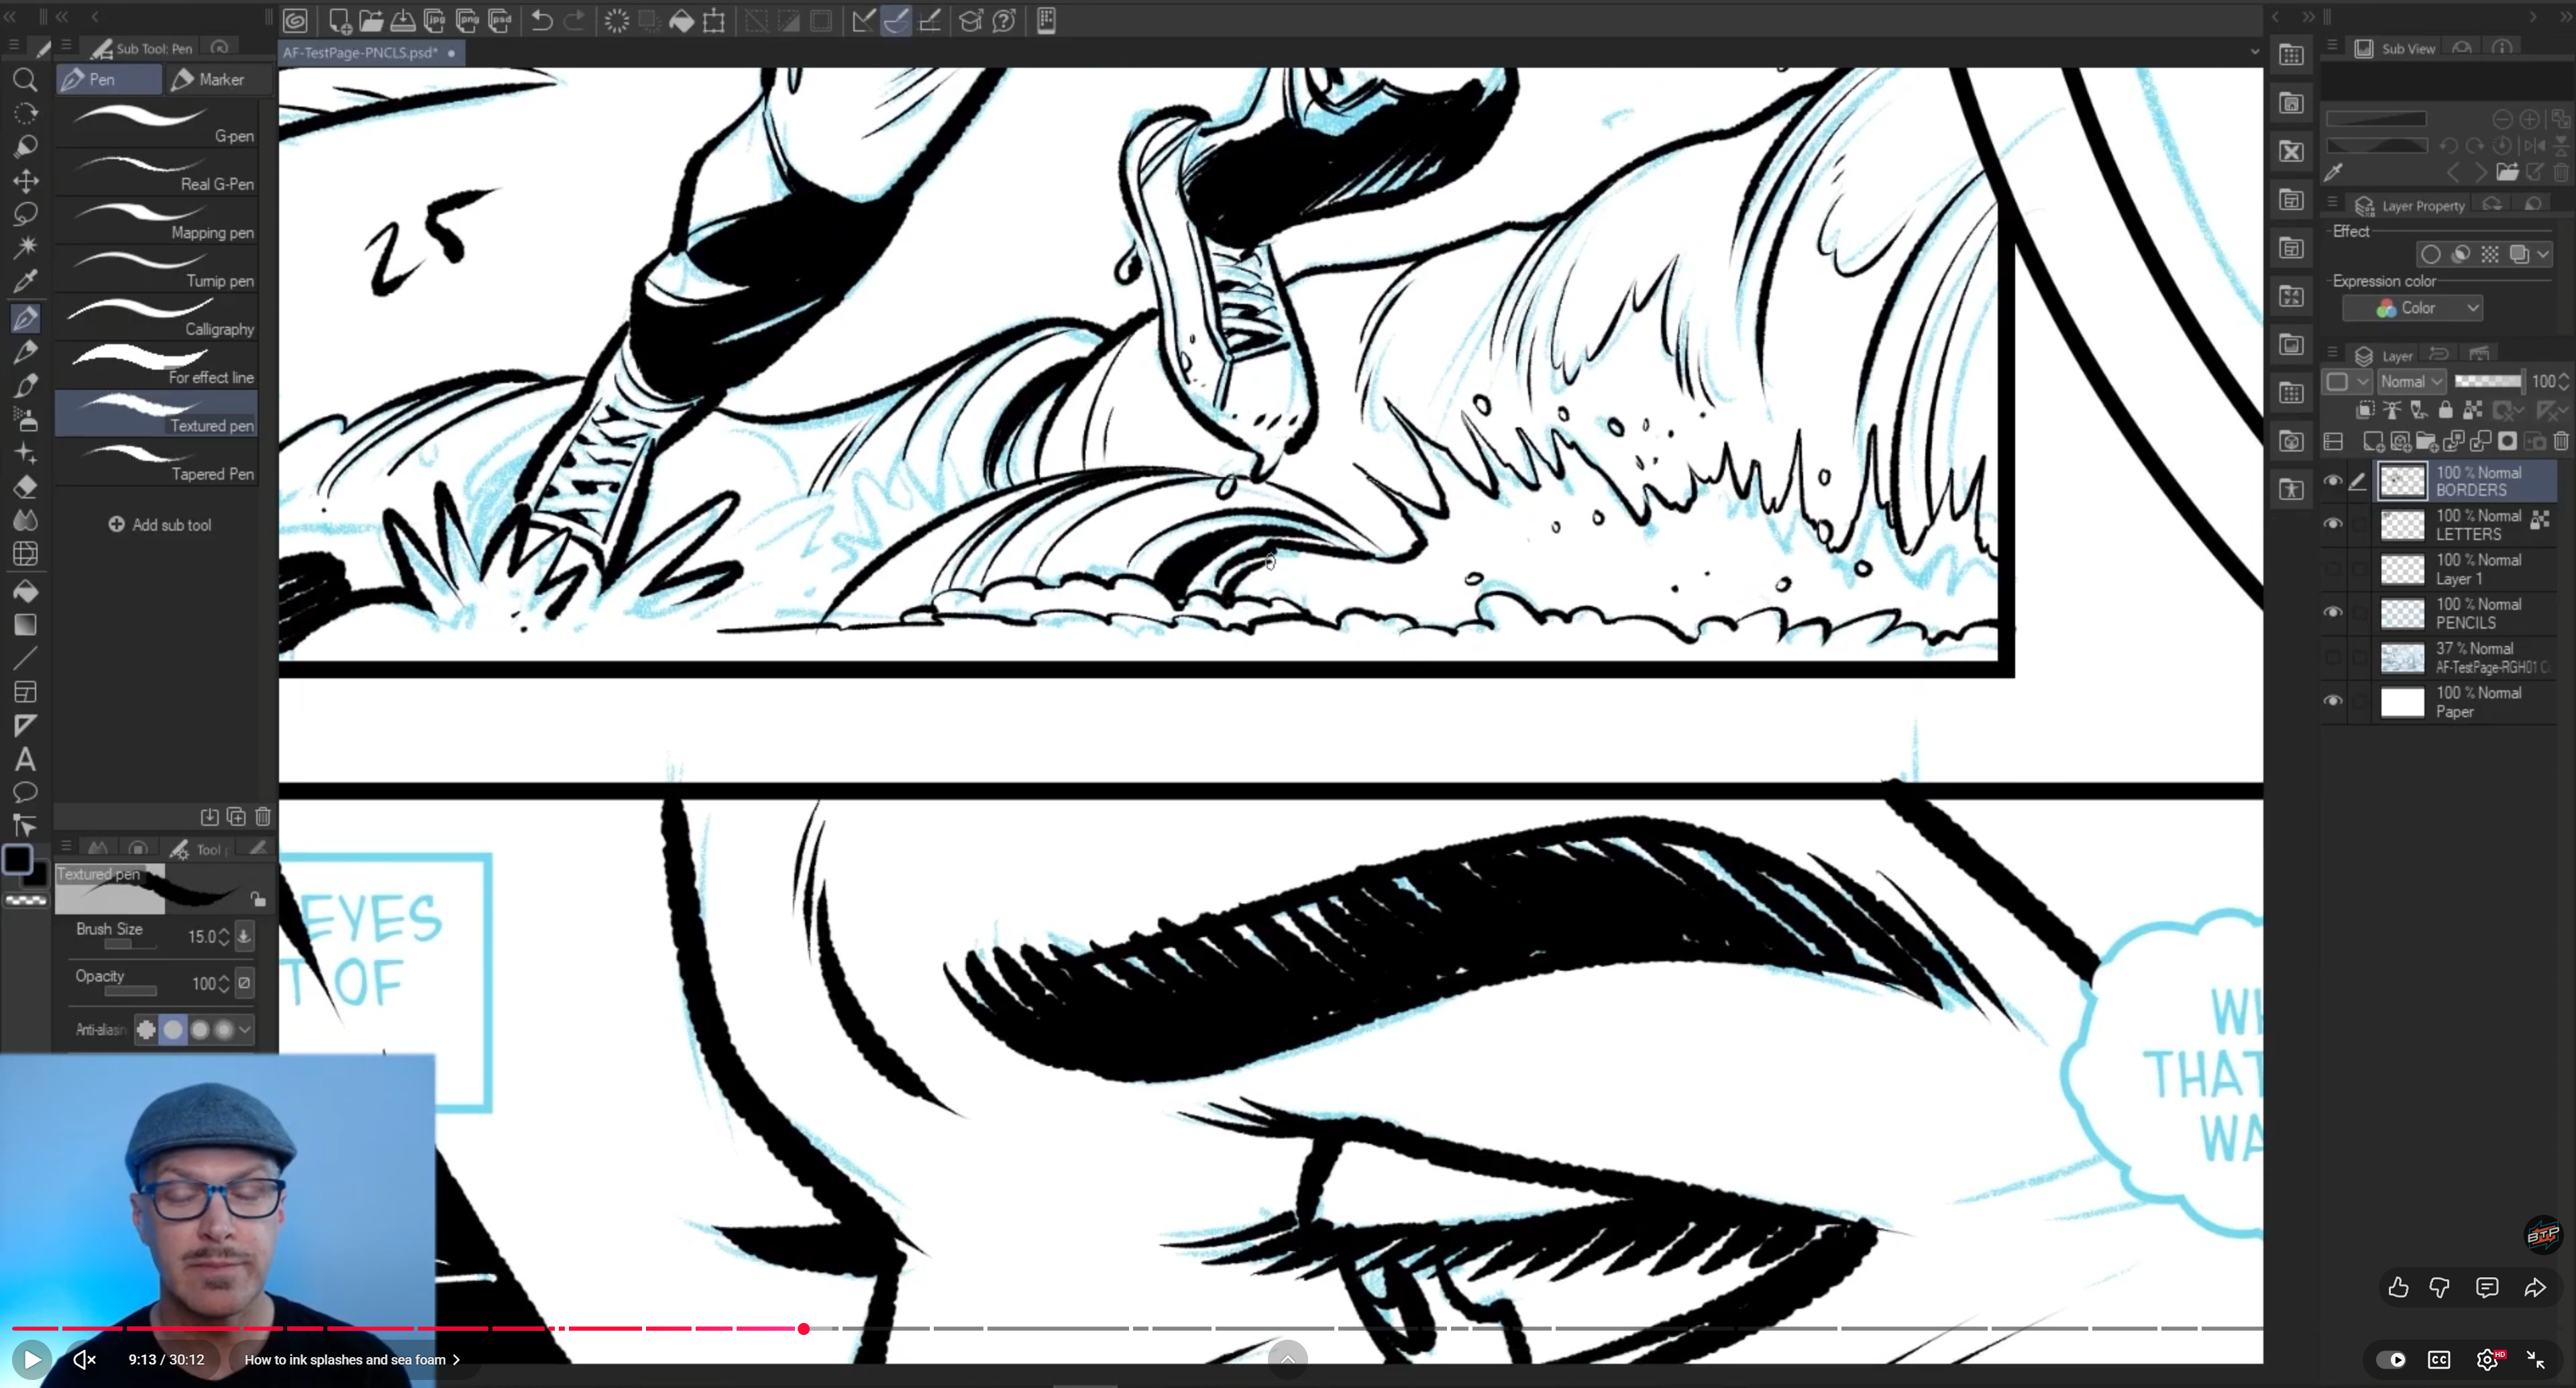
Sea foam
Fur, feathering, towels, foliage
On the whitewater, I want a sense of energy and “splashiness,” so I go more freehand. Watch that inking approach here.
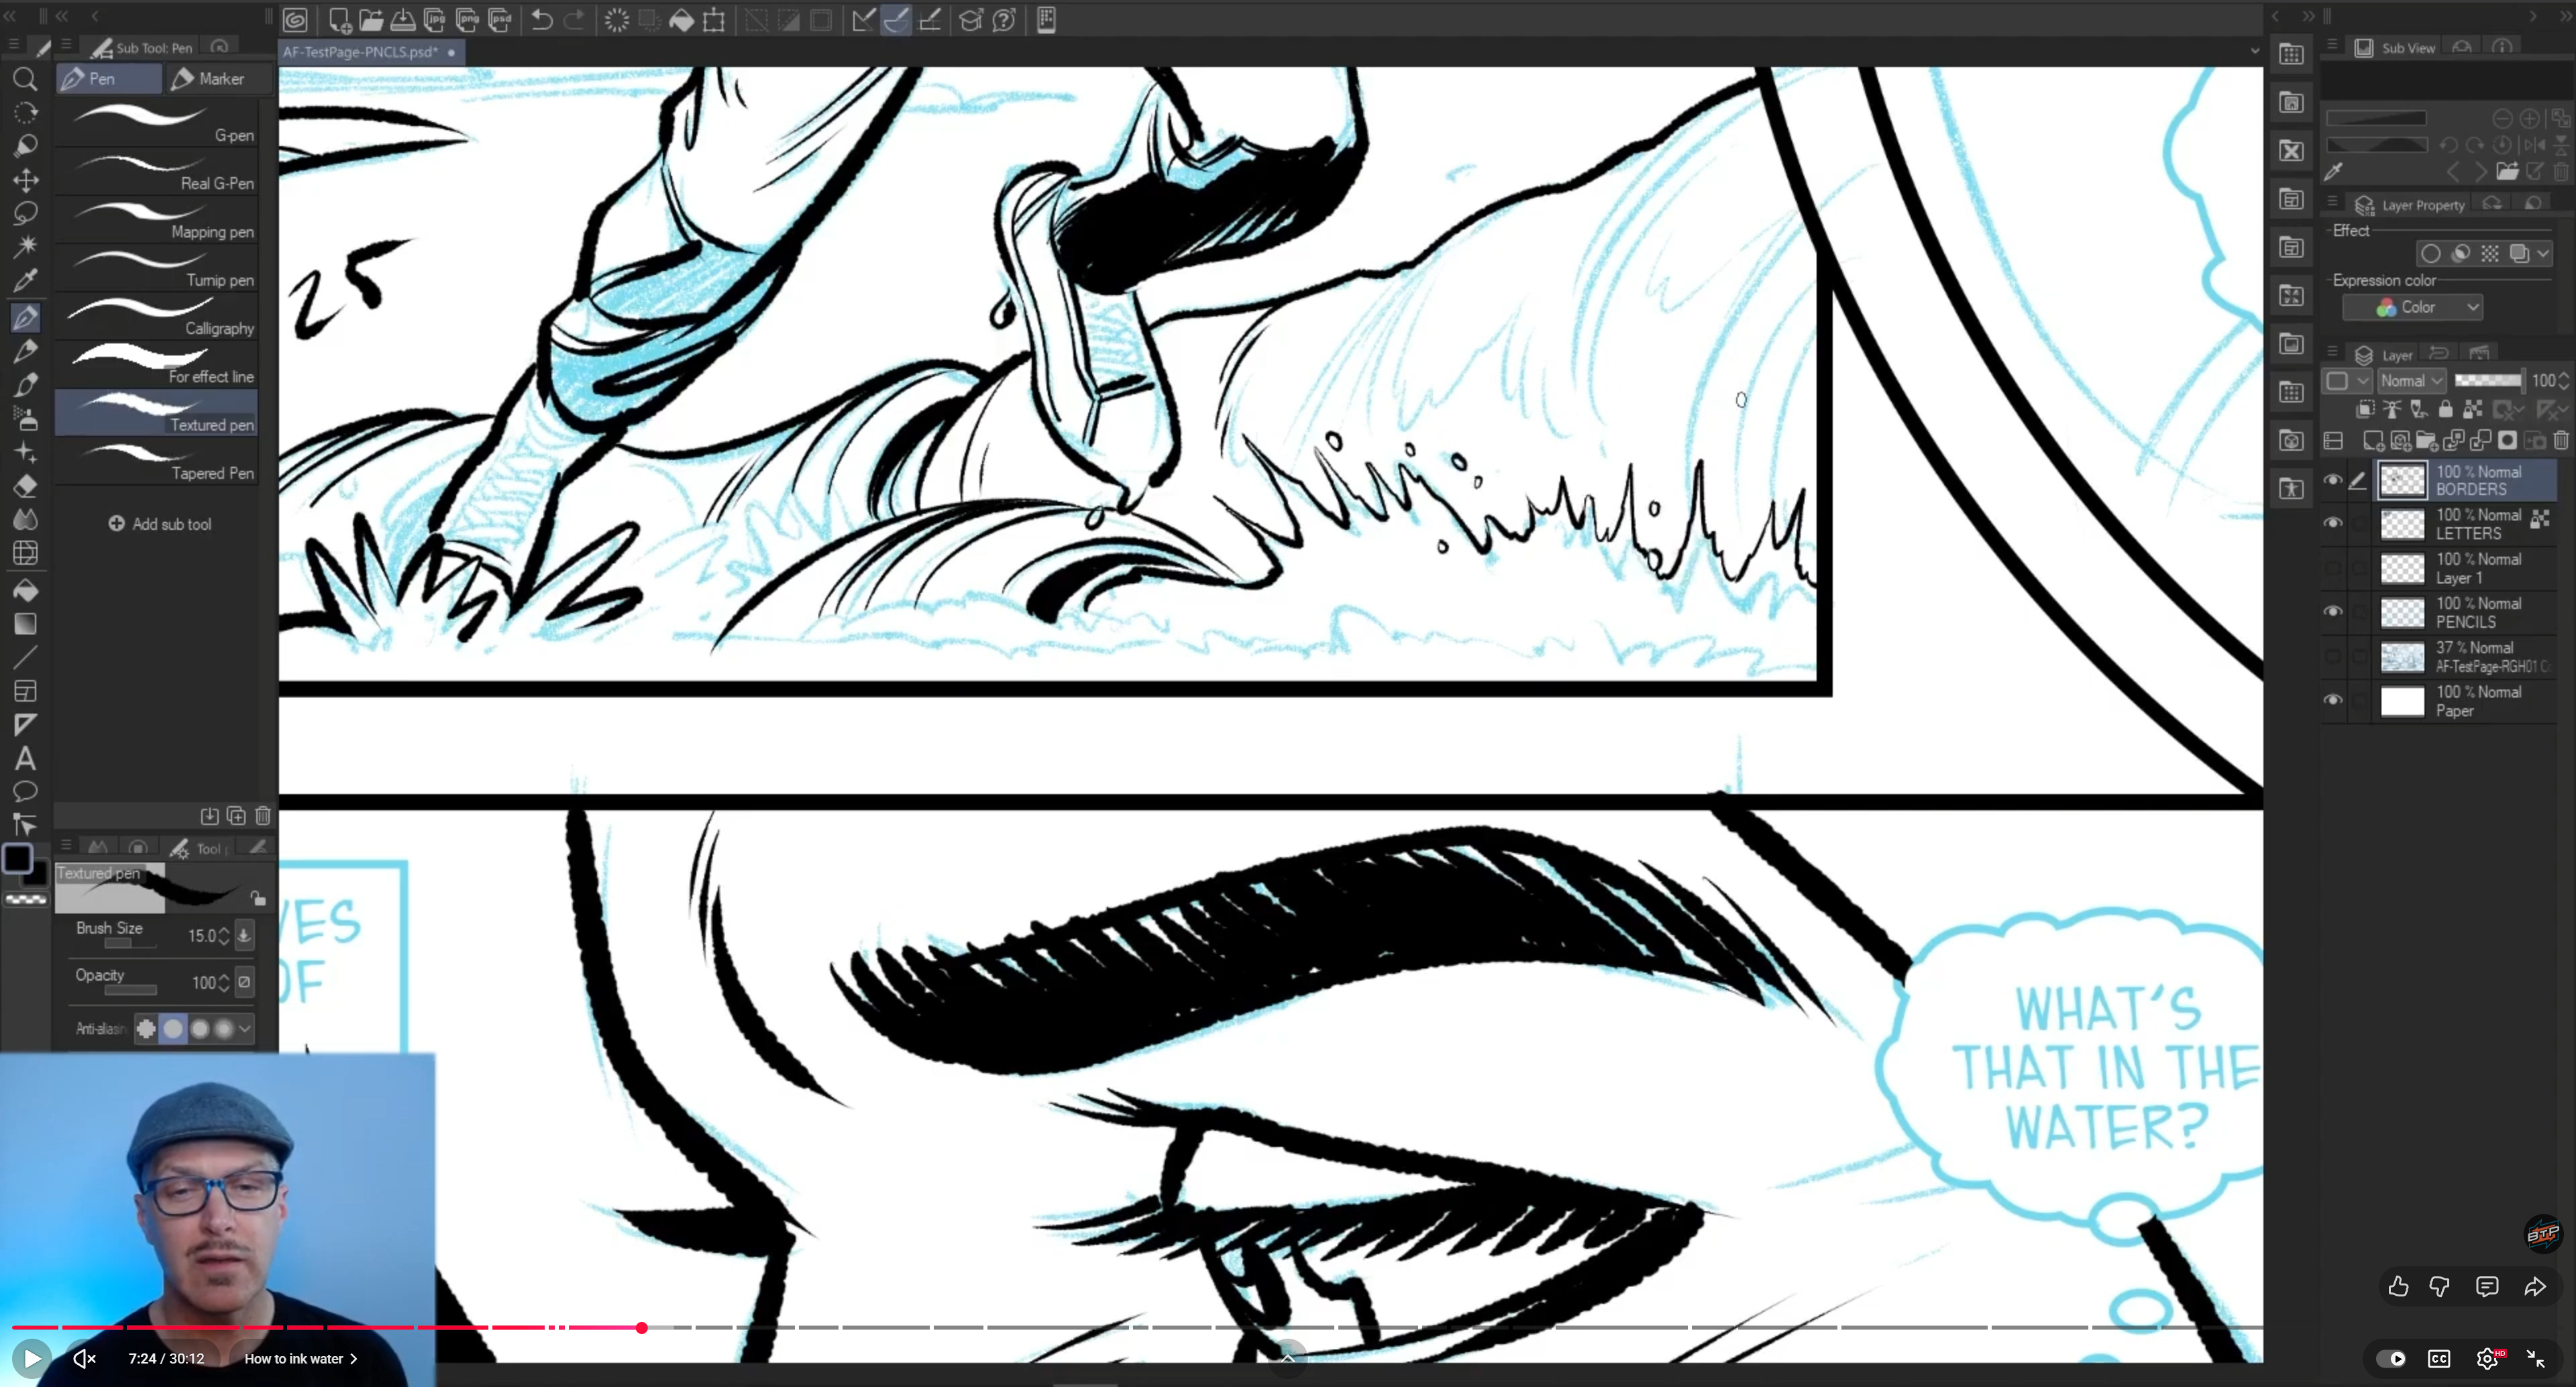
With sea foam, I keep it loose but give it a softer, fluffier feel than the sharper splash shapes around it. You can see that contrast here.
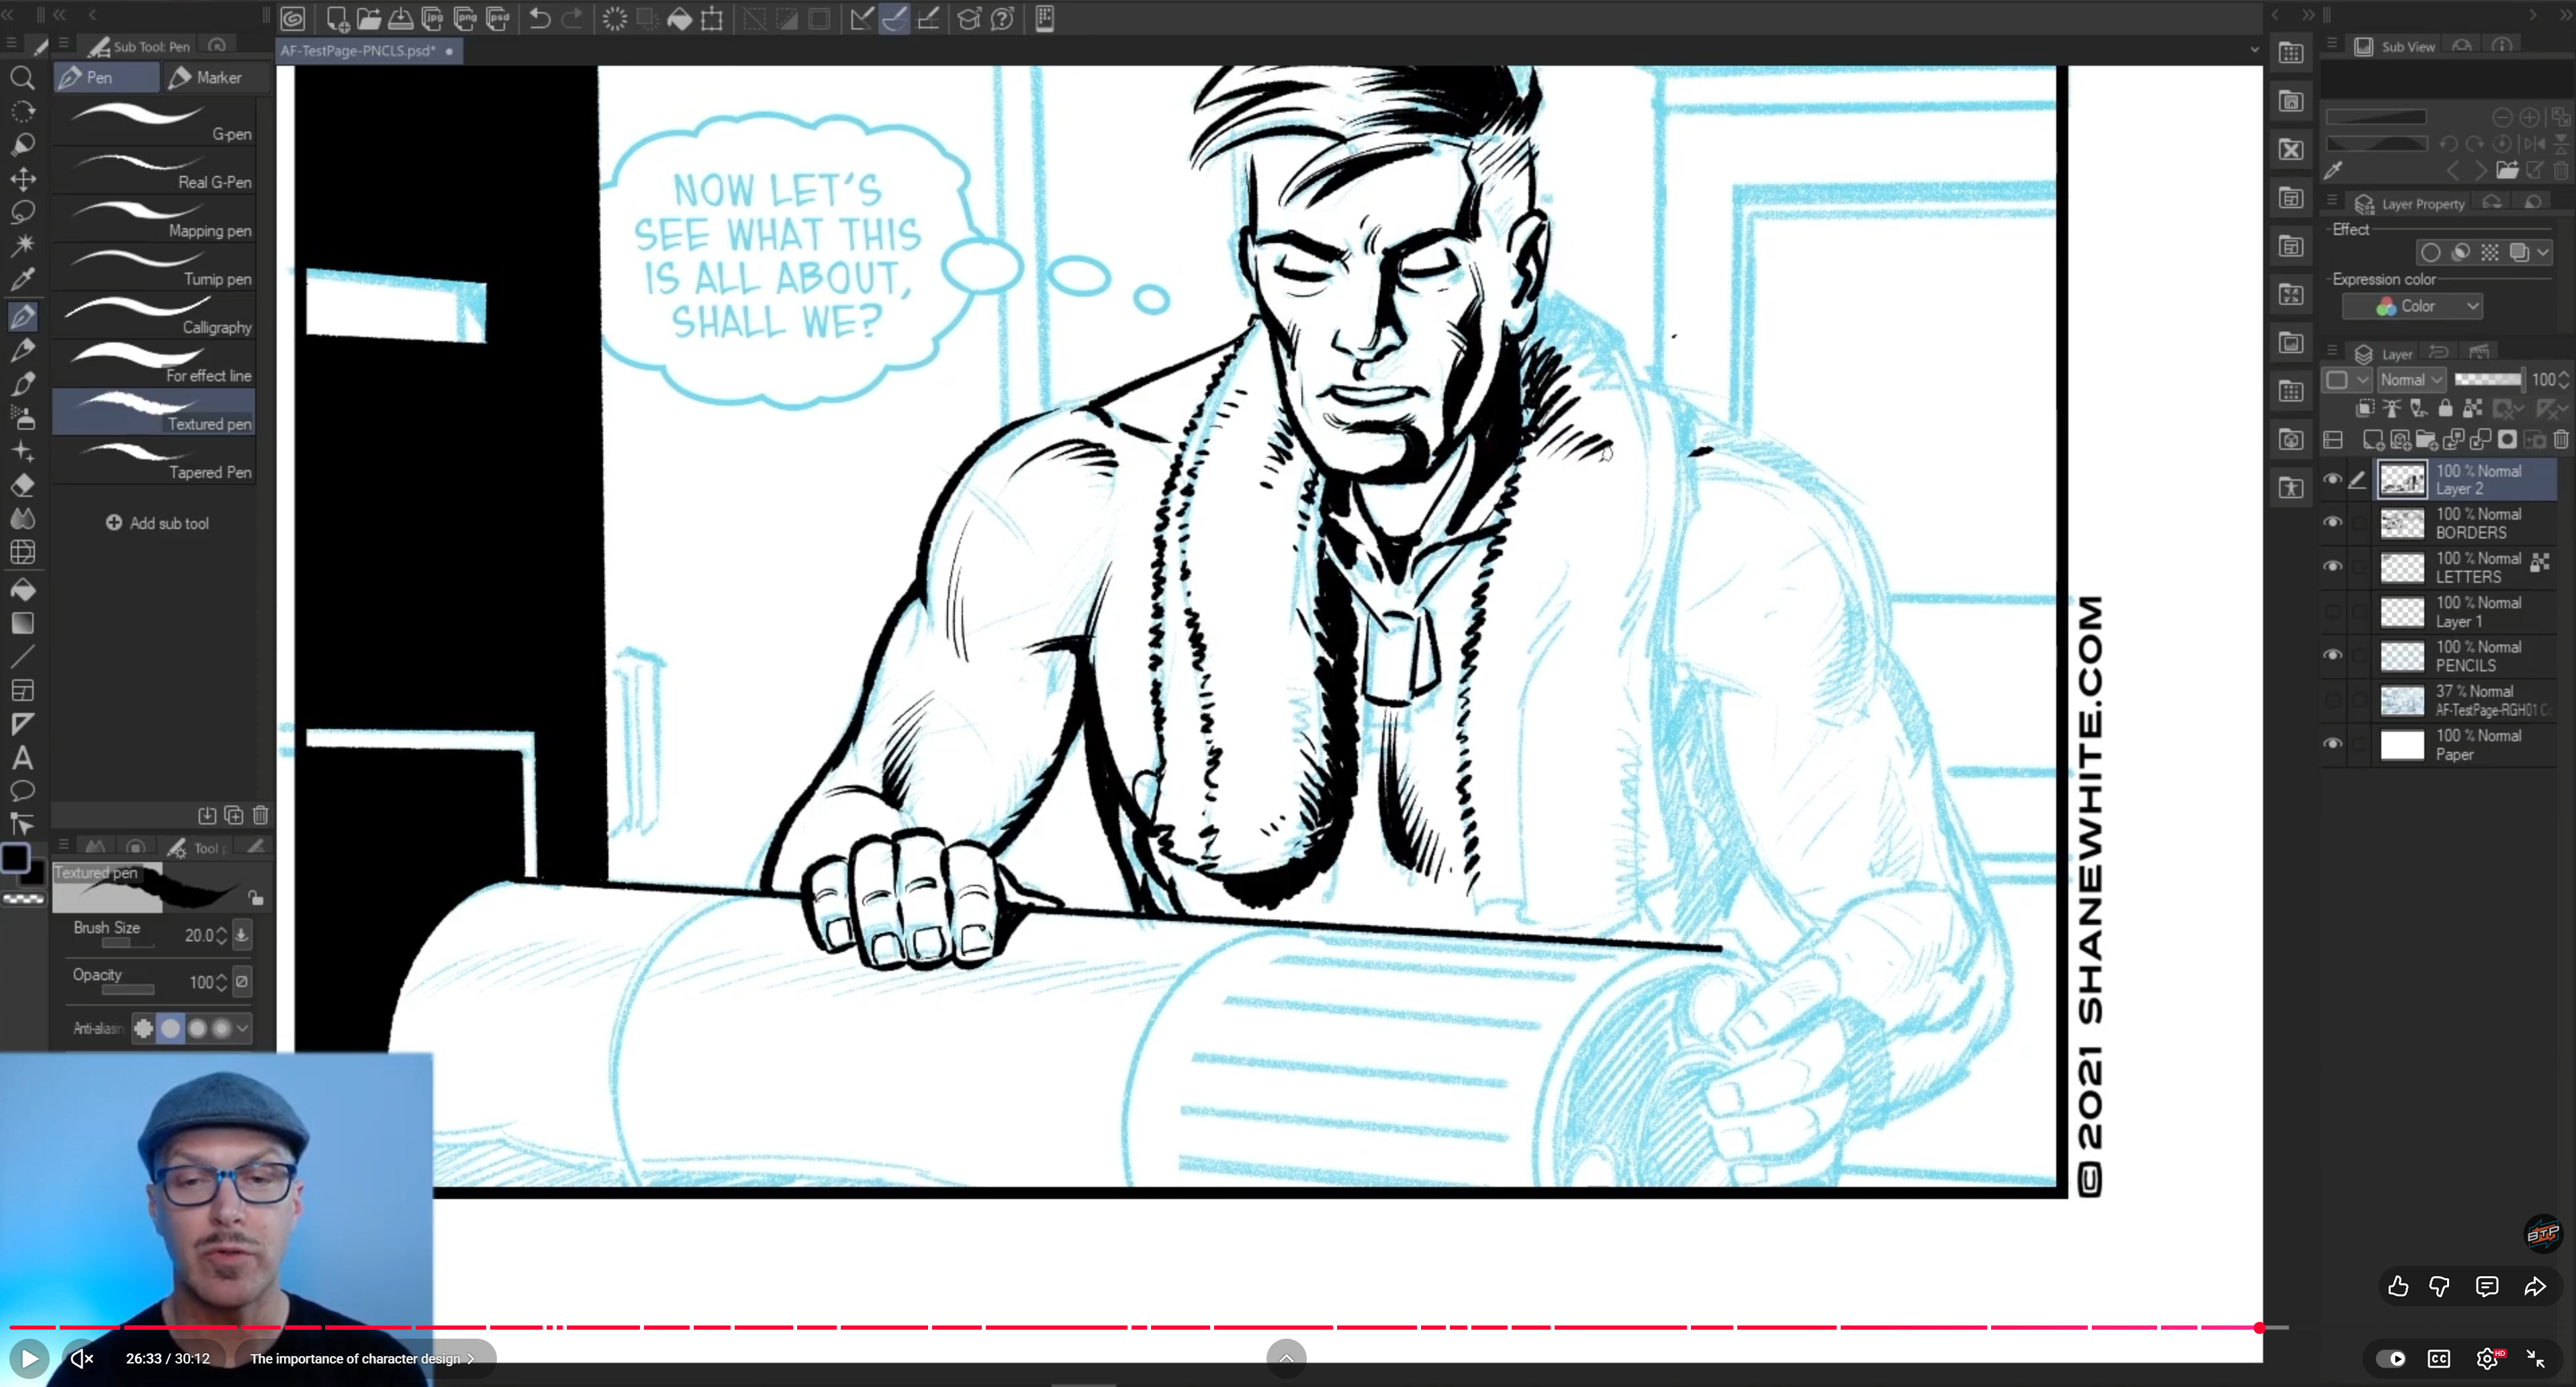
Later, when I’m inking the towel around the character’s neck, I again drop the stability and let the line wobble a bit to suggest texture and softness. Watch that towel texture being inked here.
Inking Negative Space, Not Just Objects
One of the more subtle tricks I rely on is inking the negative space instead of the object itself. A simple example: shoelaces.
Instead of drawing every lace as a positive line, I’ll:
Ink the shadows underneath the lace
Let the untouched paper define the lace as a shape
That gives a much more dimensional, dynamic look than just tracing lines. I walk through that idea here.
Rhythm: Using Shapes to Move the Eye
Rhythm in comics isn’t just about panel layout; it’s also about the repetition of shapes and motion. A flock of seagulls, the curve of waves, the angle of a cliff—these can all echo each other and carry the reader’s eye through the page.
In this strip, I use repeating shapes—like the seagulls—to create a visual beat that moves you from one area to another. I talk about using rhythm and repeated shapes here.
When I’m penciling and inking, I’m always looking for opportunities to carry a graphic idea across panels. That’s part of how we compete for attention in a world full of distractions: by making pages that visually flow.
Storytelling, Scripts, and Trusting the Artist
All of this inking isn’t just decoration—it’s storytelling. When I’m working from a script (whether mine or someone else’s), I’m “plus-ing” the story visually:
Seeding visual ideas that foreshadow what’s coming
Telegraphing mood, danger, or humor through composition and lighting
Using silhouettes and clear shapes so characters read at any distance
Watch me discuss visual storytelling and scripts here.
I prefer writers who trust that I can tell a story visually. Some scripts are panel-by-panel; others are written in the old “Marvel style,” where the writer gives a page description and the artist breaks it into panels. I touch on Marvel style here.
That trust lets me do what I do best: make the page work as a piece of visual storytelling, not just illustration.
Traditional vs Digital: Don’t Abandon Your Motor Skills
I’m doing this strip digitally because it’s efficient: I can go from pencils to inks to color in fewer steps, no scanning required. But I don’t believe in abandoning traditional tools. I talk about that here.
If you rely only on stabilization and undo, your hand skills can atrophy. Later in your career, if you want to go back to painting or traditional inking, you’ll miss that muscle memory.
Drawing and inking from life—with a brush, with a pen—is still one of the best ways to build the control that makes your digital work stronger. I emphasize drawing and inking from life here.
A Few Practical Clip Studio Tricks I Use Constantly
Some quick technical habits that make my digital inking smoother:
Use “Clear” as an eraser with your current brush
Hitting the C key in Clip Studio turns your current brush into an eraser with the same settings. Great for carving out white lines or refining shapes. Watch that in action here.Adjust faces and proportions on the fly
If a face inks too small or feels off, I’ll lasso it, scale it, or flip it rather than redrawing from scratch. You can see that adjustment here.Layer for follow-through, then merge
If I need to experiment with extra linework or follow-through, I’ll do it on a new layer, erase what I don’t want, then collapse it back into the main inks. I mention that workflow here.
Key Technical Tips (Quick Reference)
Lock in brush sizes for foreground, midground, and background to avoid over-detailing.
Decide your page focus early (often a uniquely shaped or central panel) and support it with line weight and blacks.
Use spotting blacks to direct the eye, create weight, and frame key elements.
Vary line weight and texture to indicate distance and differentiate materials (rock vs cloud vs cloth).
Turn stabilization up for hard surfaces and structure; turn it down or off for organic elements like water, foam, fur, and towels.
Ink negative space (like the gaps between shoelaces) to create more dimensional forms.
Keep heavier line weight on the shadow side of objects to indicate light direction.
Maintain traditional drawing and inking practice so your digital work doesn’t rely solely on software crutches.
Use Clip Studio’s C-key “Clear” mode to erase with your active brush for clean white shapes.
Don’t be afraid to adjust, scale, and flip inked elements when something feels off—digital gives you that flexibility.
By the end of this session, I had a fully inked page that feels well-weighted, readable, and ready for color. You can see the finished inks at the end of the video.
In part two, I’ll take this same strip into color and show how I build on the foundation laid by the inks.
So good luck and keep on trucking!
=s=