

These 8 Techniques Separate AMATEUR vs PRO STORYBOARD ARTISTS
The Shot Size You Choose Helps Dictate The Story

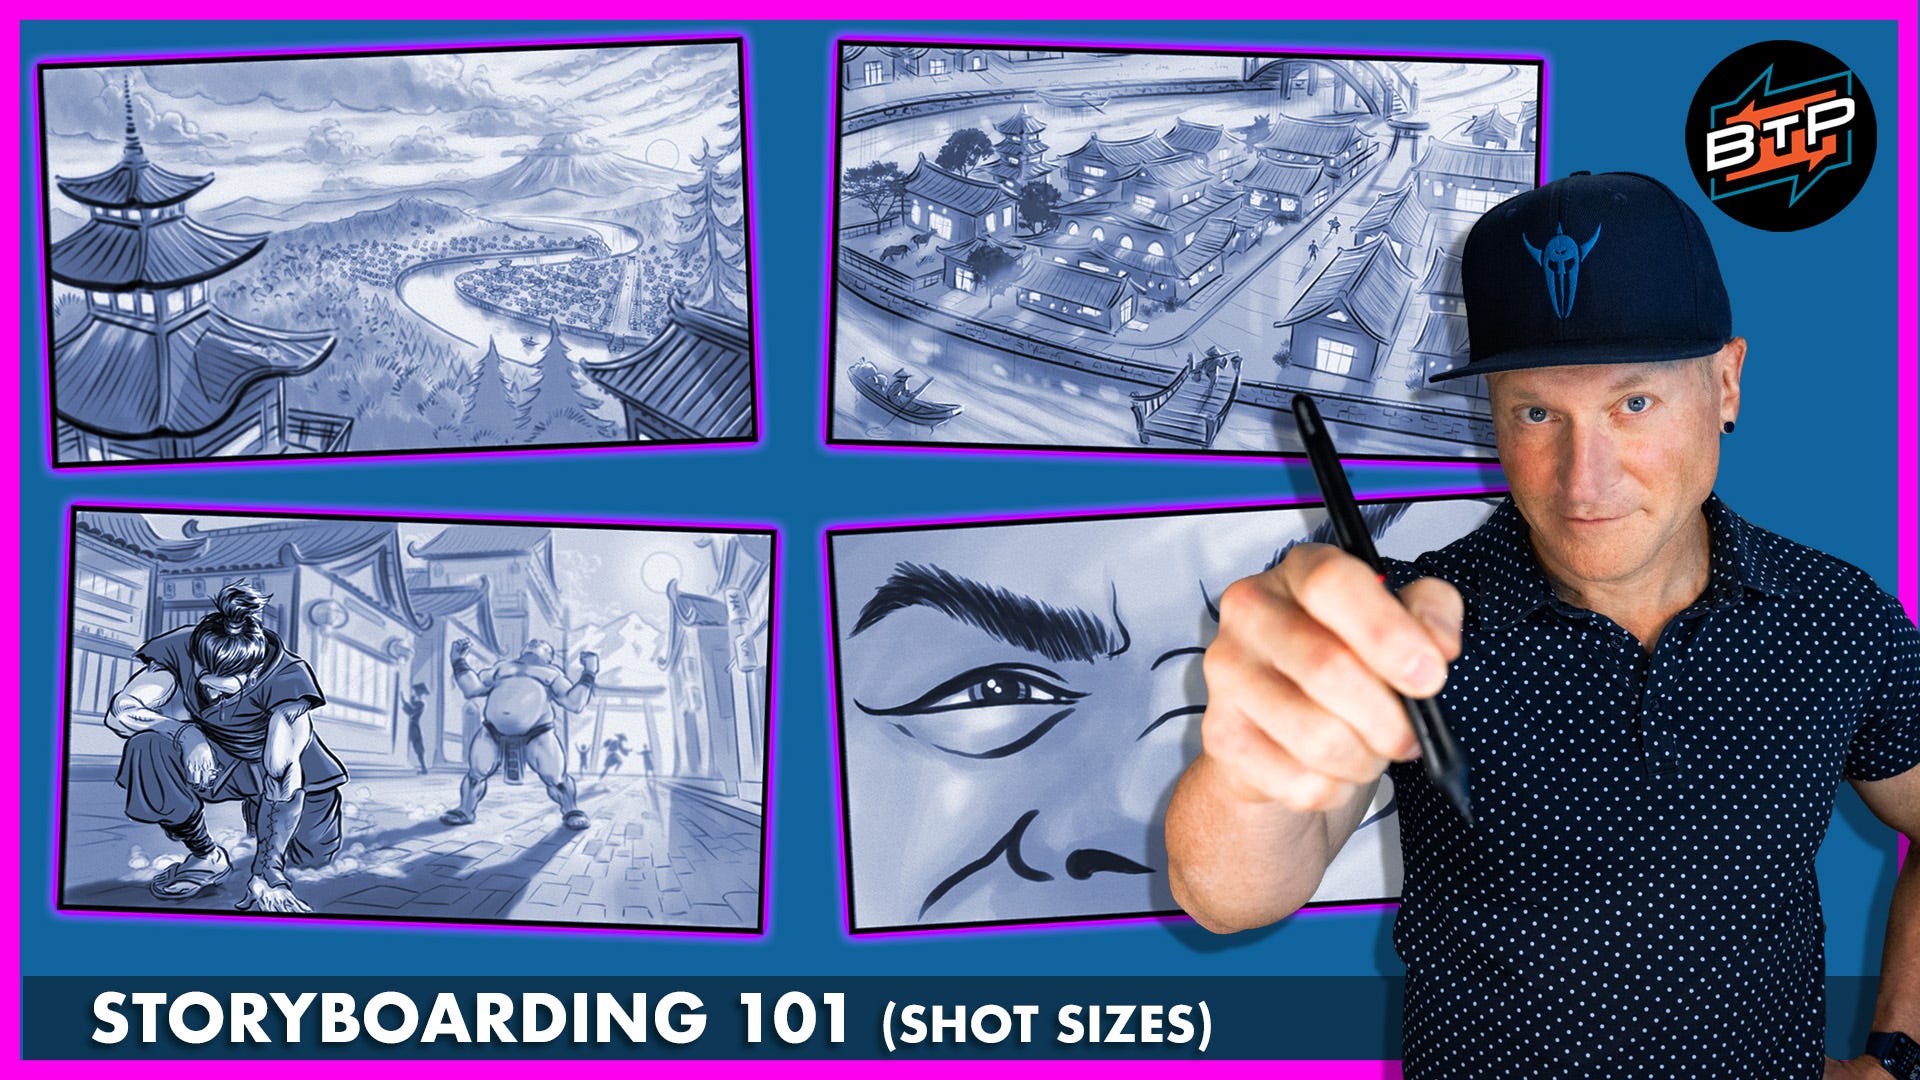
When a director keeps hiring the same storyboard artist over and over, it’s usually not because that artist draws the most gorgeous, hyper‑detailed frames on earth. It’s because that artist speaks the director’s language — shot by shot, frame by frame.
When I’m boarding, I treat shot sizes as my visual vocabulary. Picking an extreme wide shot versus an extreme close‑up isn’t just a “what looks cool?” decision; it’s a storytelling choice that ripples through every department. Costume, production design, camera, lighting, sound — they’re all reading your boards to figure out what the director actually wants.
In the video this article comes from, I walk through eight essential framing techniques every storyboard artist should have on speed dial. Here, I’m expanding that into something you can keep open next to you while you board your own sequences.
If you want to see the original breakdown while I talk through it, start here:
Watch the full video
The Core Idea: Shot Size Is Emotional, Not Just Technical
When I’m boarding a scene, I’m not just asking, “What do we see?” I’m really asking, “How do I want the audience to feel right now, in this exact beat?”
Each shot size:
Communicates a different emotional distance.
Tells the crew what actually matters in the frame.
Guides the viewer’s eye and attention.
Sets up, sustains, or releases tension.
Think of these eight shot sizes like eight different pencils in your kit. The more intentionally you use them, the more confidently you can translate a director’s ideas into a visual plan that everyone else can execute without guesswork.
Prefer a downloadable PDF? Get it here.
1. Extreme Wide Shot (EWS): Scale and World‑Building
I kick off the video with the extreme wide shot around this point:
Watch this explanation
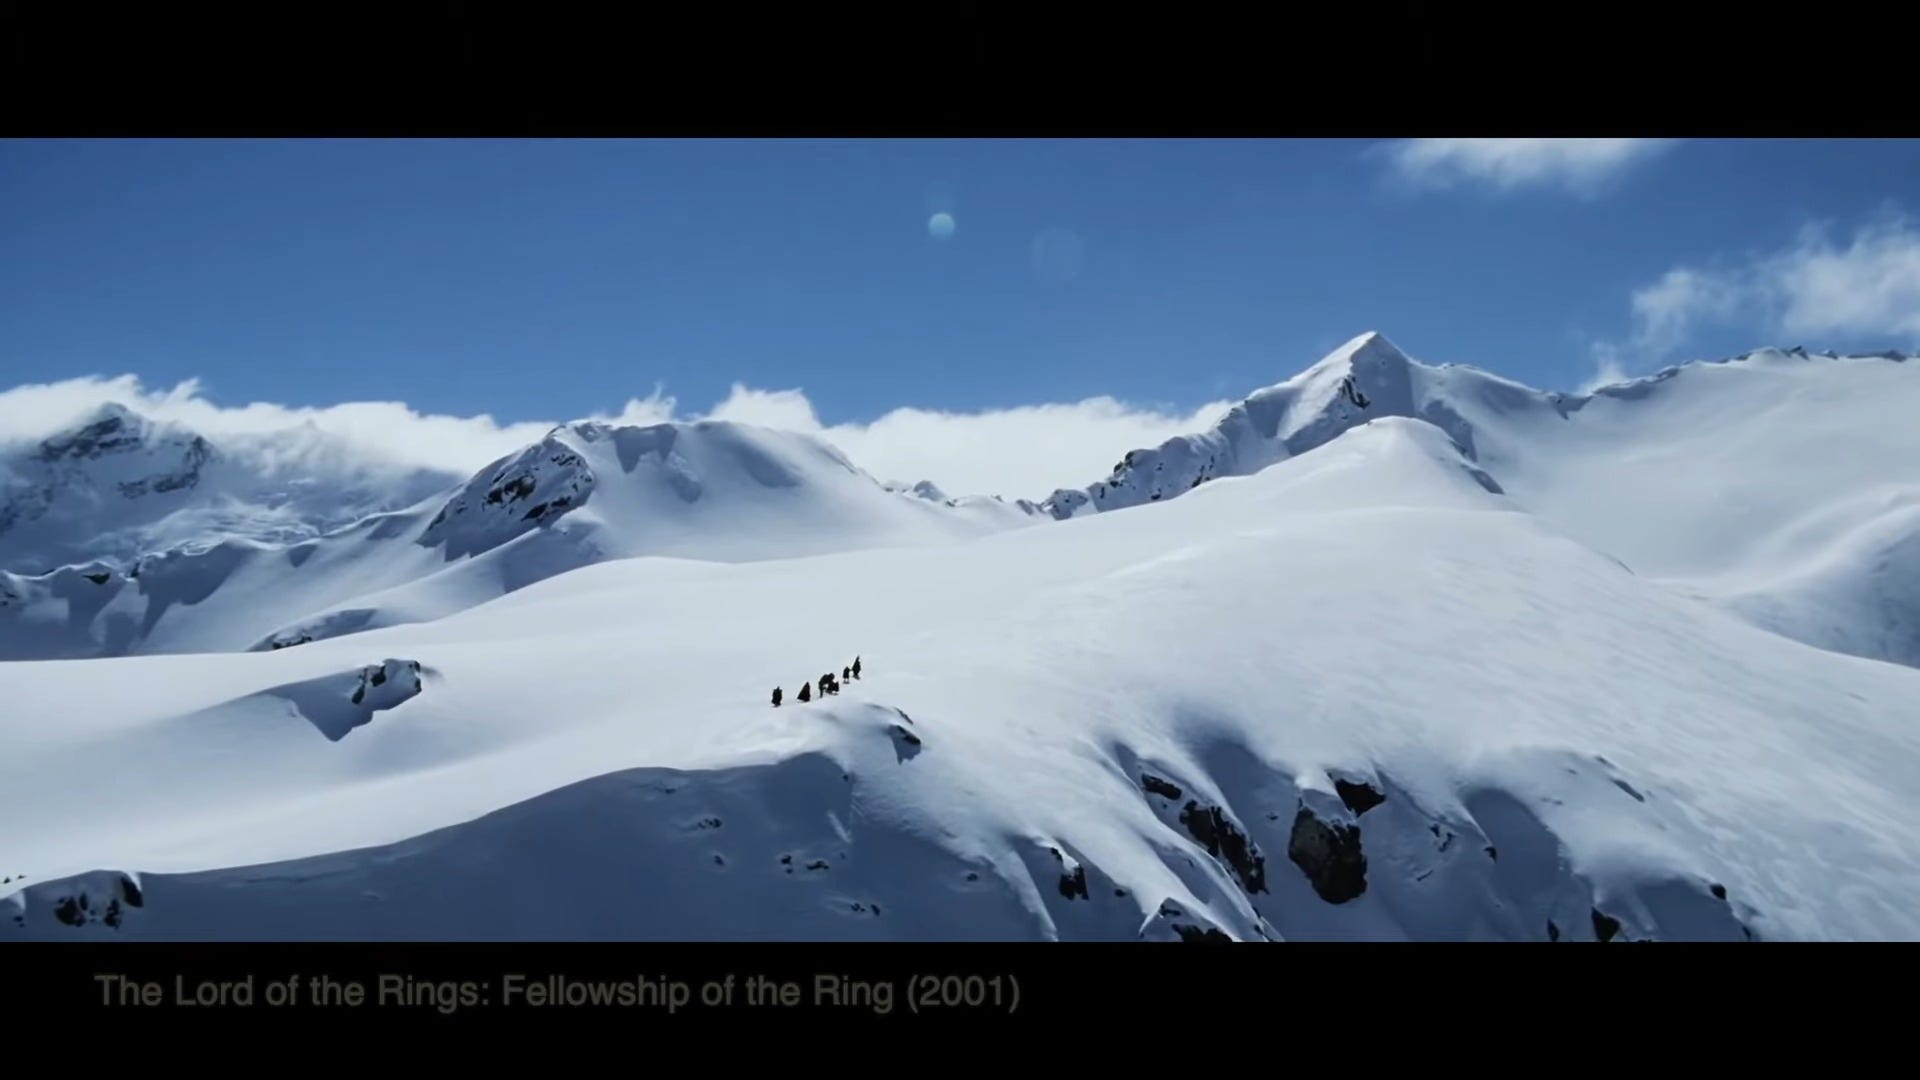
An extreme wide shot is about the world first, the character second (or not at all). Your subject might be a tiny speck in the frame, or completely invisible. What you’re really framing is the environment itself.
Think of those Lord of the Rings shots where the fellowship is a little line of figures crawling across enormous mountains — that’s an EWS doing exactly what it’s meant to do.
Use an EWS when you want to:
Establish the scale of the world.
Open a scene with a strong sense of place and tone.
Show epic action — armies, crowds, giant battlefields.
Make characters feel small in the grand scheme of things.
Emotionally, an EWS tends to create awe, or sometimes a feeling of insignificance. It’s perfect for adventure, fantasy, and any story where the environment is basically a character in its own right.
2. Establishing Shot: Function Over Size
I make a key distinction between extreme wides and establishing shots here:
Watch this distinction
An establishing shot isn’t defined by how wide it is. It’s defined by what it does. Its job is simple: tell the audience, “Here’s where we are now.”
That might be:
A skyline with the Empire State Building.
Big Ben to signal London.
A futuristic city with flying cars.
Hogwarts in winter — which gives you both location and season in one go.
Establishing shots can also tell us:
Time of day (sunset, neon‑lit night, early‑morning street).
Season (snow, autumn leaves, sweaty summer haze).
Tone (bright, bustling street vs. creepy, deserted alley).
They can be locked off or moving. In the video, I reference a Lord of the Rings shot where the camera glides to reveal the location almost like an in‑camera wipe:
Watch the establishing shot examples
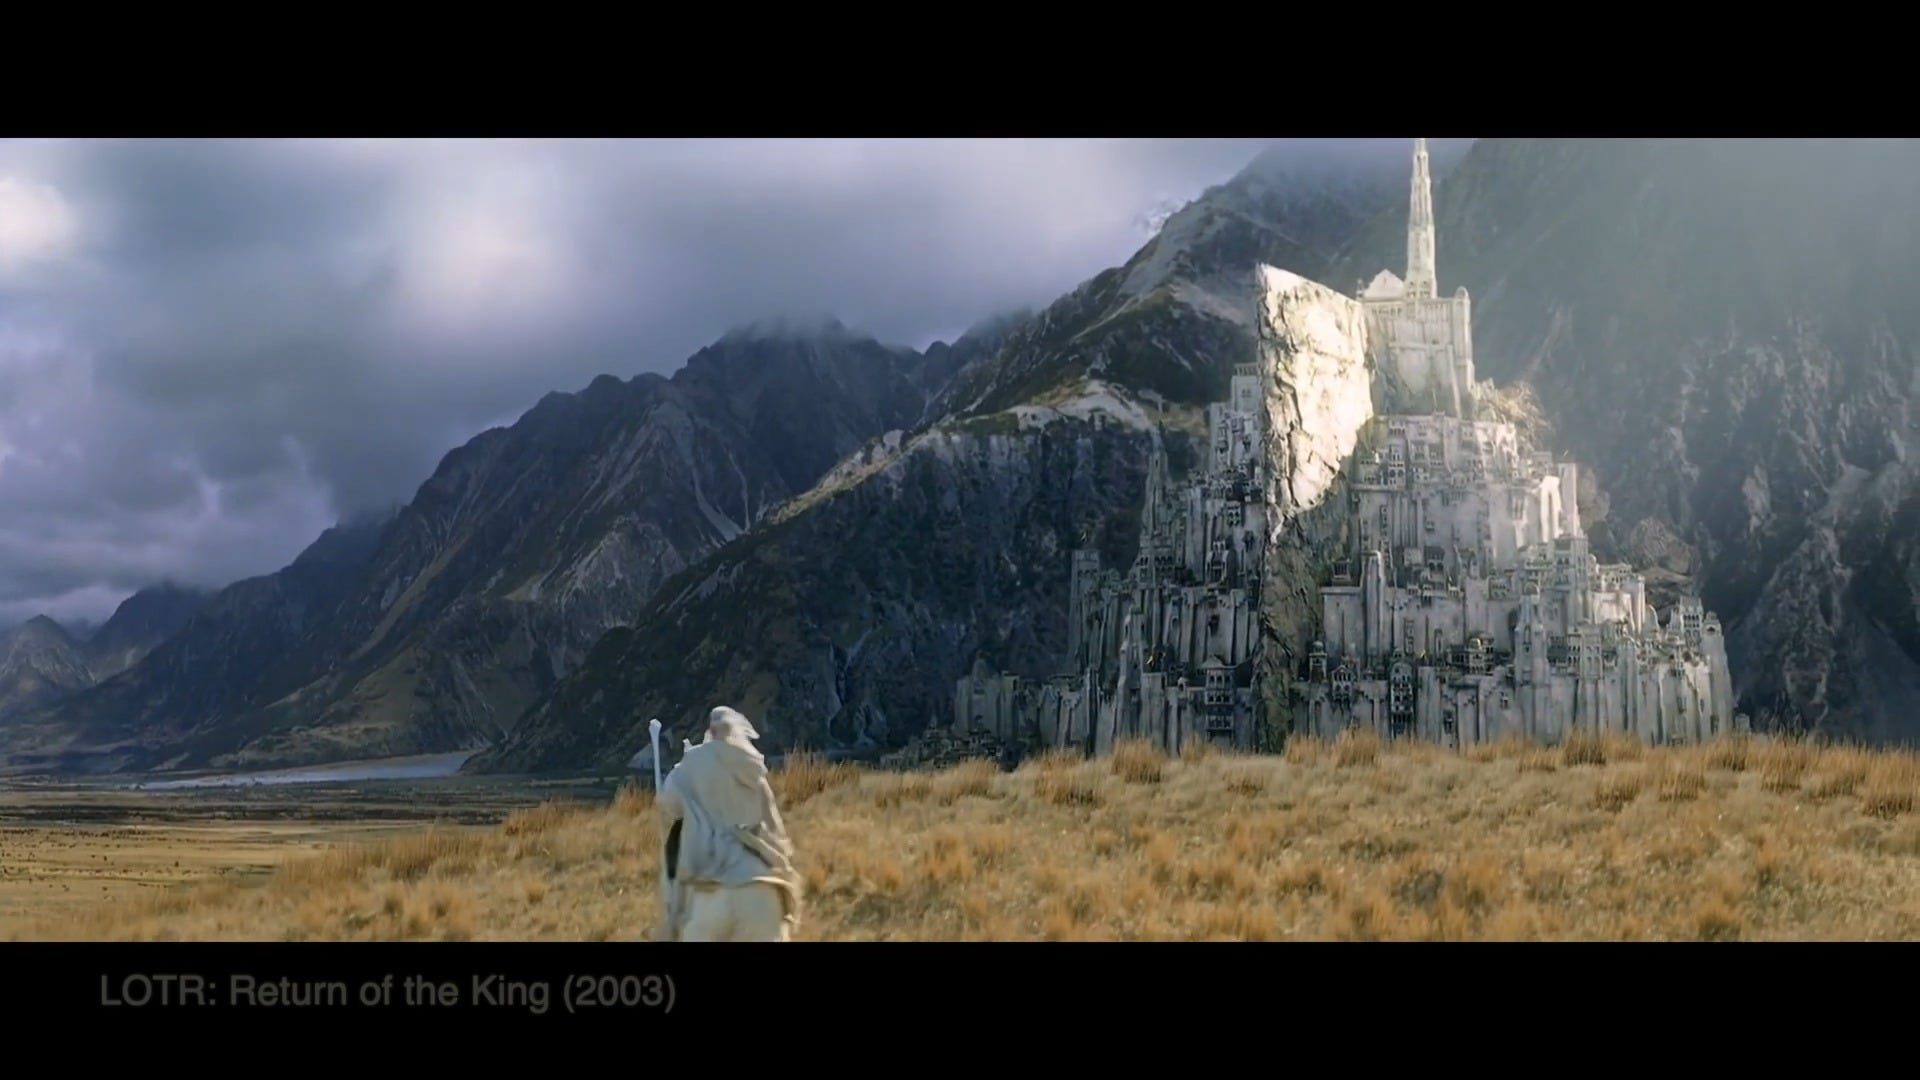
As a storyboard artist, I treat establishing shots like chapter headings. They prevent jarring, confusing location jumps and save you from having characters awkwardly announce where they are. You can just show it.
3. Wide Shot (Long Shot): Relationship to Environment
We nudge in a little closer around this point:
Watch the wide shot breakdown
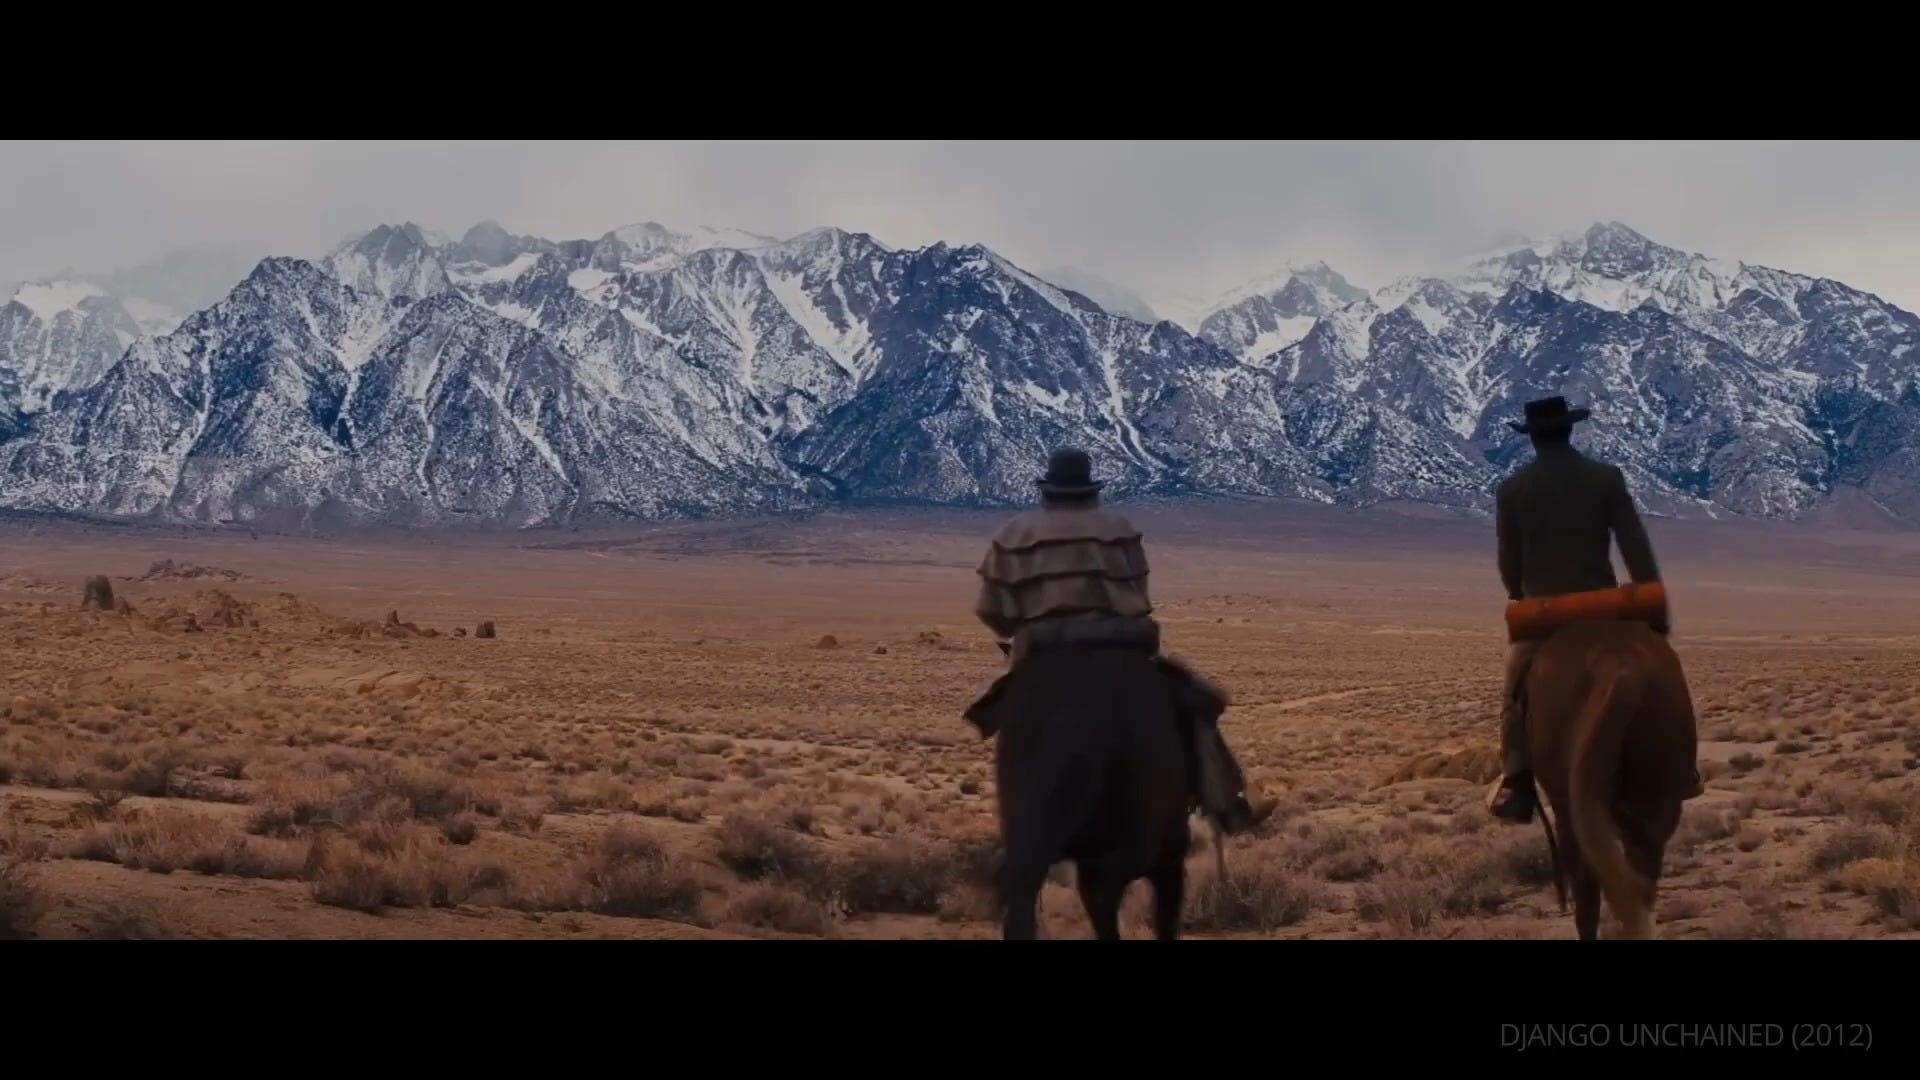
A wide shot (or long shot) shows the character’s full body, but still leans heavily on the environment. It’s a real workhorse shot.
I use wide shots when I need to:
Show characters moving through a space.
Frame multiple characters in the same environment.
Emphasize the relationship between character and location.
Let the audience read blocking and geography clearly.
Classic use: characters entering an impressive new location. A wide shot lets us see both their reactions and what they’re reacting to, all in the same frame.
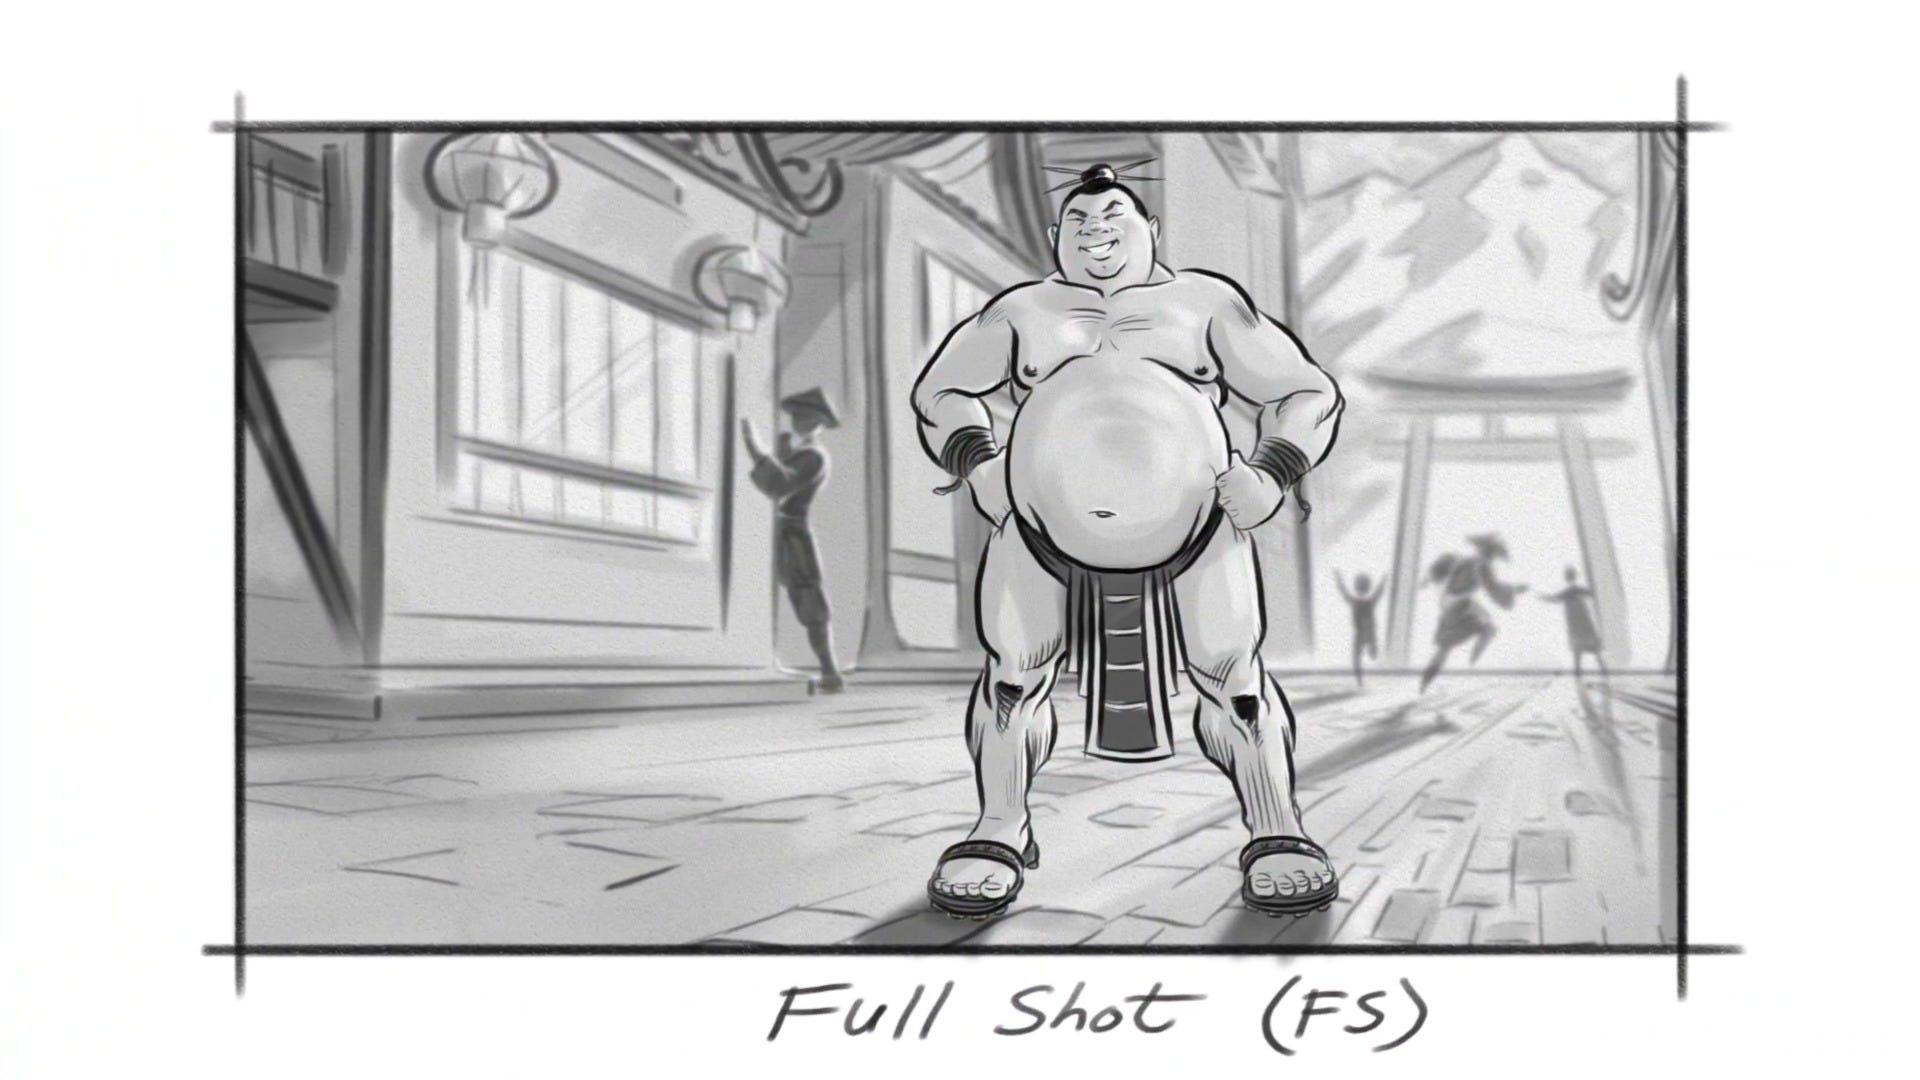
4. Full Shot: Performance and Body Language
The full shot is the next step toward the character:
Watch the full shot section
We still see the character from head to toe, but the emphasis shifts more toward their physical presence than the surroundings.
I reach for a full shot when:
The body is doing most of the storytelling — pacing, swaggering, slumping.
There’s dancing, fighting, or physical comedy.
I want posture and movement to act as character clues.
The full shot is a nice middle ground: enough environment to understand context, but close enough that we start to connect with the character as an individual, not just a figure in a landscape.
5. Cowboy Shot: Action and Expression in One Frame
One of my favorite framings to teach is the cowboy shot, which I cover here:
Watch the cowboy shot explanation
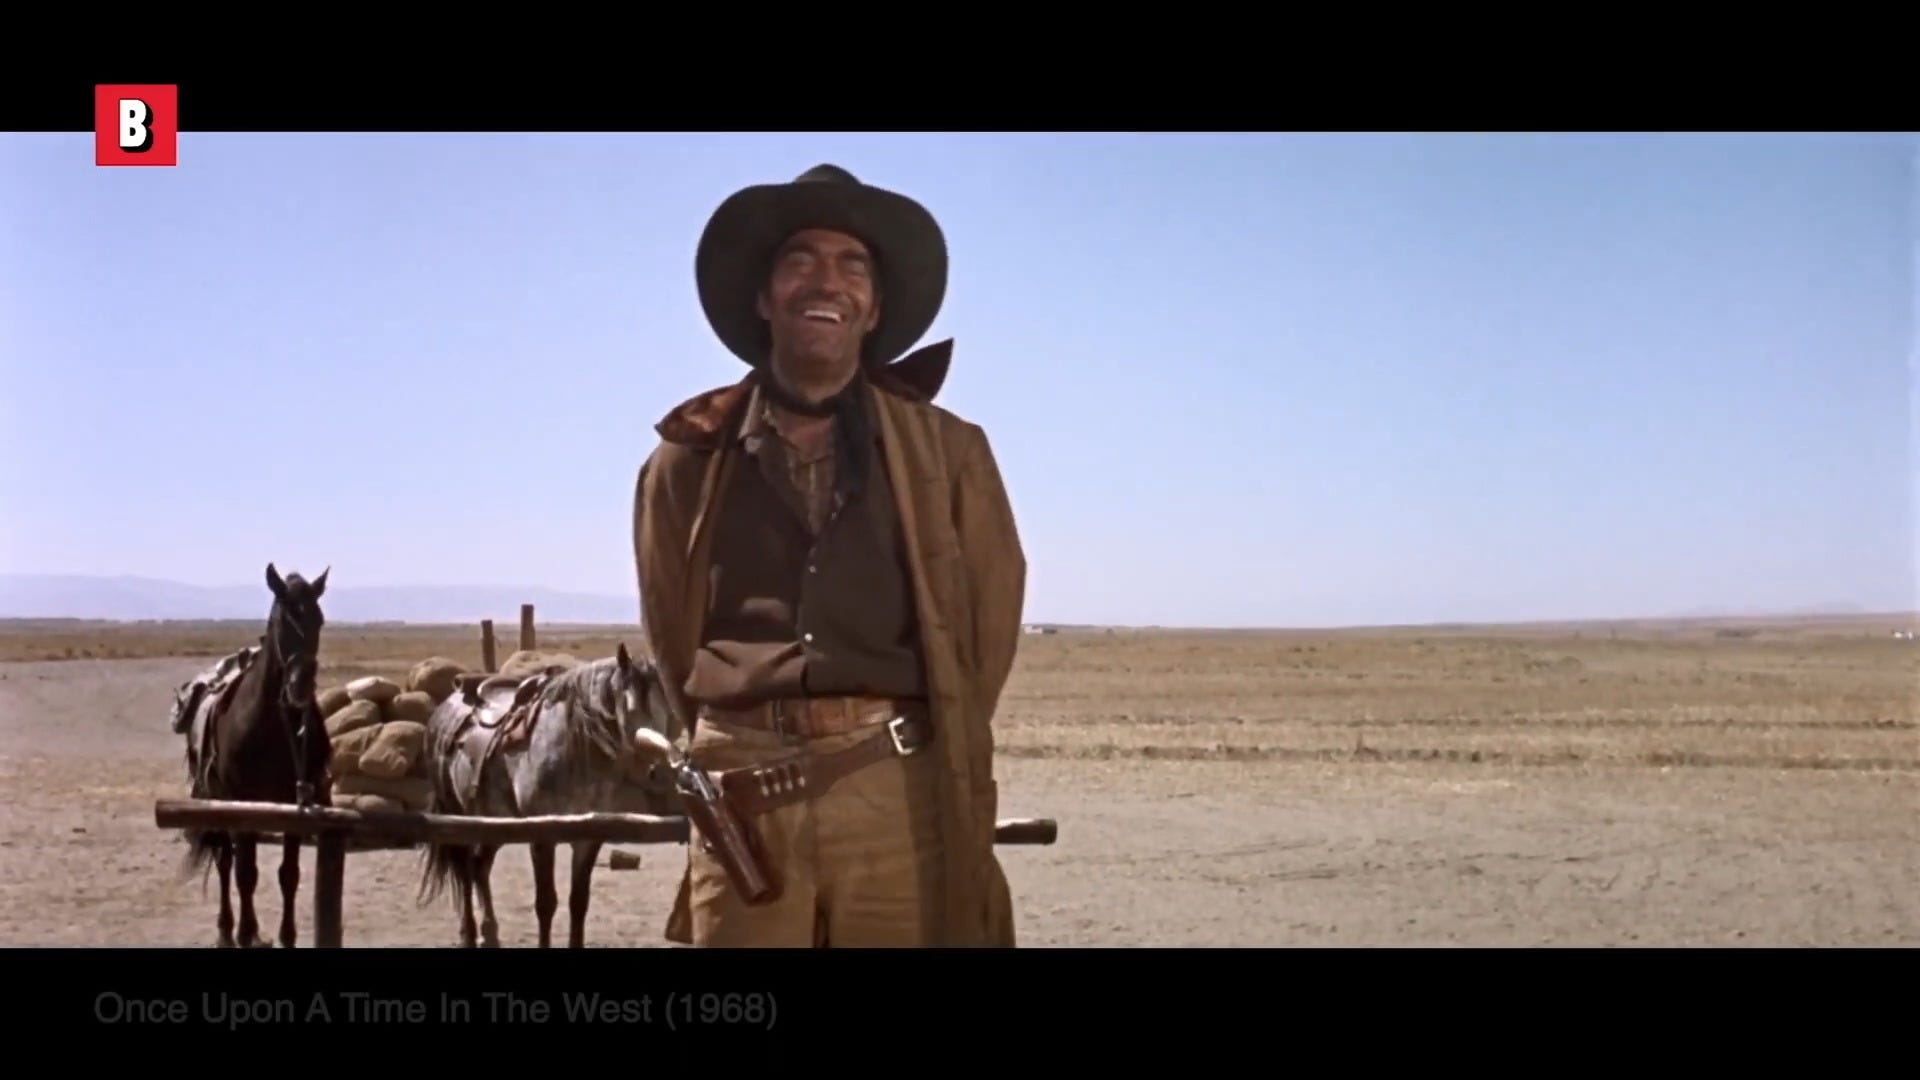
Born in Westerns, this shot frames from mid‑thigh (sometimes knees) up. The original reason was purely practical: you could see both the gunslinger’s face and their hands hovering over the holster.
Today, I use cowboy shots any time I need:
Facial expression and hand action in the same frame.
To avoid constant cutting between full shots and close‑ups.
Efficient storytelling — one shot doing double duty.
It’s a great compromise between a full shot and a medium shot, and it works in pretty much any genre, not just dusty towns and horses.
6. Medium Shot: The Dialogue Workhorse
I call the medium shot the bread and butter of filmmaking for a reason:
Watch the medium shot breakdown
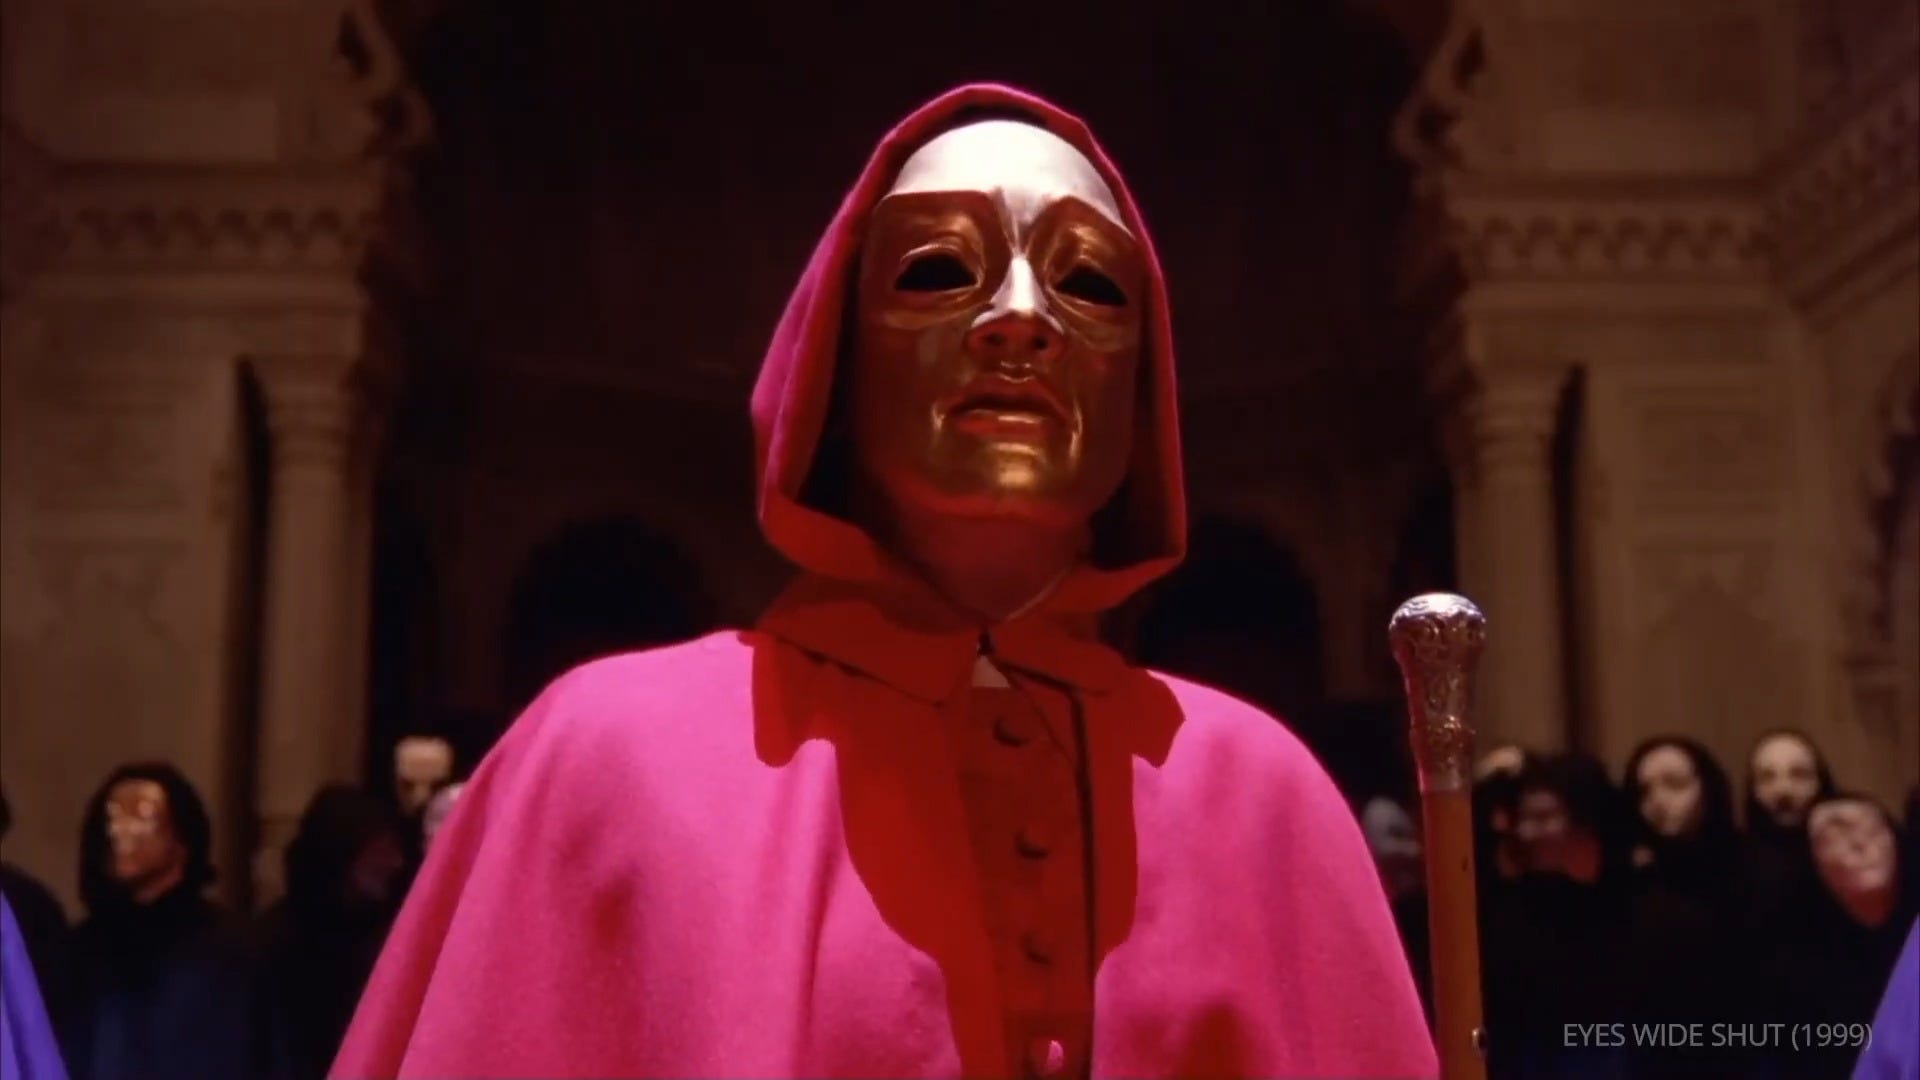
Usually framed from the waist up, the medium shot is what we most often see in dialogue scenes.
Why directors (and storyboard artists) love it:
It mirrors how we naturally see people when we talk to them.
We can clearly read facial expressions.
We still get body language — crossed arms, leaning in, stepping back.
We keep enough of the environment to maintain context.
When I’m boarding a dialogue‑heavy scene, medium shots are the backbone. They’re intimate without feeling invasive, which makes them ideal for the bulk of dramatic exchanges.
7. Close‑Up: Emotion and Emphasis
Now we get personal. I dive into close‑ups here:
Watch the close-up section
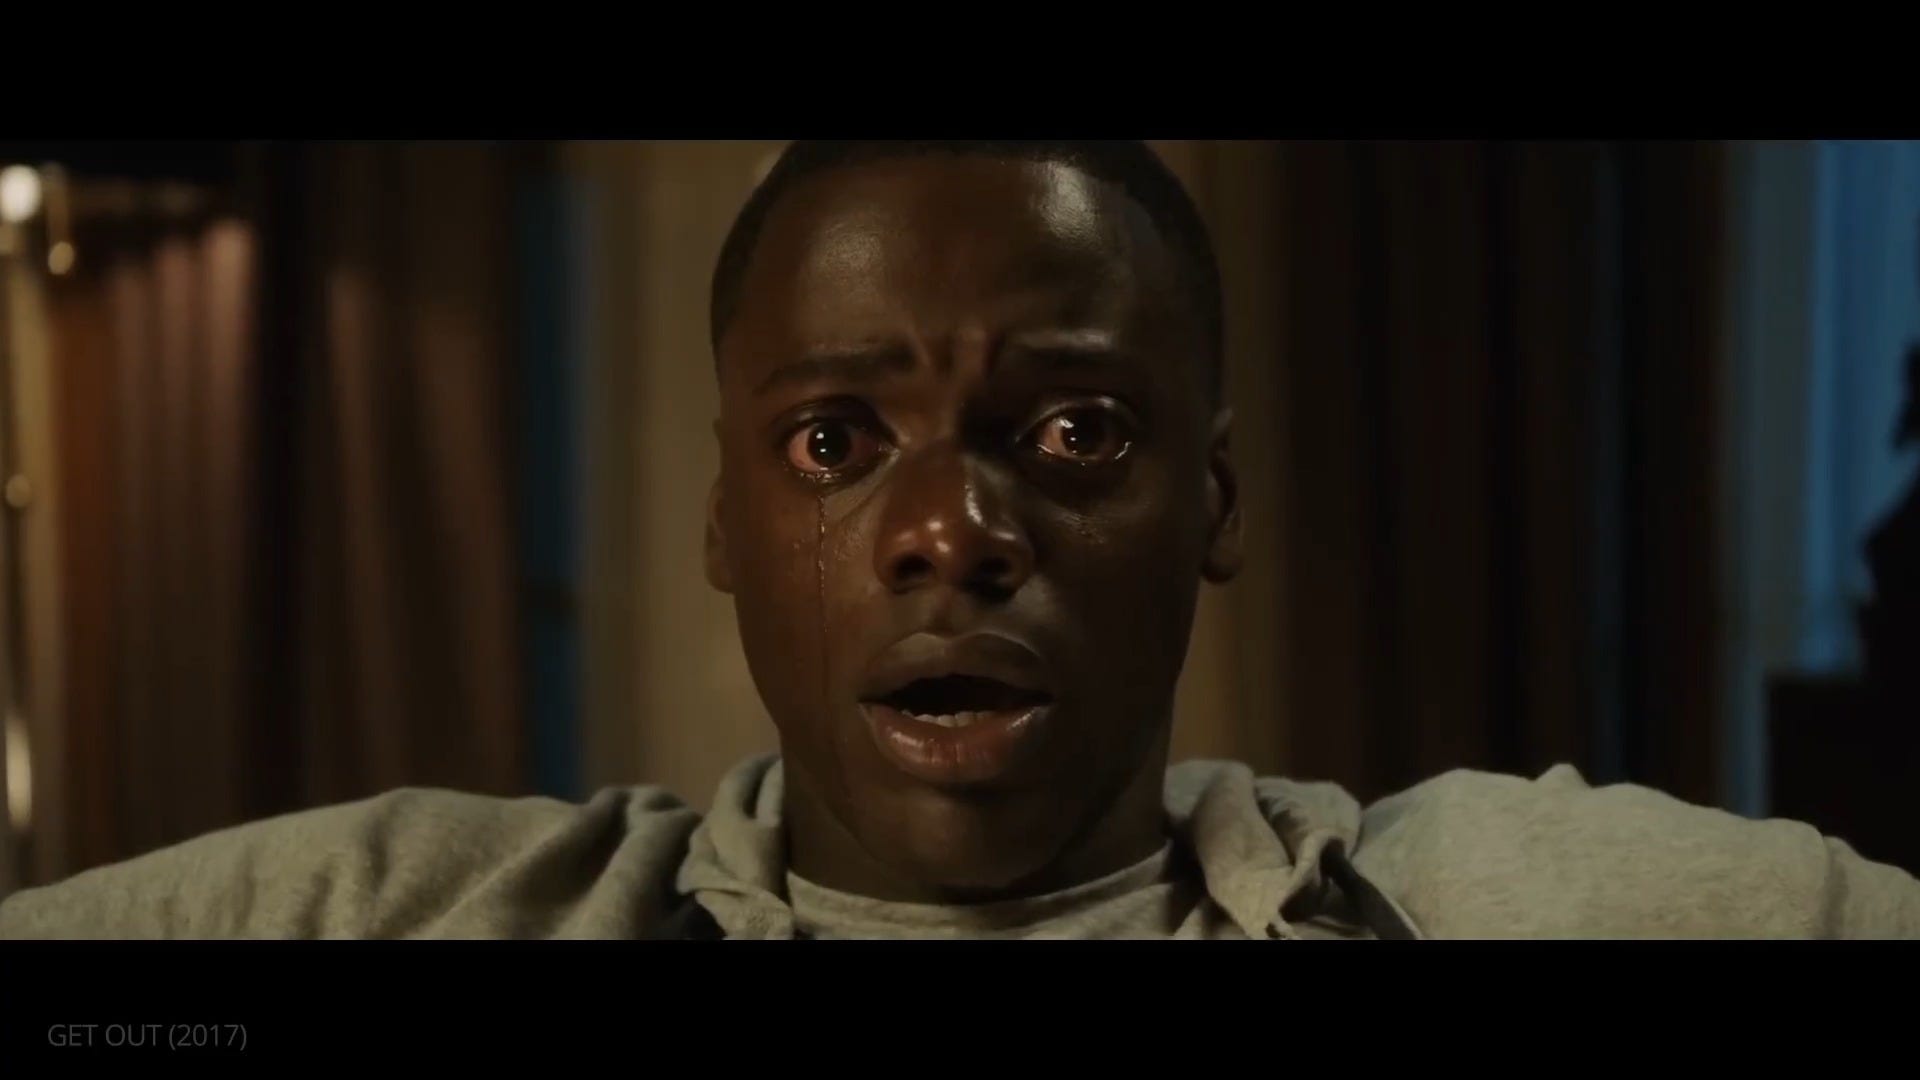
A close‑up usually frames from the shoulders up, and it’s all about emotion and connection. We’re hardwired to read faces, so close‑ups plug straight into the audience’s empathy.
I use close‑ups for:
Emotional peaks — confessions, realizations, fear, grief.
Key reactions — the instant something truly “lands” for a character.
Important details — hands exchanging an object, reaching for a weapon (in this context, that’s often called an insert shot).
In the video, I also talk about how you can:
Use a wide aspect ratio to keep one character in sharp focus while another is blurred behind them.
Frame more than one face in a close‑up to show multiple emotional responses at once without cutting.
Close‑ups strip away distractions and tell the audience, “This right here is important. Pay attention.”
8. Extreme Close‑Up (ECU): Impact and Intensity
Finally, we hit the most intimate framing:
Watch the extreme close-up breakdown
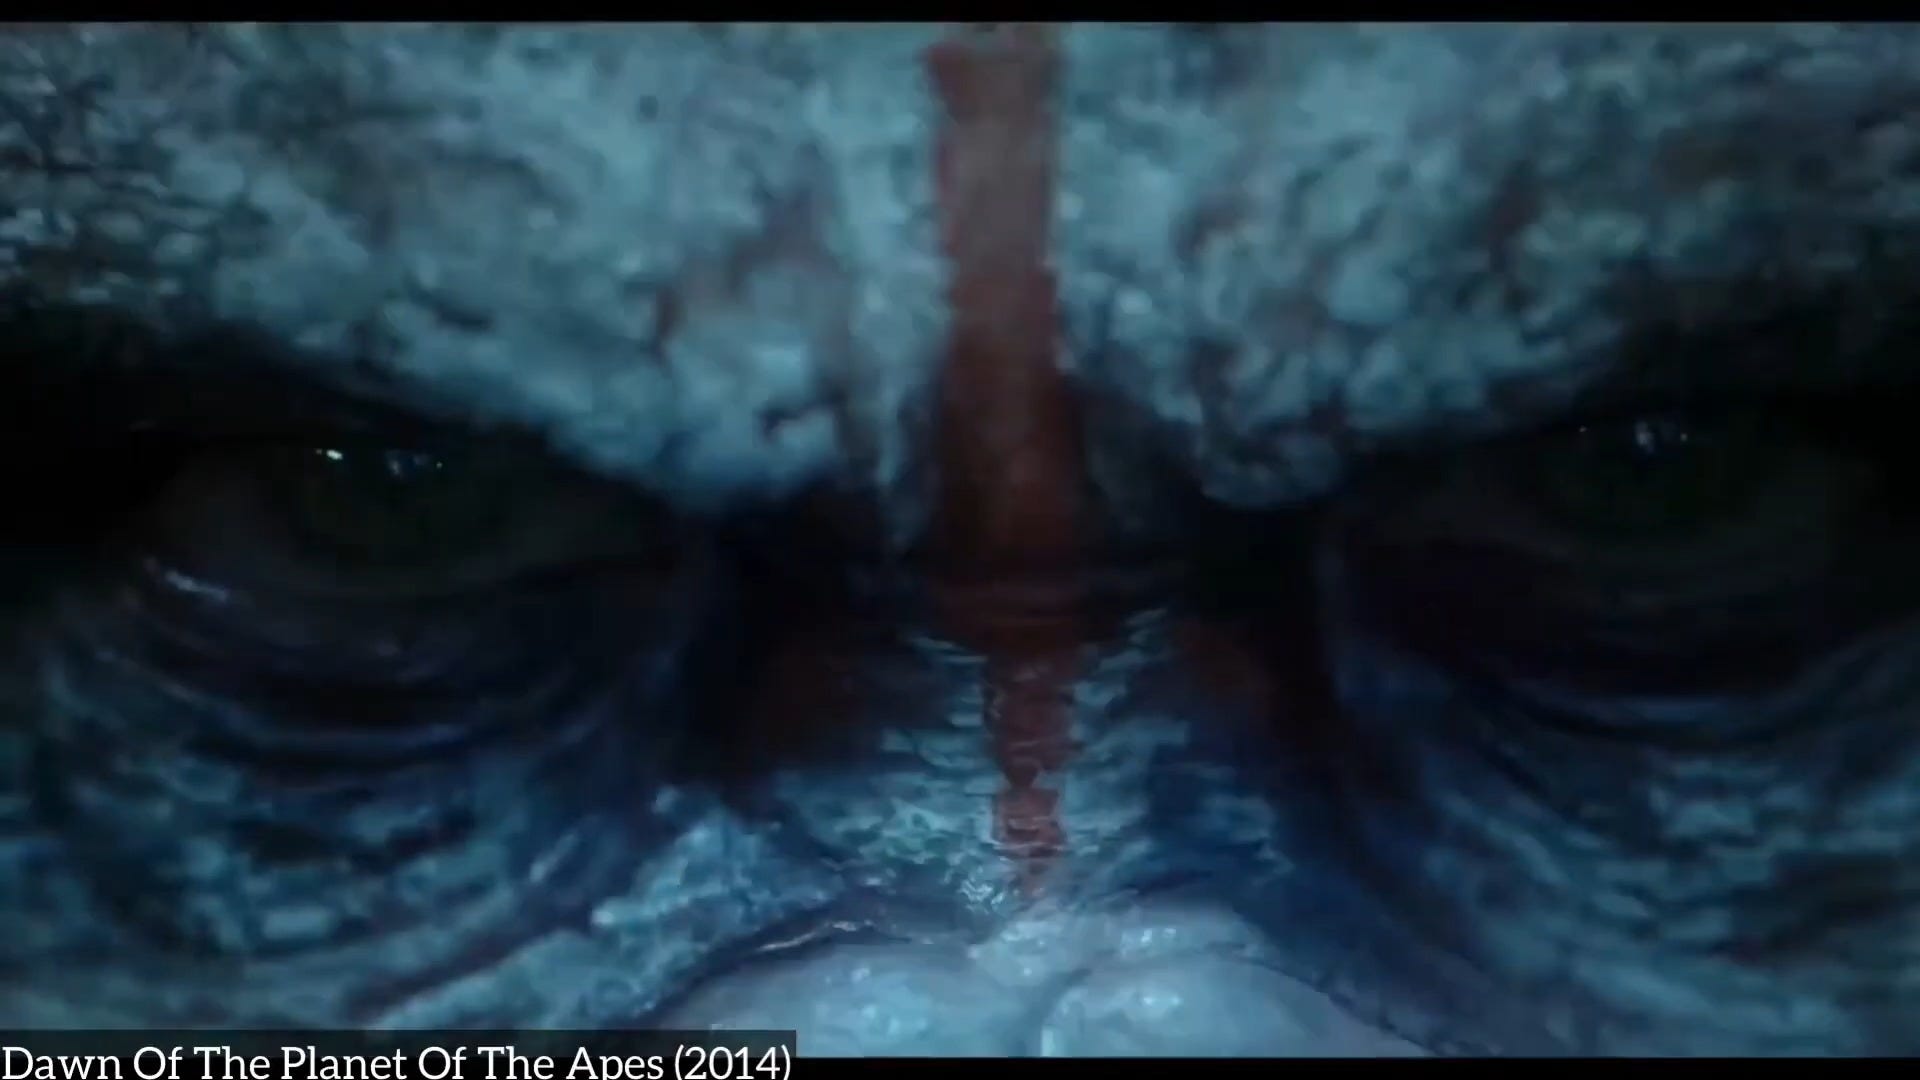
An extreme close‑up isolates a tiny portion of the subject — eyes, a mouth, a needle, a key turning, a clue on a scrap of paper.
I treat ECUs like visual exclamation points.
They’re powerful when you want to:
Build suspense (a needle entering skin, a trigger being squeezed).
Highlight a crucial story detail the audience must remember.
Turn something familiar into something almost abstract (skin as landscape, an eye as a whole world).
Because they’re so intense, I use them sparingly. If everything is an extreme close‑up, nothing feels special. Used with restraint, they go straight to the audience’s nervous system.
Combining Shot Sizes and Building Your Visual Toolkit
Near the end of the video, I talk about combining these core shot sizes into sub‑shots:
Watch this section on combinations
You’ll often hear a director ask for:
A medium close‑up (between a medium and a close‑up).
A wide medium or a tight medium, depending on the feel they’re chasing.
These hybrids are just fine‑tuned versions of the same eight foundational sizes. Once you understand the emotional and narrative purpose of each one, you can mix and match them with a lot more confidence.
For storyboard artists, that understanding is freeing. It’s like upgrading from a single 2B pencil to a full set. You’re no longer guessing which shot “might look cool”; you’re deliberately choosing the shot that best serves the story.
Practical Tips for Storyboard Artists
When I’m boarding, these are the principles I try to keep front and center:
Start with function, not style.
Ask what the audience needs to feel or understand in that moment, then pick the shot size that delivers that feeling or clarity.Use wide and establishing shots to orient.
Don’t make your viewers play geography detective. Give them clear location and spatial context early on.Let performance dictate your distance.
Big physical actions? Think full or wide. Subtle emotional shifts? Think close‑up or ECU.Reserve ECUs for maximum impact.
Treat them like punctuation — powerful when used intentionally, noisy when you spam them.Think in sequences, not isolated frames.
How does your extreme wide flow into your medium, then into your close‑up? The progression of shot sizes is part of the storytelling rhythm.Watch how you feel as you board.
If a panel feels flat, ask yourself whether the shot size is too neutral for the moment you’re trying to convey.
Remember: strong visual storytelling isn’t just about what you show, but how you choose to show it. Nail these eight framing techniques, and you’ll become the kind of storyboard artist directors trust to carry their vision all the way from script to screen.
(BONUS) Cinematic Shot Framing CHEAT SHEET
Shot Framing Techniques
1. Extreme Wide Shot (EWS)
Shows vast environment, subject may be tiny or not visible
Establishes scale, location, and world size
Creates sense of awe or insignificance
Perfect for opening scenes and showing epic scale
2. Establishing Shot
Sets location, time, and atmosphere
Not size-dependent - about function rather than framing
Efficiently communicates information visually
Can be static or involve camera movement
3. Wide/Long Shot
Shows full subjects in relation to surroundings
Displays movement across space and multiple characters
Provides context and spatial relationships
Shows how characters fit into their environment
4. Full Shot
Captures character’s full body (head to toe)
Emphasizes physical presence, movement, and body language
Balances environment context with character focus
Ideal for showing physical actions and relationships
5. Cowboy Shot
Frames character from mid-thigh or knees up
Named after western films showing gunfighters
Captures both face and hands in one frame
Perfect middle ground showing emotion and action
Economical storytelling - no need to cut between shots
6. Medium Shot
Shows character from waist up
Most common framing for dialogue scenes
Balances facial expressions with body language
Creates natural perspective similar to conversation
Intimate without being intrusive
7. Close-Up (CU)
Shows character from shoulders up
Emphasizes emotion and creates connection
Reveals micro-expressions and subtle emotions
Used for emotional high points
Can focus on important details (insert shots)
8. Extreme Close-Up (ECU)
Shows portion of face or tiny details
Creates intensity and commands attention
Can make ordinary elements look extraordinary
Use sparingly for maximum impact
Acts as visual “exclamation point”
Practical Applications
Shot Selection Tips
Each shot type serves specific storytelling purpose
Combine shots to create subshots (e.g., medium close-up)
Consider emotional impact when selecting shots
Show information visually rather than telling through dialogue
Use shot variety to maintain visual interest
Professional Applications
Storyboard artists translate director’s vision through framing
Shot selection guides every department on set
Framing techniques create visual language for storytelling
Effective shot choices enhance emotional impact
Mastering these techniques makes artists valuable to productions